


This series is for those involved in vehicle-supported adventures. The content can help anyone traveling solo survive a minor or major mishap, breakdown, or vehicle accident in the remote backcountry. The series is not, however, about “living off the land” for an endless length of time. The presented information can help you remain comfortable for several hours, a couple of days, or even a week or two in the backcountry should an off-roading adventure go bad.
In the first installment in this series, we discussed the Survival Pyramid and the Will to Live. Click here to read this article
Be sure and read Part I of Survival Fire Building before reading this article.
How to Start Your Survival Fire
There are several ways to start a fire with dry, fluffy tinder. Consider carrying at least two or three of these methods in your survival bag. When one doesn’t work, another might. In my opinion, the best two ways to start a survival fire is with a disposable fluid lighter and a ferrocerium striker.
Disposable Fluid Lighter: Every survival bag should have several disposable lighters. A stormproof-style survival butane lighter (shown below left), is best. This butane lighter, made by Ultimate Survival, is refillable and worth the investment price. This is my favorite way to light fires when overlanding.
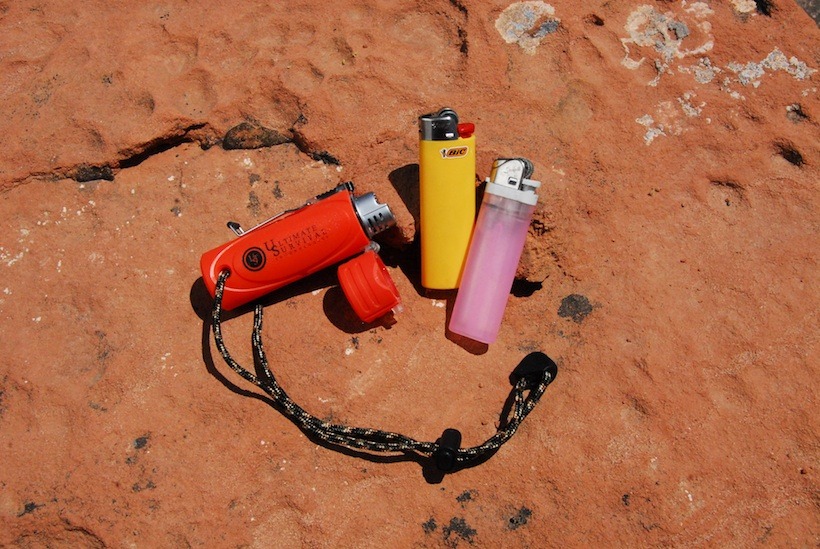
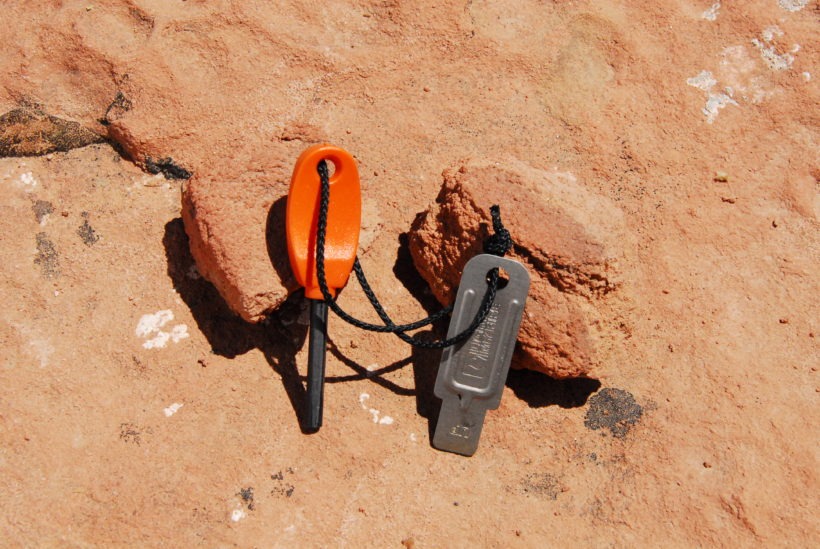
Ferrocerium Striker: There are several commercially available “sparking” survival fire-starters made from ferrocerium. Ferrocerium is a manmade metallic material that, when scraped against a rough surface, gives off sparks reaching temperatures of 1,649°C/3,000°F – perfect for starting fires with tinder.

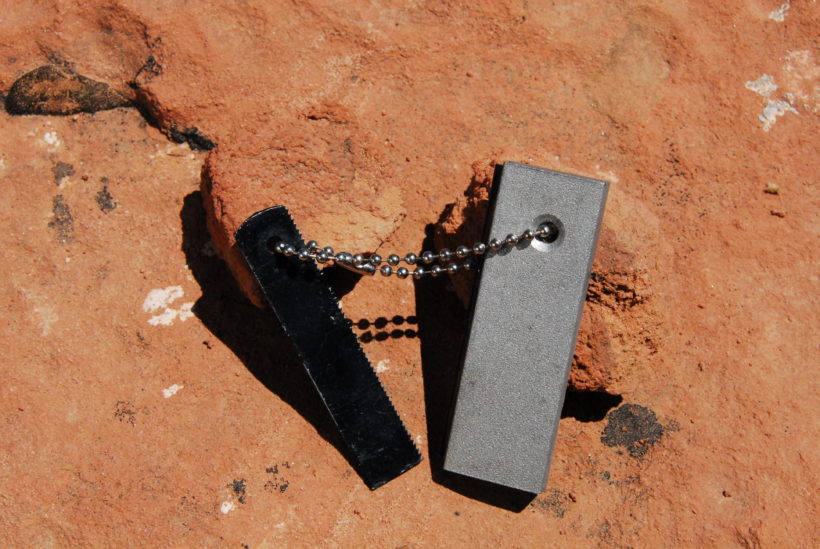
Magnesium Ferrocerium Rod Combo: These commonly purchased fire-starting items consist of a small bar of magnesium with a ferrocerium rod embedded in one side. Typically attached is a sharp implement used to scrape fragments of magnesium and strike the ferrocerium rod. To start a fire, first scrape off a small pile of magnesium shavings surrounded by loose kindling. Use the ferro steel sparks to ignite the fast burning, high temperature magnesium.
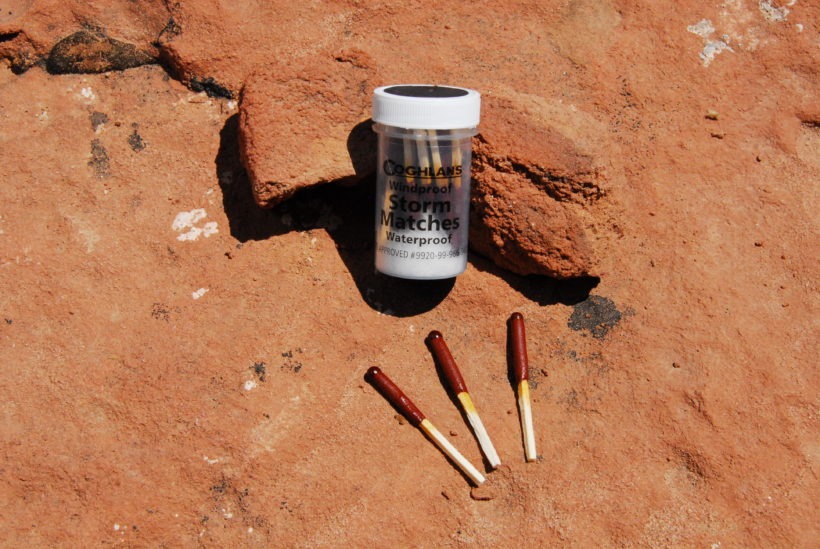
Storm, Waterproof, or Strike-Anywhere Matches: Matches are another “must have” in your survival bag. The better ones can resist wind and water, but all are best carried in a waterproof container.
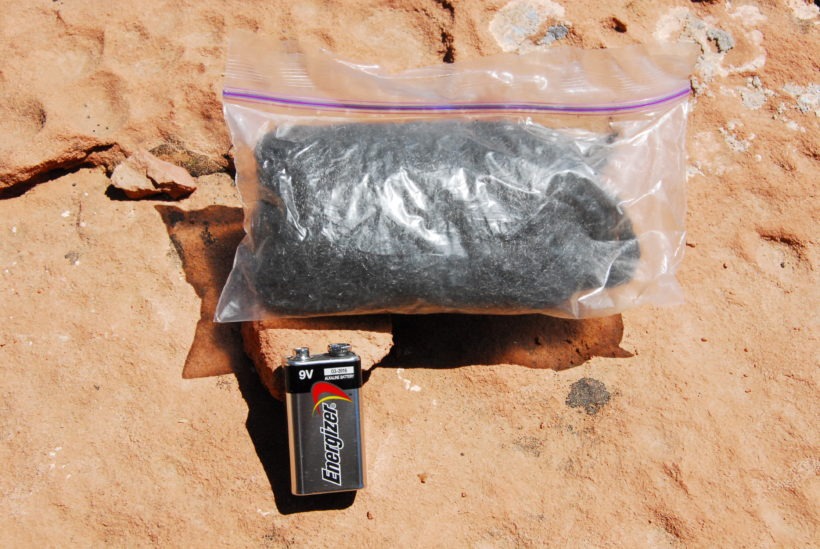
Nine-Volt Battery and Steel Wool: Touching 0000-grade (super fine) steel wool to the terminals of a nine-volt battery starts the steel wool glowing. Surround the steel wool with some tinder to get your fire going. With a bit of practice, this fire-starting technique can get fires going in short order. When storing a battery and steel wool in your survival bag, make sure they are in separate containers.
Flare: You don’t want to waste a hand-held flare that you might need to use to signal Search and Rescue personnel, but in an emergency, a flare can start a fire very quickly. If you are hypothermic and need warmth right away, use a flare to quickly start a fire, even when using moist kindling.


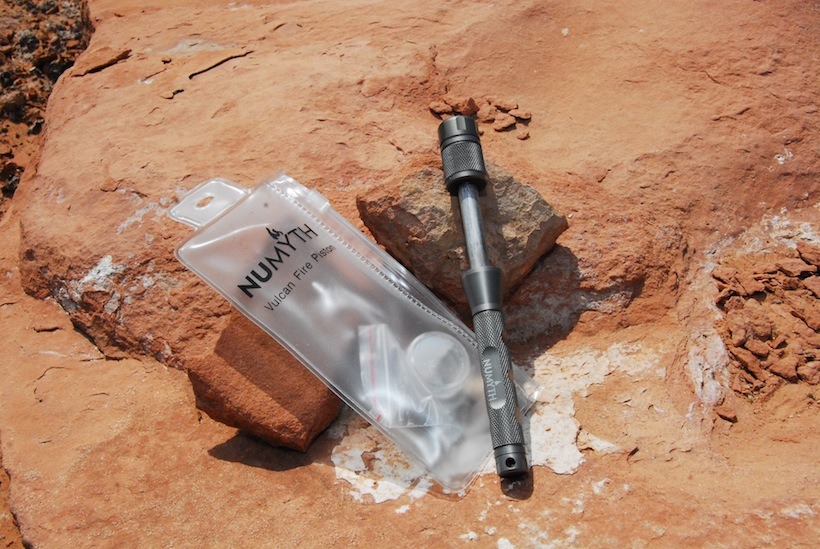
The Numyth Vulcan Fire Piston: This product uses air compression to start a small piece of tinder glowing. When air is compressed quickly, it heats the surrounding air to the point where a small amount of tinder, like char cloth, begins to glow. The ember is capable of starting a fire when drier tinder is added along with oxygen by blowing on the smoldering mass. I have gotten a fire to start with this device, but not without lots of work.
Making Your Fire
The following pictorial illustrates one way to organize and get your fire going. The method shown here is often taught in survival courses.
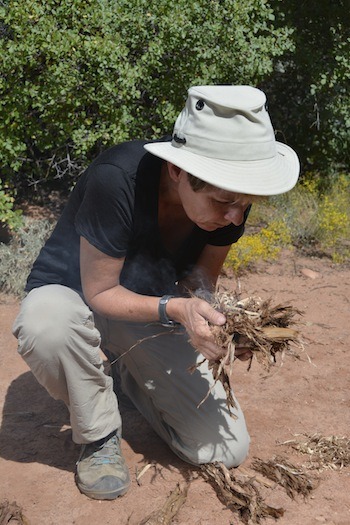
Build a bird’s nest (aka “tinder bundle”) for fire starting. Begin by laying out some organized tinder in various size piles.
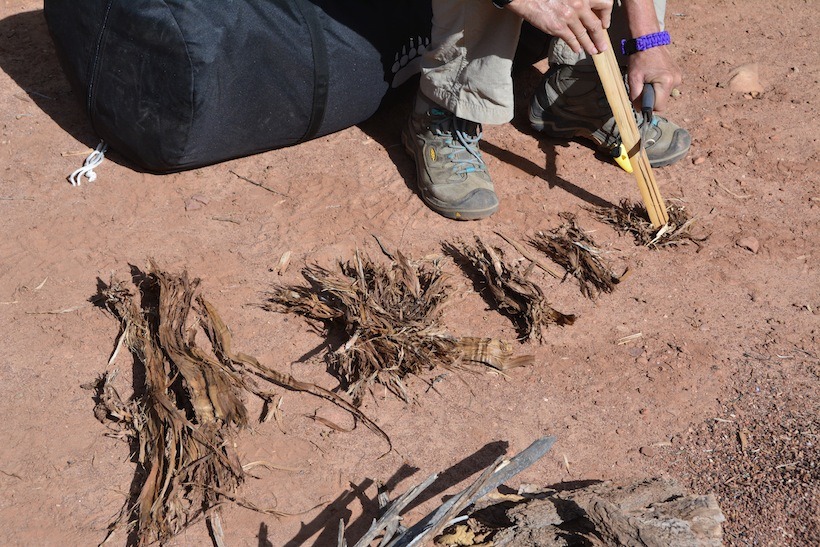
Construct your bird’s nest by starting with a wide, flat base of loose bark or punkwood on which to add your finer, dry tinder. If no wide, flexible base is available, simply crisscross and weave longer tinder fibers together to build a base shell. Once the shell is made, add fine, crushed, dry material in the middle of the nest.
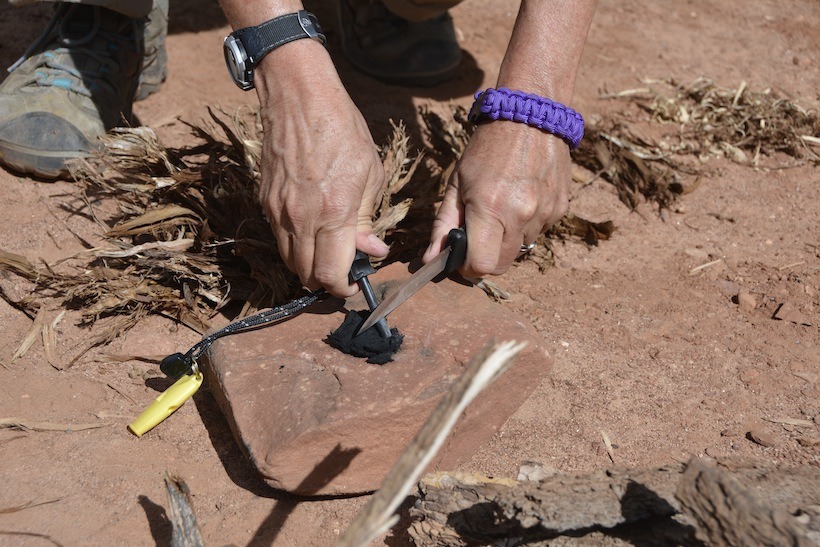
Once your bird’s nest is finished, you’ll need a glowing ember to place in the middle of your nest – on top of your most loose and ground-up tinder. Assuming you don’t have a lighter or match, you may use a ferrocerium striker and the backside of a knife to spark some char cloth.
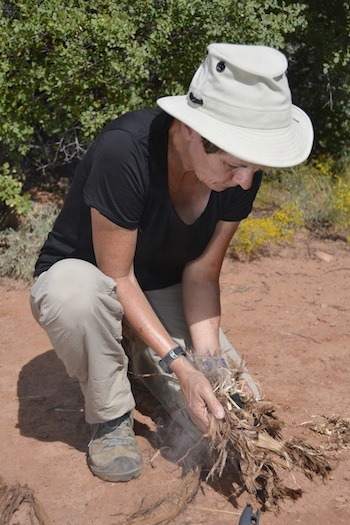
Take your time once you add an ember to your nest. Raise the nest up near your mouth. Blow gently onto the ember in the nest to add oxygen, then lower it, then raise it again and blow on it. Do this repetitively until you get lots of smoke, then finally a flame. Once you begin to get smoke, watch closely for a flame to burst from the nest.
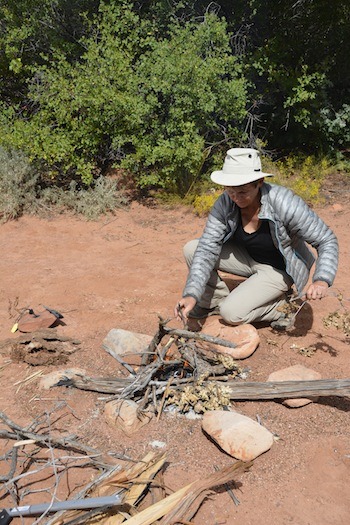
When a flame does appear, be prepared to place the nest under a kindling teepee that has lots of space between the sticks to allow oxygen to reach the new flame. Once the flame gets going robustly, continue to add your left over tinder and kindling from your readied pile. Once you have a pretty good fire going with your kindling, you may finally add fuel to your fire to sustain it over time.
The next installment of Survival and Bushcraft for Overlanders will begin to cover the large topic of water disinfection in the field. Don’t miss this if you are thirsty. No one wants to get Giardia, Cryptosporidium, or Blastocystosis.
Words & Photos by Bob Wohlers
Bob Wohlers teaches corporate, government, and recreational off-road safety, survival, and wilderness first aid courses. Some of Bob’s corporate clients have included T-Mobile, Verizon, PG&E, and Southern California Edison. As a registered government contractor, he teaches courses for the National Park Service and BLM. Currently, Bob teaches monthly introductory and advanced recreational off-roading at Prairie City, a California State Recreational Vehicular Area (SRVA). He also organizes and leads groups on 4WD adventure tours into the remote backcountry. Find out more about his trainings and guided adventures at discoveroffroading.com.

Bob’s new book, “Live Long to Wander-Basic Survival and Bushcraft for Vehicle-Supported Adventure: To be released at the 2017 Overland Expo in May.


