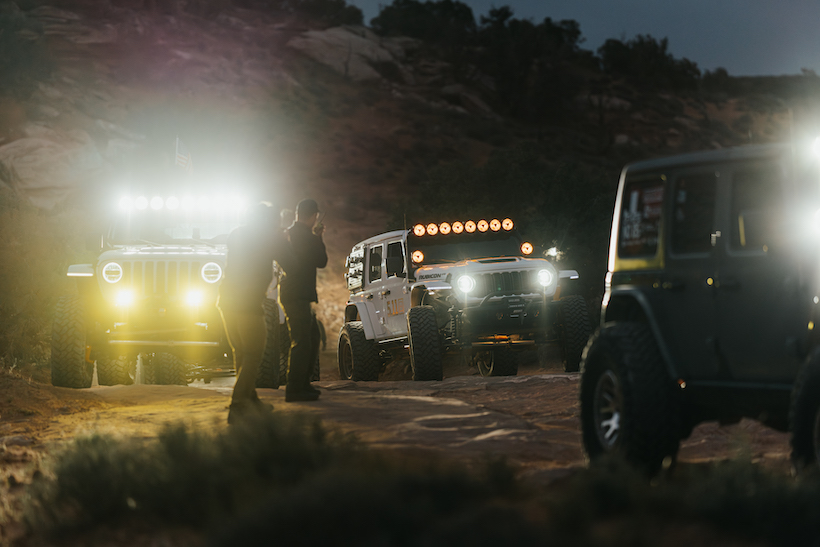
When it comes to off-road lighting, many people simply buy lights without a strategy, thinking they will get the job done. Then, when they go to hit the trail at night, they get blinded by their own glare, or they illuminate the wrong zones of the trail, thus missing that differential-busting boulder in front of them. The best lighting setup is one that considers beam patterns, placement, and use case.
I’m an avid off-roader and overlander, and I’ve also competed in the Rebelle Rally. The outcome of my adventures, and of course the Rally competitions, depends on my lighting setup being right. I’ve tested enough configurations on the trails to know the difference between a setup that looks stylish and one that actually gets you through technical terrain. Here’s what I’ve learned about how to build a lighting setup that works.
Quick answers, if you’re in a hurry:
- Setup: layer a primary light bar, pod fill lighting, a compact driving light, and rock lights rather than relying on one big bar.
- Beam pattern: flood or combo for slow technical trails; spot for high-speed desert running; combo for everything in between.
- Lumens needed: individual lights typically run 2,000-4,000 lumens each; a full light bar (several lights combined) typically lands in the 10,000-25,000 total-lumens range. More lumens matter less than good optics.
- Durability: look for an IP67 rating or above and a sealed connector.
- Street legality: off-road-only lights should be covered or switched off on public roads unless they carry SAE/DOT certification.
Building a Layered Lighting System
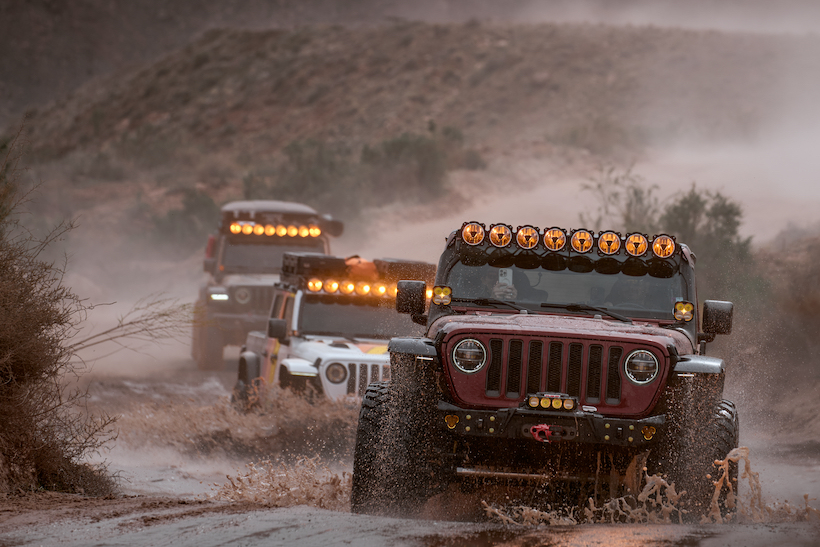
The best off-road lighting setups are ones that have purposeful lights working together to perform different jobs. Your vehicle comes equipped with low beams, high beams, and fog beams; each light serves a different purpose. An off-road light setup continues that exact same philosophy but builds on it for a better experience and more visibility in demanding environments. From primary lighting to fill, utility, and driving lights, here’s how each layer earns its place on your rig.
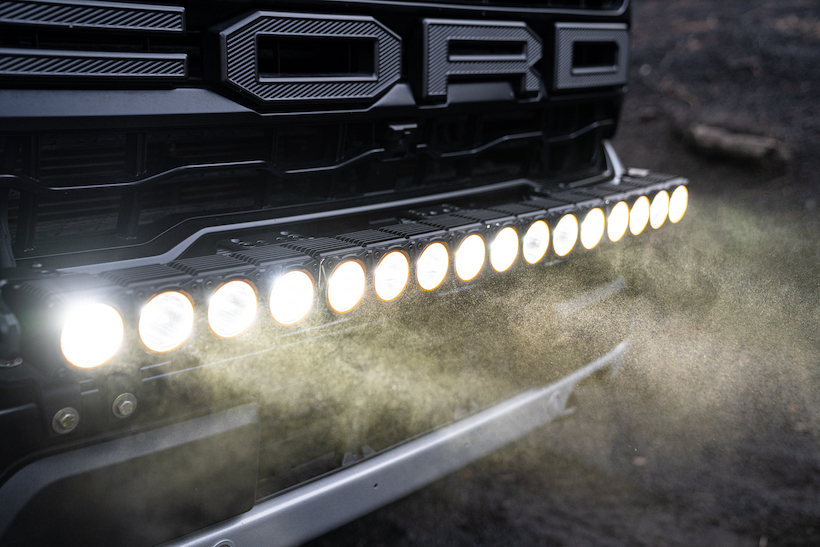
Primary lighting: This is your main light bar or pod lights, usually bumper- or pillar-mounted. These will often be a combo beam pattern. These do the heavy lifting for short to mid-range lighting when traveling at moderate speeds. KC’s FLEX ERA line is built specifically for this. Available as individual pods or light bars, with customizable beam patterns, light output colors, colored bezels, amber backlighting, and protective shields for all-purpose use.
Fill lighting (trail perimeters, edges, side lights). With your primary light handling the center of the trail, you need something covering the gaps, especially the sides and close terrain that a light bar’s combo beam doesn’t reach well. This is where modular pod lighting comes in. KC’s FLEX ERA lineup excels here as well, so do the Slimlites and SideCast lights. By utilizing strategically placed individual pods, you can throw light out into the dark spots that actually need fill.
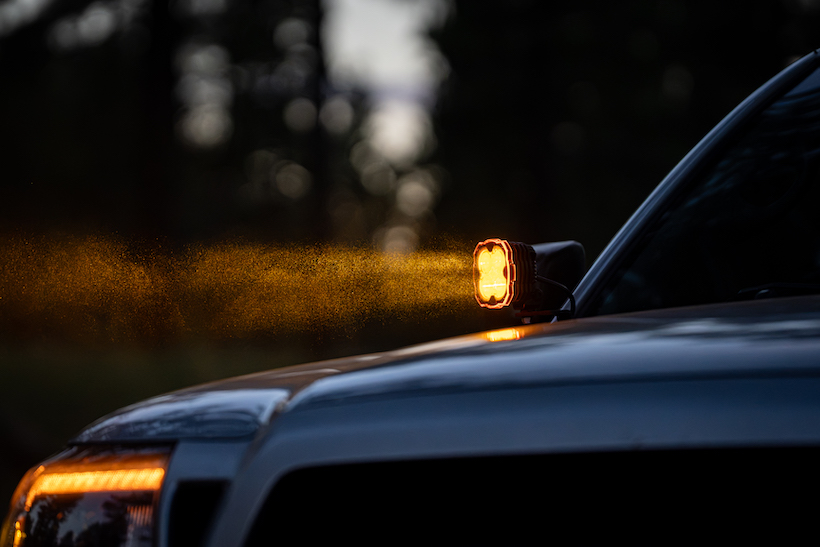
It’s worth mentioning how this style of light can also be beneficial around the campsite, not just while driving. KC industry-first biased beam perimeter side light, the SideCast, was developed to cast light from +10° above the horizon to -50° below. That range covers everything from eye level down to the ground in one sweep, so you’re not aiming three different lights just to see a tent stake, a cooler, and the trail edge at the same time. It’s fill lighting that earns its keep long after you’ve parked for the night.
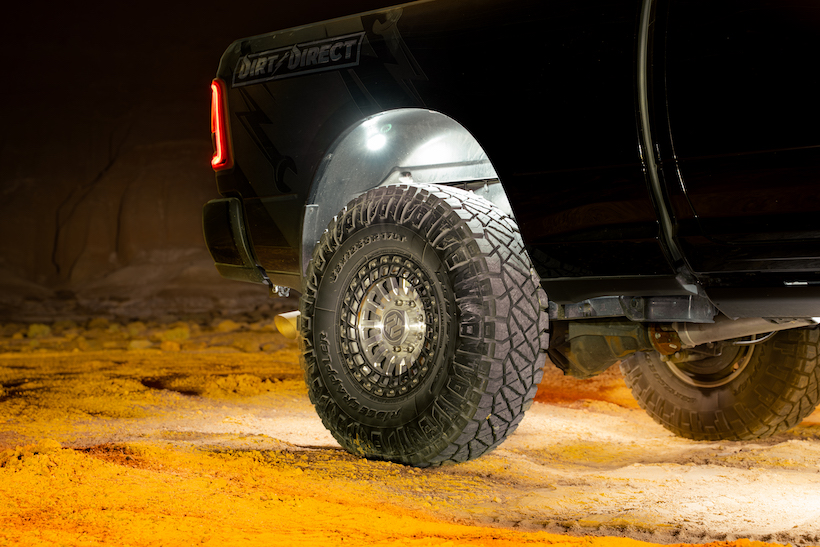
Utility and rock lighting. Wheel wells, engine bays, frames, and everywhere in between. Rock lights are more than tough-looking accent lights. They are designed to illuminate short distances, enhancing your ability to see every boulder while rock crawling, trip hazards around your vehicle, or to give you the visibility you need to perform that trail repair. KC’s Cyclone line covers this: compact, easy to mount in tight spots with a variety of mounts, and available in multiple colors. Use them in wheel wells, dome lighting, back-up lights, or for under-hood use. If you’ve ever tried to place a tire on a technical line at night without being able to see your own wheel well, you know exactly why this layer matters. Even if you aren’t a rock crawler, no one is ever happy with their factory backup lights.
Distance lighting: This is the category everyone wants, even if not everyone needs it. Built for long-distance, high-speed running, most often in open terrain. Think about holding a flashlight: down low by your hips, it’s hard to see far, but hold it up at eye level or above your head, you can see much further. KC’s Gravity series (available in light bars, pods, headlights) is built for this role. The Gravity Titan light bars in particular are engineered with combo and spot beam lights, designed to work as a complete roof solution.
Match Your Setup to How You Actually Wheel
Be honest about your rig and your terrain before you buy. This is the same mistake as chasing lumens: buying for the trail you wish you were running instead of the one you actually run.
- Slow, technical trails and rock crawling: prioritize flood and combo beams plus rock lights. You need to see what’s under and beside the vehicle far more than what’s 300 feet ahead.
- Overlanding and mixed-speed trail running: a combo-beam primary light plus pod fill lighting covers the widest range of real conditions without overbuilding.
- Desert running and higher-speed trails: this is the one scenario where a genuine spot beam earns its place, paired with a combo beam so you’re not blind to what’s directly ahead when you slow down.
Lumens vs. Lux: Why the Brightest Light Isn’t Always the Best One
Time to get technical.
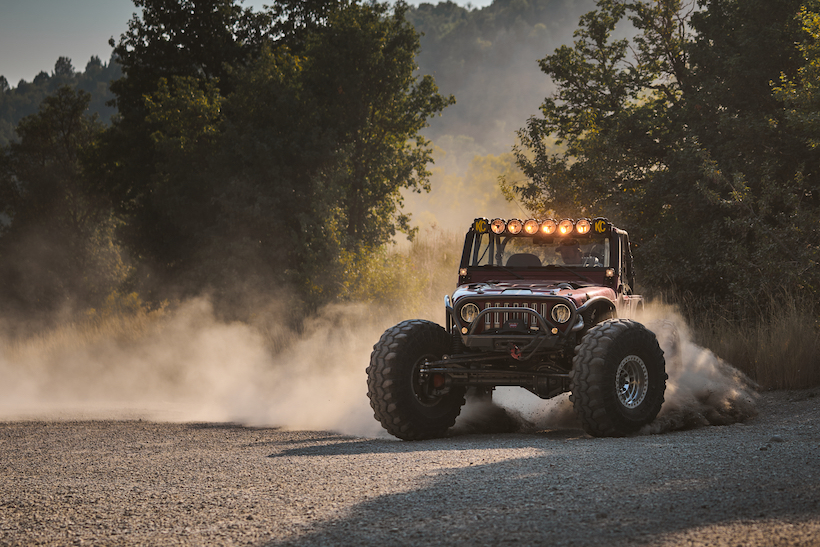
Shopping for lumens is the single most common mistake I see. A single off-road light typically runs somewhere in the 2,000 to 4,000 lumen range. A 25,000 lumen light bar isn’t one giant emitter; it’s several individual lights working together. This is why bar totals climb into the 10,000-25,000+ lumen range (depending on length). These numbers tell you little on their own without knowing the optics behind them.
Lumens measure total light output. Lux measures how much of that light actually lands on the trail in front of you. There’s a third number worth knowing too: candela, which measures beam intensity in a specific direction, essentially how hard the light is throwing in a straight line rather than how much light it’s making overall. A light with a high lumen rating but cheap, unfocused optics can scatter that output everywhere and nowhere at once. These will often provide a big wall of light that lacks depth down the trail. A lower-lumen light with tight reflectors and quality optics often throws a higher candela rating than a “brighter” light on paper, but it outperforms on the trail.
Think of this as horsepower vs. 0-60 mph acceleration time. If two vehicles have the same horsepower (aka lumens), but one vehicle is significantly lighter (aka has much better designed optics), then it will be much quicker (aka have higher lux/candela).
KC HiLiTES is upfront about this trade-off with their lights. Consider the Gravity Titan line. A single Titan light is rated at around 2,972 lumens, which is lower than some competing lights on paper. But KC’s own spec sheets show it hitting well over 100,000 candela per light in spot configuration, meaning its Gravity Reflective Diode optics focus that output into a tighter, more concentrated beam rather than losing it to spill and scatter. That’s the whole lumens-vs-lux-vs-candela argument in one real product. Fewer total lumens, but a beam that throws farther and cuts through the dark more effectively because of how it’s focused.
My takeaway: don’t shop by lumens alone. If a spec sheet lists candela alongside lumens, that’s a good sign the manufacturer is confident in its optics, not just its LED count.
Beam Patterns, Decoded
Every light you add to your rig falls into one of a few beam categories. Understanding these is the actual foundation of a good setup, more than brand, more than lumen count, more than how the light bar looks on the grille.
- Spot beam: A narrow, focused beam built to throw light a long way down the trail. Great for higher-speed desert running or open terrain where you need to see what’s coming. Not much use for what’s directly in front of your bumper.
- Flood/Work/Scene/Wide beam: A wide beam that lights up the area close to the vehicle rather than throwing light far. This is what you want for slow, technical terrain, tight switchbacks, and anywhere you need to see the full width of the trail rather than a distant point on it.
- Combo/driving beam: A blend of the two, throwing some distance down the center while filling the sides. Most general-purpose off-road lights are built around a combo pattern because it works across the widest range of real-world conditions.
- Cornering beam: A blend of a flood and a combo beam. Typically mounted on the pillars and ditches of vehicles. They cast a slightly tighter beam than floodlights and throw light further. As combo lights have become more advanced, cornering lights have become less popular.
- Driving beam (SAE J581): A pattern similar to your vehicle’s high beams, and meant to be used the same way: on for open road or trail, off when there’s oncoming traffic. Street legal as long as the lights are mounted in line with or below your headlights.
- Fog beam (SAE J583): A sharp, low-mounted cutoff pattern built to sit under fog, dust, or snow without bouncing light back into your eyes.
My takeaway: match the beam pattern to your actual speed and terrain; don’t shop based on looks. A dedicated spot beam on a rock-crawling rig is close to useless. A flood beam on a fast desert run leaves you outrunning your own light.
Durability Ratings That Actually Matter
Off-road lights live a harder life than almost anything else bolted to your rig. Mud, water crossings, dust storms, rock strikes, constant vibration. I’ve driven my vehicles in downpours, pushing through 3ft snow drifts, crossed rivers that could carry a vehicle away, mud puddles that could have been sinkholes, and been stuck in sand dunes that I wouldn’t wish upon anyone. Durability matters, and two specs tell you whether a light is actually built for that, versus built to look tough in a product photo.
- IP rating. This tells you how sealed the housing is against dust and water. IP67 means the light is dust-tight and water-tight. IP68 means it can also handle continuous submersion. If you’re running water crossings, plowing through the snow, or driving in heavy rain and mud, IP rating matters. Anything lower and you’re gambling on a light that corrodes or fogs from the inside after a season, or worse, a single use.
- Connector and seal design. Even a well-sealed housing can fail at the connector if it’s not designed for vibration and moisture. This is where features like DSM&T’s MoistureBlock® technology earn their keep. It’s a smaller detail than the headline IP rating, but it’s often the actual point of failure on cheaper lights. Brands like KC will often incorporate this into their housings to ensure a properly sealed connection.
Before You Hit the Street
Off-road lights and public roads don’t mix without some planning. Most states restrict how auxiliary lighting can be used on public roads, and running high-output off-road beams on the street can draw a citation and blind oncoming traffic. Rural life means you often want auxiliary lighting for safety, and off-road lights can be beneficial when you follow a few basics:
- Lights without SAE compliance/DOT certification are generally meant for off-road use only and should be covered or switched off on public roads.
- Amber lighting can help in fog, dust, or snow, but white light remains the standard for most driving use.
- If you plan to turn on any of your setup on the street, look for lights with SAE-rated shields or covers, which several manufacturers, including KC, offer specifically so a trail light can convert to street-legal use rather than needing a second light entirely.
Check your state’s specific rules before you purchase and use additional lighting on public roadways. It’s a five-minute search that can save you hundreds on a ticket.
Frequently Asked Questions
How many lumens do I need for off-road lighting? It’s not about how many lumens you need; it is about finding the correct lights to fit your adventure. More lumens isn’t automatically better: a poorly focused light can throw more glare than a high-quality optic light putting out less raw output.
What’s the difference between a spot beam and a flood beam? A spot beam throws a narrow, focused beam a long way down the trail, built for higher speeds. A flood beam spreads a wide pattern close to the vehicle and is built for slow, technical terrain where you need to see what’s directly around you, not far ahead.
What does IP mean on an off-road light? IP, short for Ingress Protection, is a rating system developed by the International Electrotechnical Commission to grade how well an enclosure resists dust and liquid, under the IEC 60529 standard. The two digits stand for dust resistance and water resistance respectively, with higher numbers meaning stronger protection, unlike marketing terms like “water-resistant” that carry no fixed technical meaning. IP67 and IP68 are the top of that scale: dust-tight and rated for heavy water exposure and/ or submersion, which is why it’s the number worth checking rather than taking a “waterproof” label at face value.
Are off-road light bars legal on the street? Yes, depending on the light, and if they are SAE/ DOT certified and mounted appropriately, many lights are street legal. Keep in mind, this is state-by-state specific. In most states, lights without SAE/DOT certification are intended for off-road use only and must be switched off on public roads. Rules vary by state, so check local law before running a full setup on pavement.
How many lights do I actually need on my rig? A layered setup beats one oversized light bar. A well-configured lighting build for a vehicle will have lights for four jobs. A primary light for throw distance, pod or fill lighting for the gaps, a compact driving light up front, and small rock lights for what’s directly around the tires.
What’s the difference between KC’s Gravity, FLEX ERA, SlimLite, SideCast, and Cyclone lines? Gravity covers distance lighting: light bars, pods, and full headlight replacements built for long-range, high-speed running. FLEX ERA is modular pod lighting used for both primary lighting and fill coverage. SlimLite and SideCast handle fill lighting, covering trail edges and perimeters, with SideCast’s biased beam throwing light from just above eye level down to the ground in one sweep for both trail and campsite use. Cyclone is a small accent and rock light for wheel wells, engine bays, and tight spots.
Want specific lighting advice from the experts? CLICK HERE
The Bottom Line
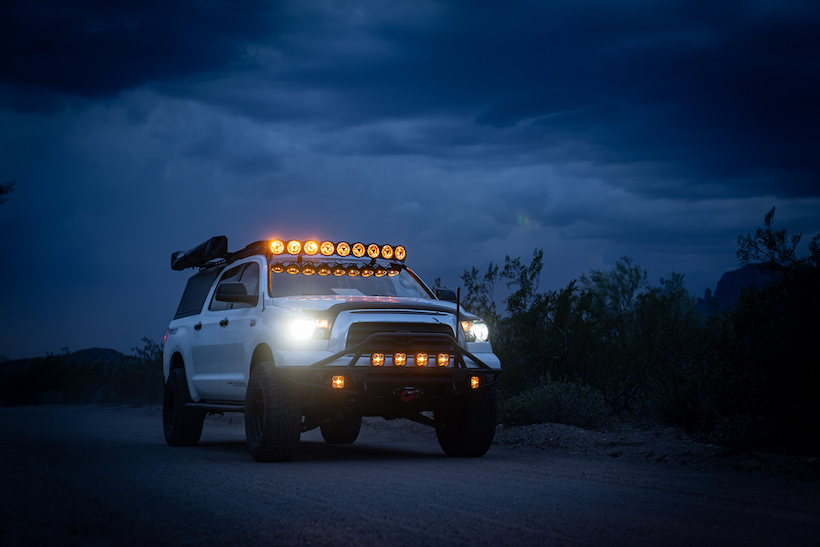
Good off-road lighting isn’t about the biggest number on the box, and a vehicle with multiple lighting options isn’t just for show. It’s a layered system: a primary light throwing a real beam pattern down the trail, pod or fill lighting covering what the primary light misses, a low-profile driving light rounding out the front end, and rock lights handling what’s directly around the vehicle. Get the beam patterns right, check the durability specs before the price tag, and build the setup in layers instead of chasing one light to do everything.
Do that, and night runs stop being something you tolerate and start being the part of the trip you look forward to.
To Learn More About KC HiLiTES CLICK HERE
About the author: Elizabeth Switten is an avid off-roader, photographer, overlander, and Rebelle Rally competitor who enjoys a night run to chase the perfect Milky Way shot. She also writes for KC HiLiTES.
This is a sponsored post. TAP does not receive any commission from sales generated from this article.