


The dashboard camera’s popularity has increased exponentially in the past few years, thanks in part to a meteor that entered Earth’s upper atmosphere above Russia with the force of 500 kilotons of TNT. The Chelyabinsk Event, as it’s been called, was captured on various dashboard cameras and uploaded to social media outlets with views totaling in the hundreds of millions. And while these cameras have been used for many years in Europe as a means to fight insurance fraud, they’ve only recently become a hot item in the Western world, thanks to that hunk of space rock burning up the sky back in 2015.
Most dashboard video cameras will live a rather mundane life, mindlessly recording daily travels, only to be called upon in the rare instance of an accident. But the dashcam can also pull double-duty as an easy way to catalog your off-road adventures. Wired into your vehicle’s electrical system, dashcams are truly a set it and forget it piece of equipment. In my case, I wanted a relatively affordable camera that recorded in 1080p, featured a parking mode (a standby mode that only records when it senses movement or shock to your vehicle), and had a rear-facing camera. I found all of that and more in the BlackVue DR470-2CH.
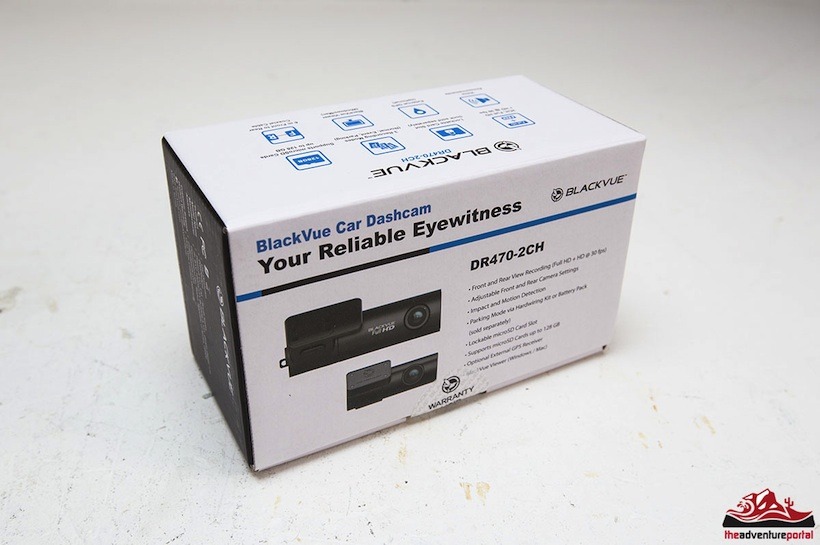
The DR470-2CH is the middle-of-the-road offering from BlackVue, with the upper models featuring GPS, Bluetooth connectivity to a smart phone, and a slightly better camera. I opted for the DR470 because of its price point at $199 and because I found no immediate need for GPS or Bluetooth – my life is connected enough! Installing the camera in my 2013 Tacoma was straightforward with no surprises; let’s get started and I’ll show you what it takes to install the BlackVue DR470-2CH and start capturing your overlanding adventures!
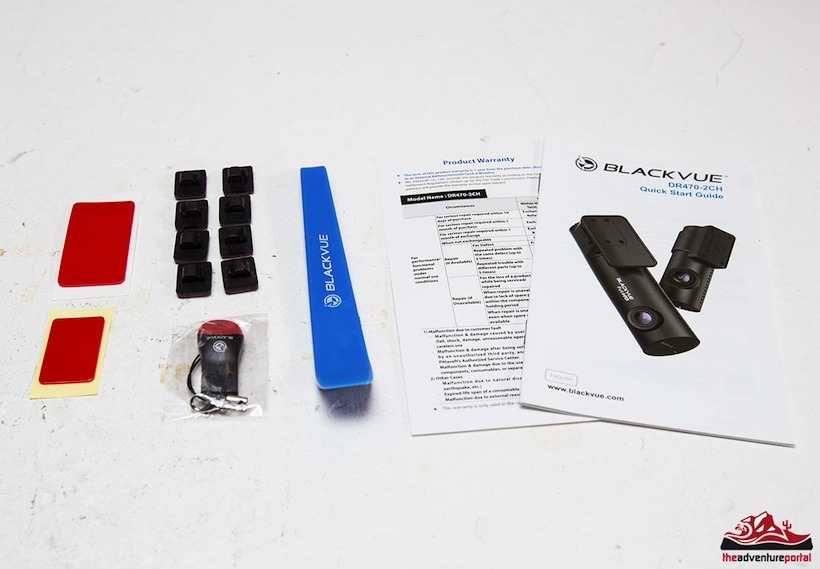
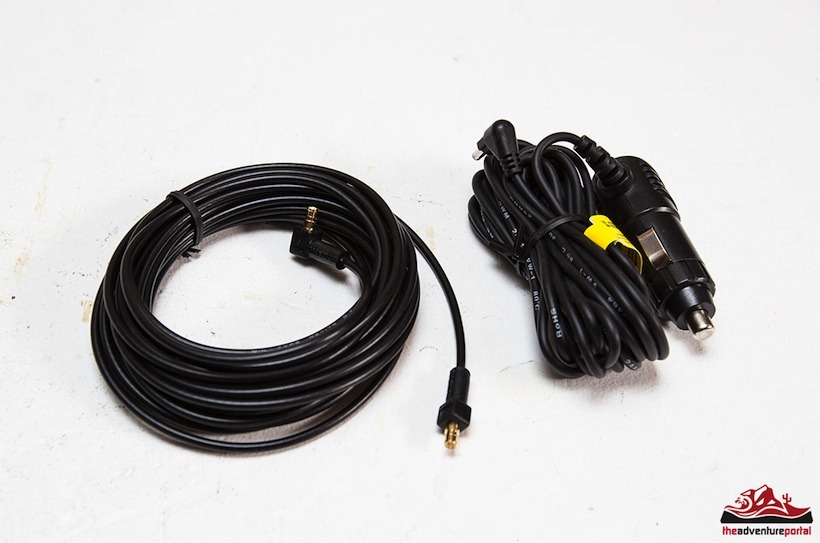
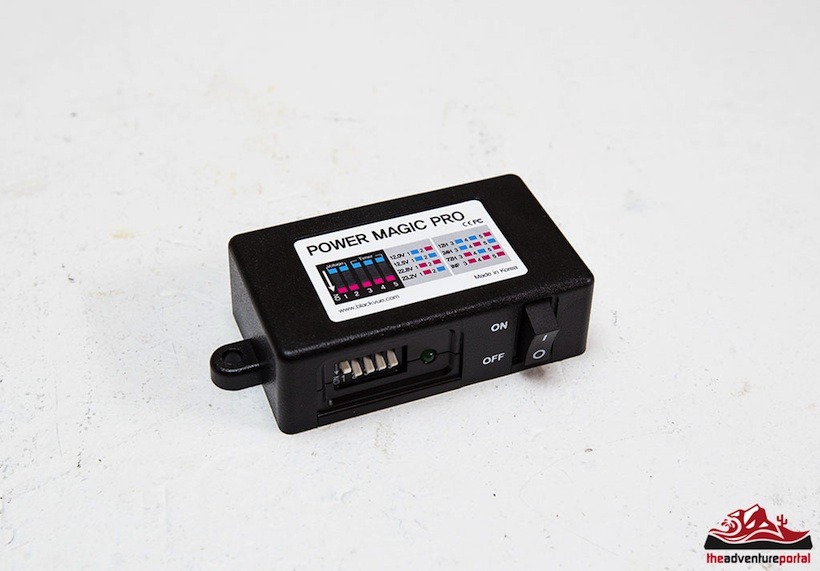
The camera was purchased from thedashcamstore.com and included everything to install the forward and rear facing cameras. I paid $20 extra for the Power Magic Pro, a convenient little power accessory that monitors a pre-selected battery voltage and turns off the entire unit once that voltage is reached. It’s perfect for parking-mode, especially if your rig is sitting for a few days.

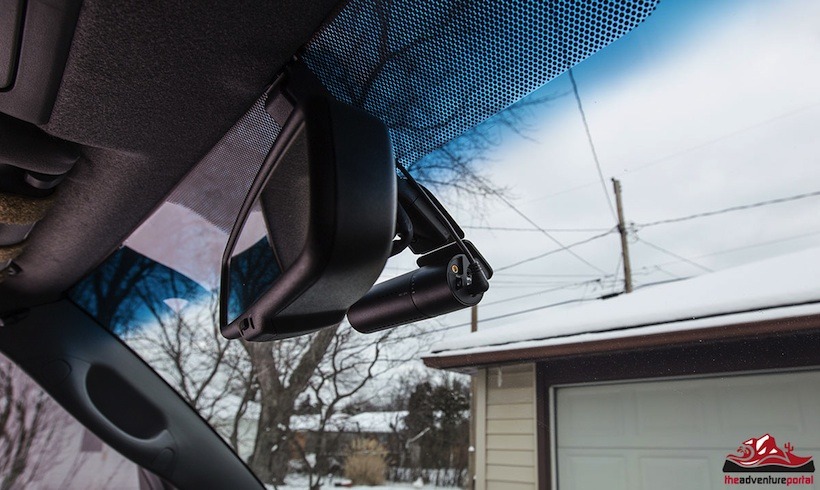
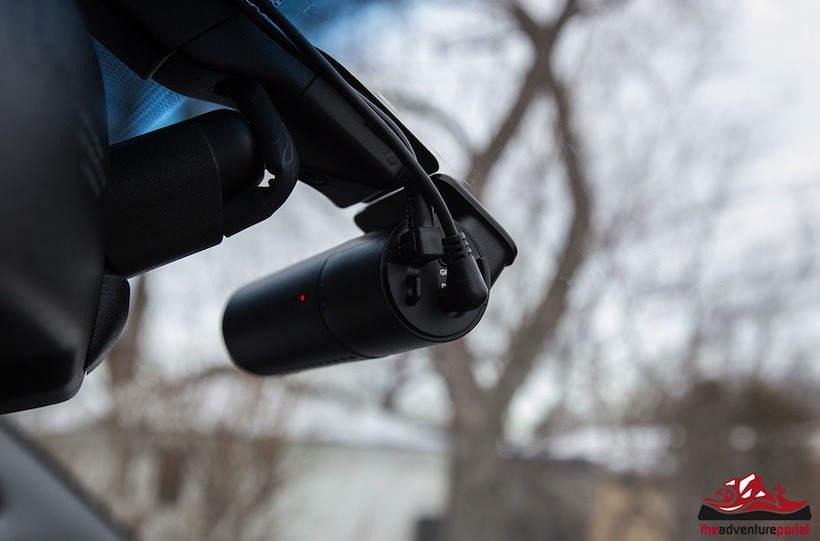
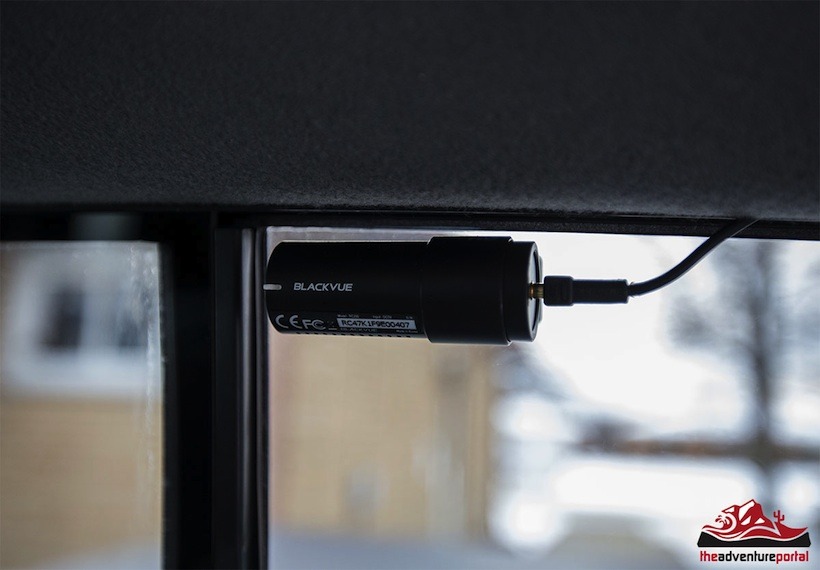
I kicked off the installation by mounting both cameras. This is a painless step that involves pulling off the adhesive backing and sticking the cameras literally wherever you want them. On the Tacoma, the DR470 mounted neatly below the rearview mirror mount. In that location, it’s almost completely hidden behind the mirror from both the driver and the passenger; you’ll forget it’s even there! The rear window on the Tacoma slides open towards the passenger side, leaving me no choice but to mount the rear-facing camera on the driver’s side rear glass.
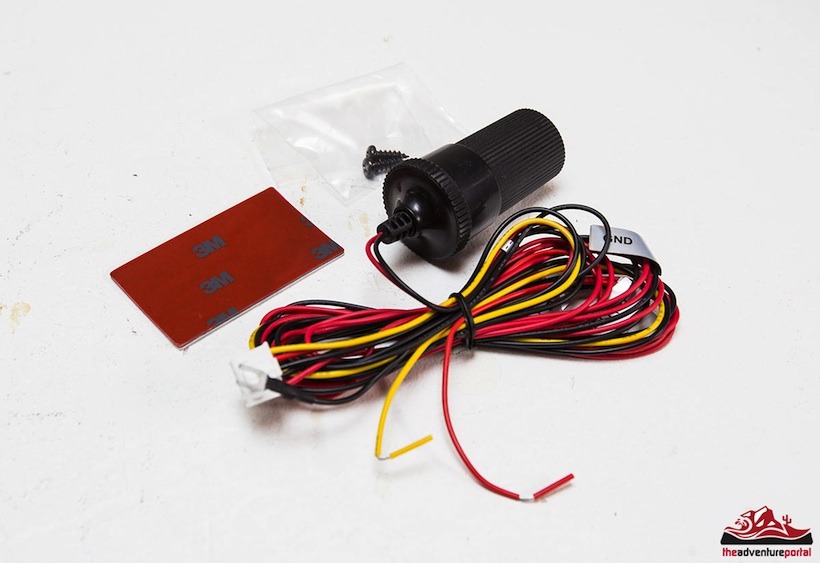
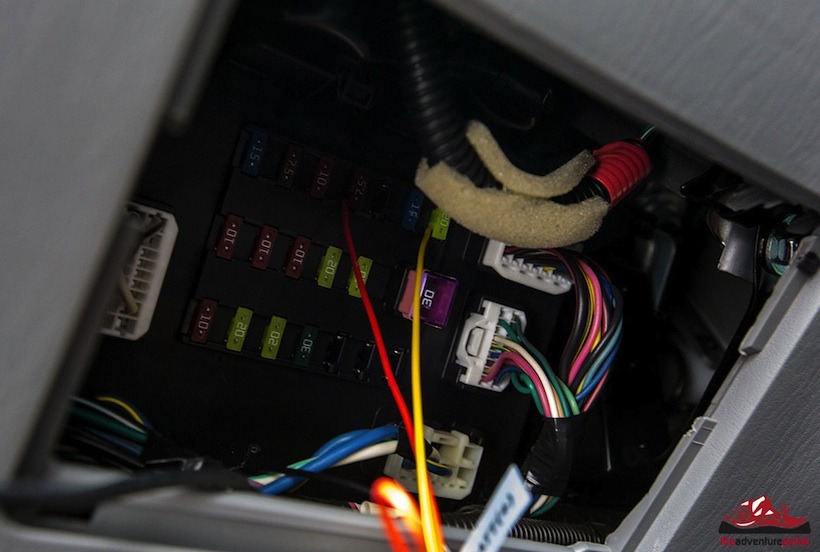
Now it’s time to tackle the wiring. Since I’m utilizing the Power Magic Pro to keep an eye on the battery voltage, I followed the included directions and wired it directly to Tacoma’s fuse panel under the dash. Anyone that owns a Tacoma will know the little spare-change drawer on the lower left side of the steering wheel never sees much action, and I’m happy to say that I’ll be putting it to use as a new home for Power Magic Pro! Start by pulling out the drawer to gain access to the fuse panel. We need to locate a constant 12v fuse and an accessory (or switched) 12v fuse. The constant is always providing power, regardless of ignition, and the switched only provides power when the ignition is on. Referencing the Tacoma’s fuse layout, I attached the yellow wire labeled battery (+) to the constant 12v fuse for my power door locks. I then wired the red accessory wire to my stereo fuse. Finally, the black ground wire was attached to a firewall bolt for a good grounding location. With half of the wiring complete, it was time to connect the cameras to the Power Magic Pro and finish this installation!
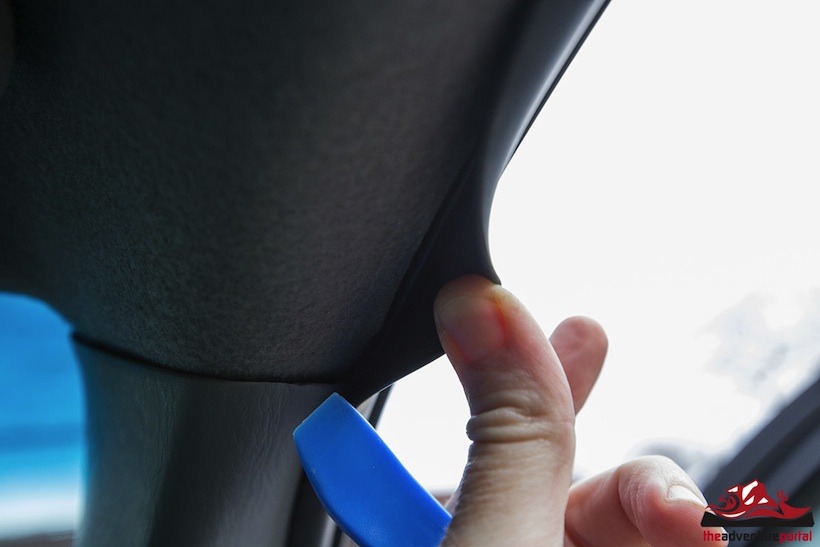
Now that we have the 12v Power Magic Pro connected to the fuses, let’s put that little blue headliner tool to use. Connect the barrel plug to the camera and start feeding the cable into the headliner above the windshield, across to the driver’s side pillar, and down to the bottom of the dashboard. The Toyota Tacoma is very forgiving with this step; I barely needed to use the tool at all. However, your mileage may vary depending on your vehicle.
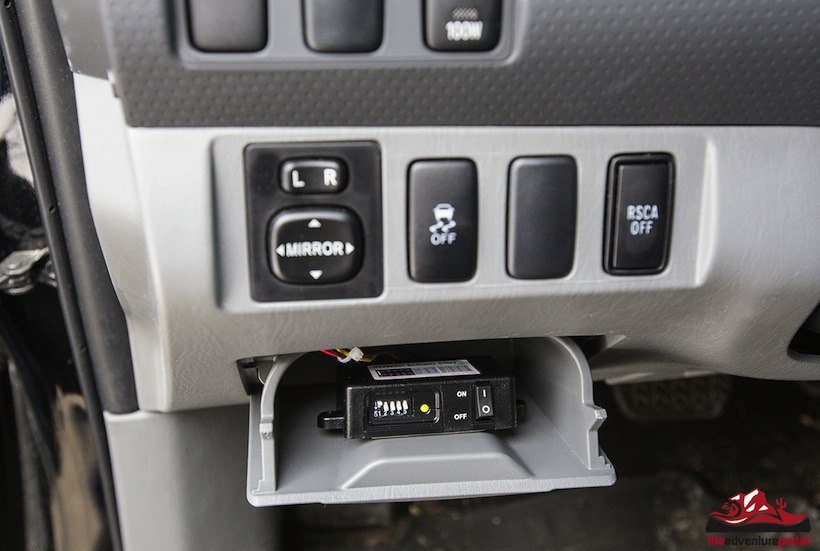
Here’s where I deviated slightly from the instructions: the camera connects to the Power Magic Pro with a cigarette-lighter style male and female connection. I removed these two plugs and soldered the wires together, effectively eliminating the bulky connectors and roughly 10 feet of extra wiring. With all but the rear camera wired up, I mounted the Power Magic Pro in the change drawer with the included 3M adhesive tape and flipped the on/off switch… success!
We can wrap up this installation by connecting the rear-facing camera cable to the DR470 main camera, and following the same procedure of tucking the wire into the headliner; this time we’re running it along the passenger side and all the way back to the driver’s side rear window. With everything connected, I verified the system worked by taking the Tacoma for a quick spin around the block and then watching the footage it recorded on my computer when I arrived back home.
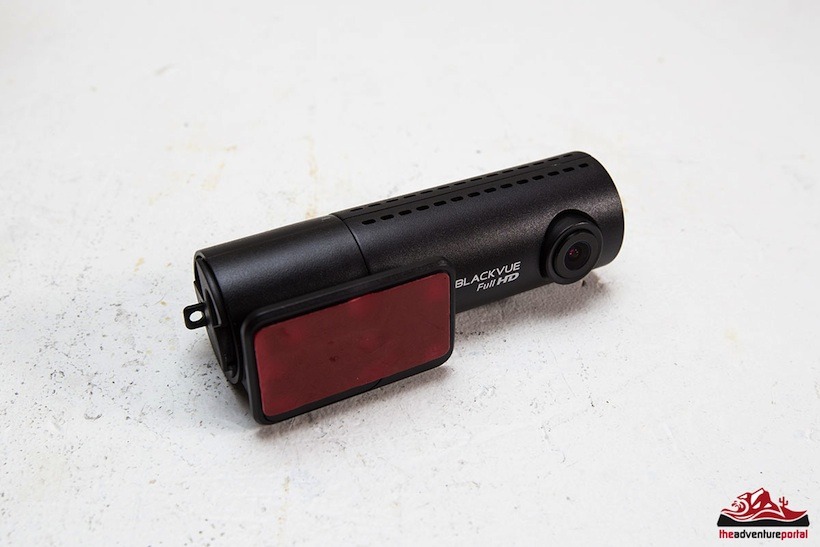
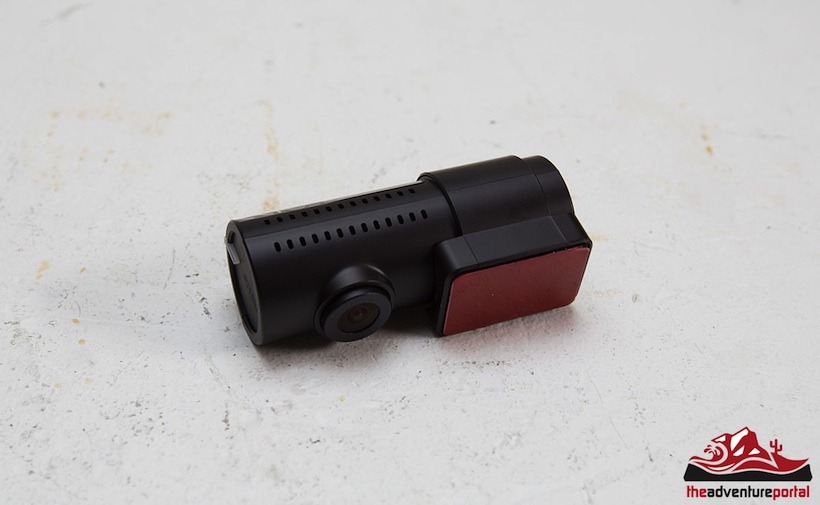
So how does the BlackVue DR470-2CH compare to an action camera? If you’re rating image quality, the GoPro or similar action sports camera is usually the winner with better dynamic range and overall pixel clarity. The DR470 is no slouch though; it records in 1080P at 30fps (frames per second) through its CMOS sensor. The image has a fisheye look, thanks to its wide angle 129-degree lens, which allows the DR470 to record not only what’s out front, but also a decent area off the quarter panels as well. The dashcam is also a fixed camera, which doesn’t allow for that picturesque style of mounting an action camera at different external locations on your rig.
Where the BlackVue DR470-2CH clearly excels is in battery usage, overall ease of use, and the obvious secondary rear-facing camera. As I stated earlier, you install this camera once and never touch it again, except to access the micro SD card. It’s always on, recording your daily grocery store runs as well as your adventures off-road. It’s constantly watching what dangers lay ahead, and what scenic spots you’ve left behind. For reliving your trail excursions or just having a security camera to watch over your investment, I would highly suggest taking a look at the BlackVue lineup of dashcams.
Check out this video by Matt detailing the camera specs, mounting and an example of the quality of video and perspective you get with the BlackVue DR470-2CH
Article and Photos and video courtesy of Matt Gunn of Gunn Photography Services


I had one of these and was impressed with the quality of the output.
But after a few months, I kept getting a message saying the flash card wasn’t plugged in, even though it was. I would replug it and it would be ok until the next day.
I also found the light indicators for recording very small and difficult to read.
Did you try to warranty the unit? I know BlackVue has a decent warranty, and after only a few months, it should easily be replaced by them with a new one.
Kind of spendy for what you get, and not very well reviewed in other locations. I think I will pass.
Jan, thanks for your reply. What do you mean by not well reviewed in other locations?
Great review from one of our winch mount bumper customers!
Just a PSA: if your rig has pillar or curtain airbags, running wires just under the door seal is risky. They may catch on a deployed airbag and either whip you or impede the proper use of the airbag. Any wires run along airbags ought to be safely tucked and secured behind the airbag to ensure it is not in the travel path.
Good point! The Tacoma’s door seal is sandwiched between the door and the body, and definitely clear of the side curtain airbag. Thanks!