Truck and SUV Tents-Camping Options for the Overlander

TAP has published a Roof Top Tent Buyer’s Guide and an Off-road Trailer Buyers Guide. We thought we would add another camping option that might interest some of you; truck and SUV tents. The following is not a review as we have not used any of these products. It’s not an endorsement and we haven’t been paid for writing this. It is simply a guide to show you what we have seen out there and to pass the information on to you. All write-ups come directly from the companies, so check out these possible options and TAP into Adventure!

Napier Outdoors – Keeping You High and Dry for 25 Years. Napier Outdoors is the world’s largest developer and distributor of Vehicle Camping Tents. Since 1990, Napier has been changing the way people view camping, by reshaping and merging the automotive and outdoor industries together. We were the first to revolutionize the camping industry with our innovative and exciting vehicle tent concepts.Napier distributes Vehicle Camping Tents to automotive manufacturers and retailers across North America, Europe and Australia. Our vehicle tents are the number one selling Truck and SUV Tents in the World!
SUV and Minivan Tent Design Features
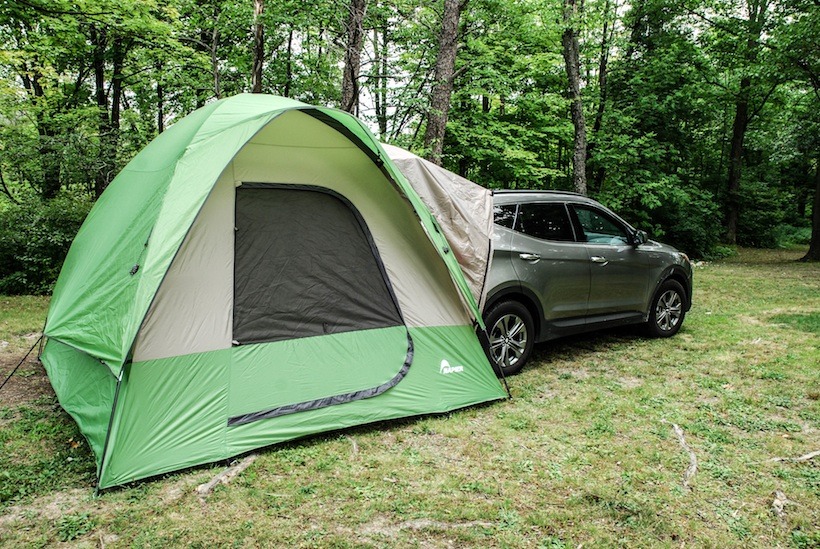
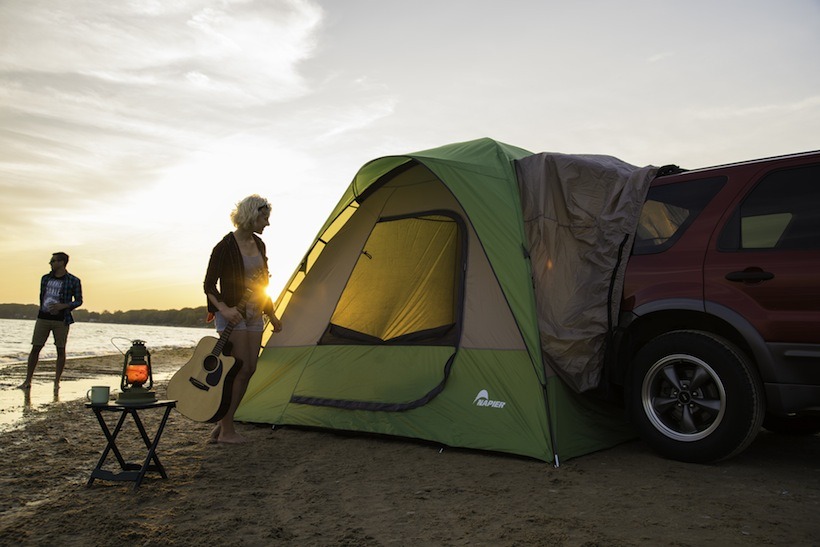
The Backroadz SUV Tent 13100 Series is a high quality, affordable alternative to other truck tents. The Backroadz SUV Tent allows you to create the ultimate camping oasis wherever life takes you. The vehicle sleeve provides a weather and bug proof access to the cargo area of your vehicle. No longer will you have to unpack or make unnecessary trips from the vehicle to the tent, as everything stays within arm’s reach. It’s perfect for any adventure such as: camping, tailgating, fishing, or even lounging at the beach. Check out Napier’s SUV and Minivan Tent Specs HERE.
Features of the Backroadz SUV Tent Model 13100:
-The universal vehicle sleeve easily adjusts to your vehicle for a custom fit every time
-Spacious 9’ x 9’ tent boasts a towering 6.8’ of headroom and sleeps up to 5 guests
-This tent weighs 25lbs.
-Full rainfly provides ultimate weather protection
-Large door with storm flap for weather protection and privacy
-3 mesh windows offer optimal ventilation and accessibility
-Keep gear organized with the gear loft, 2 gear pockets, a built in lantern holder
-It includes a carrying bag for storage
-Quick and easy one person assembly, takes about 10 minutes to set-up
Truck Tent Design Features
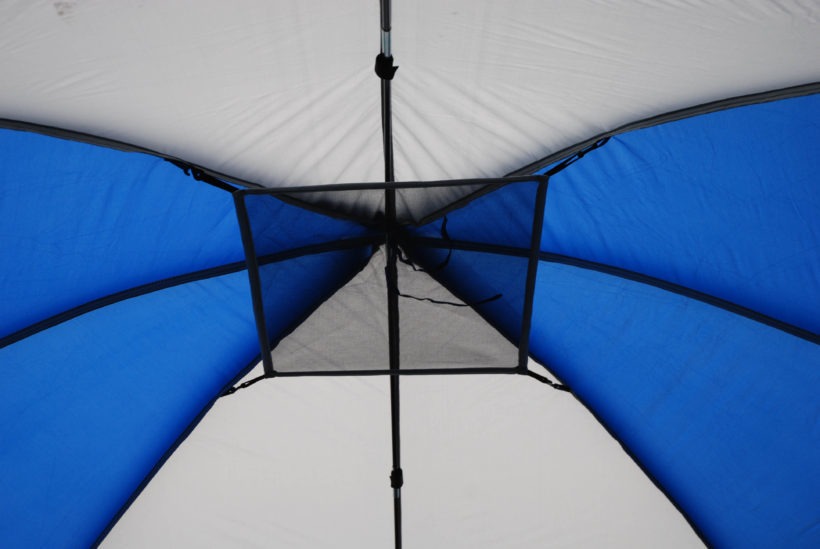
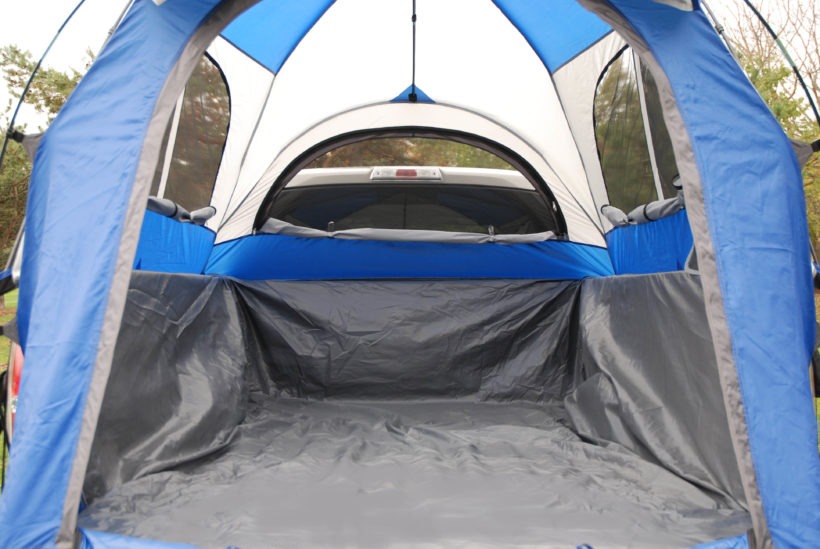
Features of the Sportz Truck Tent 57 Series
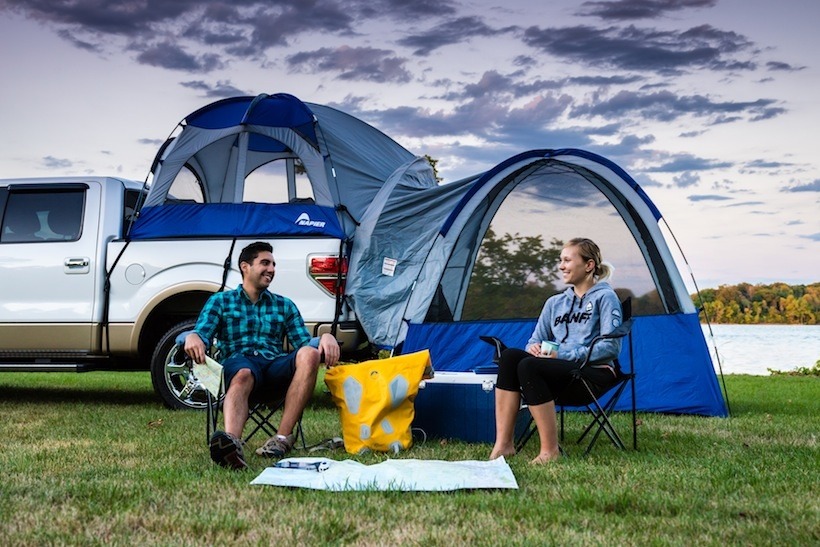
-Napier offers the only truck tents on the market with a full floor, keeping you clean from your truck and dry from the elements
-Large interior area with over 5.7 feet of headroom
-Full rainfly provides ultimate weather protection
-Large 4’ x 4’ awning provides shade and a protected spot for bulky gear
-Rear access panel allows you to access the truck’s interior for additional storage and access to power outlets to charge your gear
-Color-coded pole and sleeve assembly, makes setup a breeze
-Built-in storm flaps in windows and door provide additional weather protection and privacy
-3 large windows and 2 ceiling vents offer optimal ventilation
-Keep your gear organized with a gear loft, gear pocket and a built in lantern holder
-Expandable carrying bag for easy storage
-Weight: 23-26lbs
See their entire range of products and contact info at www.us.napeiroutdoors.com
![]()
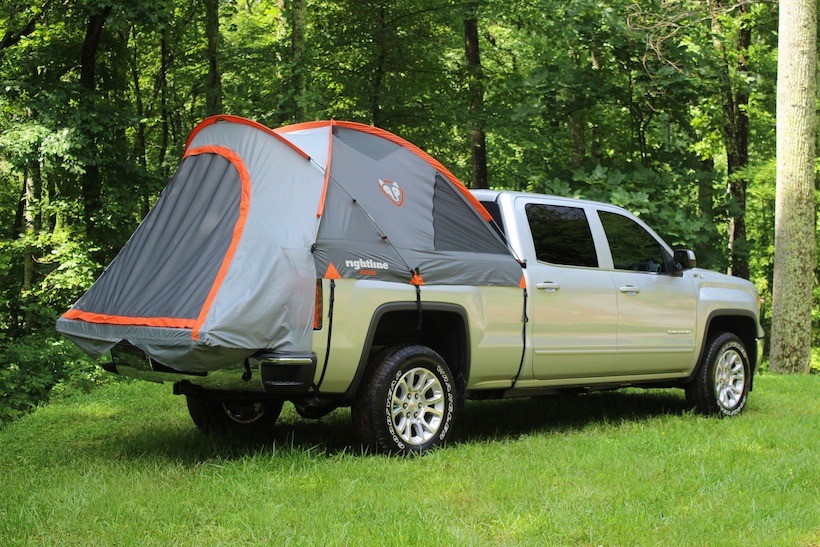
Truck Tent Design Features
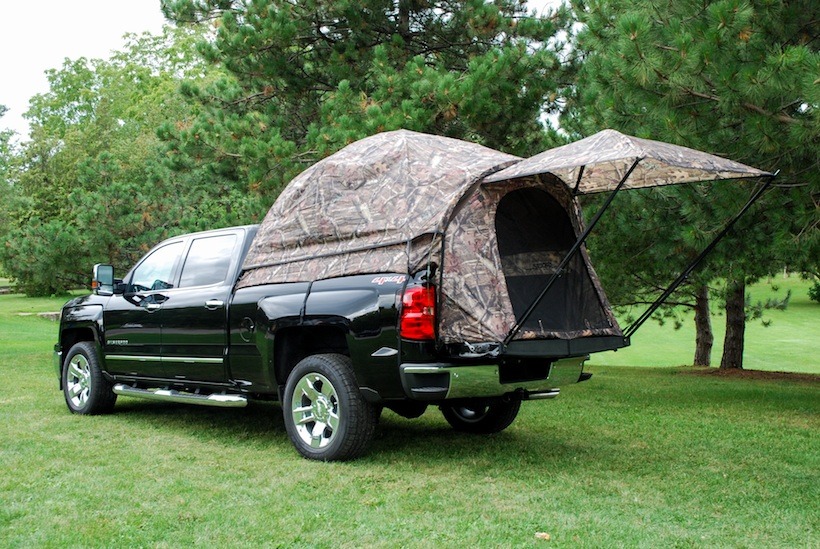
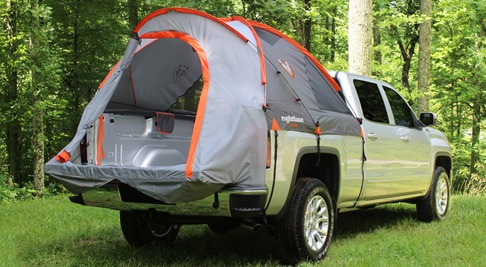 The Rightline Gear Truck Tents let you experience camping in full comfort, up off the ground, without the complication of tarps, stakes, and guy lines. Camp wherever your truck can take you, no matter the weather. The Rightline Gear Truck Tent features a floorless design that allows you to set up and take down the tent without removing your gear from the bed and completely covers the tailgate of the truck, allowing you to use every inch of available space. You will appreciate the time savings when using your truck to get around for the day. If your truck bed is greasy or grimy, you will also appreciate keeping your tent away from that mess. The use of a standard tarp to cover the floor (that can be washed and kept separate from the tent) is a great idea if your truck bed is less than clean. Sleeps up to 2 adults, and all windows and doors have no-see-um mesh and storm covers. Special attention has been paid to achieve a highly water resistant design as it is our goal is to keep you dry. The tent is outfitted with (2) gear pockets, a lantern hanging hook, rain fly, glow-in-the-dark zipper pulls, and a sky view vent. For more info visit www.rightlinegear.com Check out Rightline’s photo rich Truck Tent step by step set up guide HERE and their truck tent specs HERE. To find the correct tent for your truck, measure the inside of your truck bed with the tailgate up and check the Truck Tent Sizing Guide.
Available Sizes:
Part No. 110710 Full Size Long Bed Truck Tent (8′)
Part No. 110730 Full Size Standard Bed Truck Tent (6.5′)
Part No. 110750 Full Size Short Bed Truck Tent (5.5′)
Part No. 110760 Mid Size Long Bed Truck Tent (6′)
Part No. 110765 Mid Size Short Bed Truck Tent (5′)
Part No. 110770 Compact Size Bed Truck Tent (6′)
SUV Tent Design Features
 The Rightline Gear SUV Tent lets you camp without leaving all the luxuries of home behind. The adjustable nature of the vehicle sleeve allows the tent to connect to the back of any SUV, minivan, crossover, wagon, or pick-up truck with cap, WITH or WITHOUT a roof rack. The Rightline Gear SUV Tent works for vehicles with a rear hatch door or rear barn doors and easily disconnects from your vehicle, allowing you to go about the day’s adventures. Use the back of your vehicle as a sleeping area, for storage, or to power electronic devices, and the SUV Tent as a changing room or as a sleeping area for family or friends. This tent has room to spare and sleeps up to 4 adults, so invite everyone along on your next camping outing. The SUV Tent is outfitted with (2) gear pockets, a lantern hanging hook, rain fly, glow-in-the-dark zipper pulls, and a PE bathtub floor. Special attention has been paid to achieve a highly water resistant design – our goal is to keep you dry. See Rightline’s SUV Tent Specifications for more information.
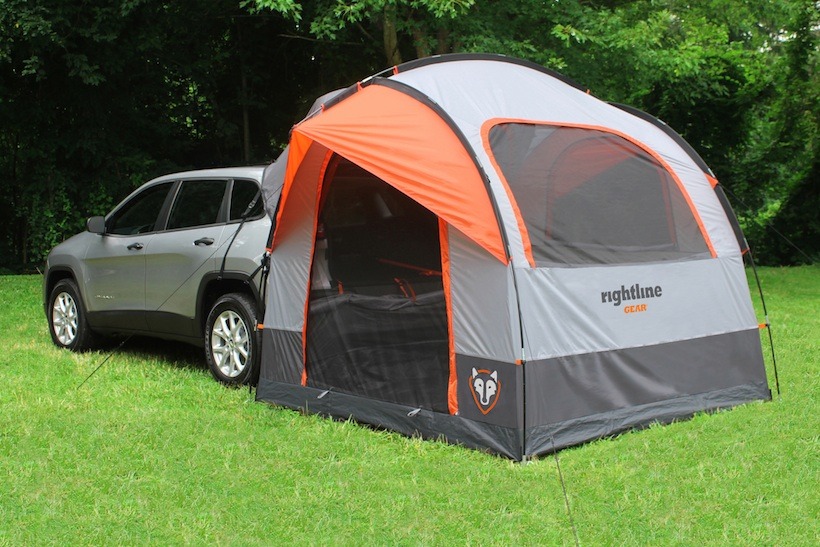
SUV Tent Features:
-Dimensions: 8’ W x 8’ L x 7.2’ H
-Water resistant fabric with tape sealed seams
-Vehicle Sleeve seals around any size SUV, minivan, wagon, or pick-up truck with cap
-PE bathtub floor, no ground tarp is necessary
-Large windows and doors with no-see-um mesh and storm covers
-Easy access to vehicle power receptacles
-Tent sleeps (4) adults and vehicle cargo area sleeps (2) adults
-Includes: tent, rainfly, stakes, carry bag, and sewn-in set up guide
Go to www.rightlinegear.com for all product and contact information