The Vehicle Snorkel – A Misunderstood Upgrade

Both of The Adventure Portal rigs have a vehicle snorkel and we are constantly asked why? We have heard people laugh and say that they are unnecessary. We live in southern California and of course it doesn’t rain much, so why have them? Our Tacoma has an Airflow snorkel, so we decided to reach out to the company and ask them for an article that explains what exactly a snorkel does and how it works. So, if you are considering purchasing a snorkel for your vehicle, read on. If you are not, read on and quit laughing at people who have a vehicle snorkel…
The Operation of a vehicle snorkel
Vehicle Snorkels have been in use for a long time on vehicles and craft. Before World War 1, they were used on tanks and later on submarines. After WW1 and the mechanisation of agriculture, they were fitted on tractors and transport vehicles with the unique purpose to supply the engine with air, free of water and contaminants.
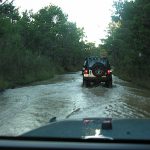
In more recent times, with the advent of leisure 4WD vehicles, snorkels are mostly fitted to allow the crossing of rivers without causing damage to the engine. However, more benefits can be obtained from a well designed snorkel. This is where the Cold Air Induction System comes in.
The Cold Air Induction System is designed to improve the fuel efficiency and power of your vehicle. These two goals may appear contradictory, but they aren’t.
How does it work? Combustion engines needs air and fuel to operate. The more air and oxygen flow into the intake manifold, the more efficient the combustion. A cold Air Induction System harvests fresh air at roof level where it is the least disturbed. This air contains less contaminant and is cooler than air absorbed from the engine bay. When the air is cooler, it contains more oxygen. Modern vehicles are fitted with engine management systems; these are computers which measure accurately in real-time all inputs available to the engine to improve its efficiency. Consequently, the availability of cooler air inflow results in more power and torque.
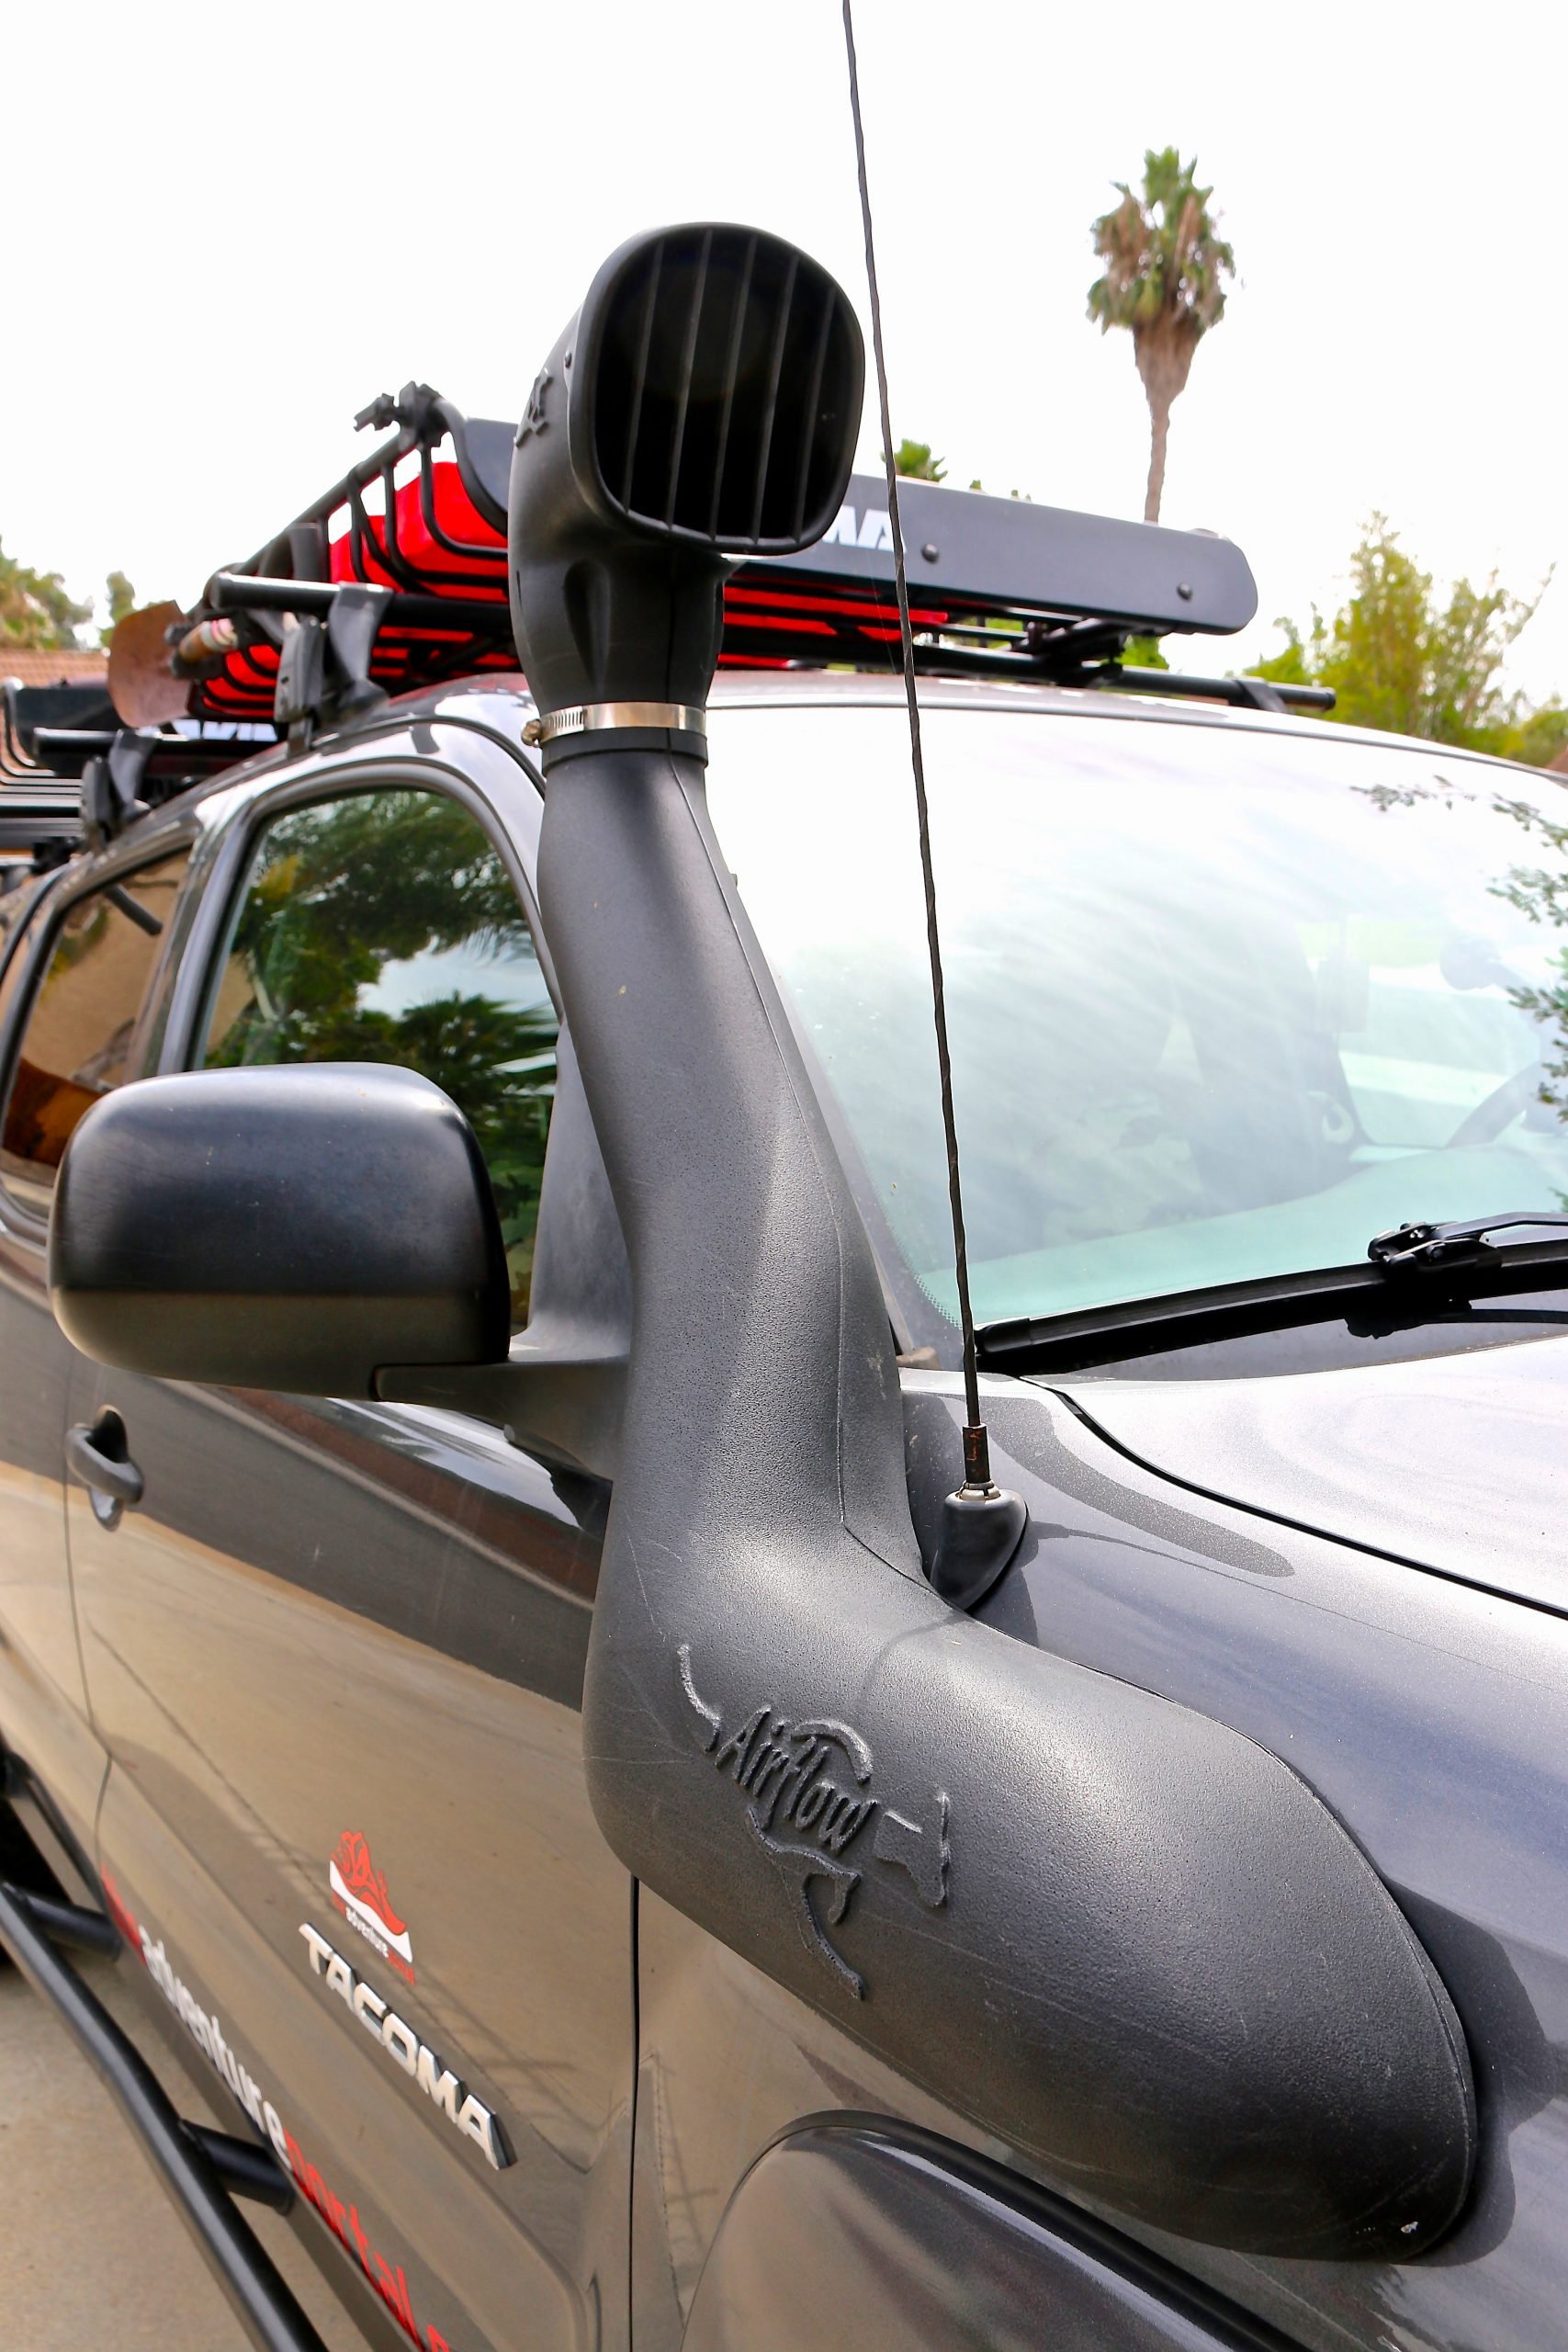
Three main parts constitute a snorkel: a “hat” or “Air Ram”, a Snorkel tube or the “Body” and an air filter either “flat or cyclonic”. The three parts are designed to complement each other in their efficiency.
1. The Air Ram- Air entering the Air Ram swirls violently, creating a cyclonic effect. The heaviest particles are ejected by the centrifugal force to the periphery of the swirl. There, they hit the vertical ribs where air pressure takes over to eject them out of the four slots at the base of the Air Ram. At this point, the air pressure pushes them out. The finer particles that are not ejected are removed by the vehicle air filter. Not all Air Rams are equal in performance. It is preferable for the Air Ram to have an open face without a screen because the screen deflects the airflow.
- The “techie” beef: The surface ratio of the open face to outlet aperture must be a minimum of 1.4:1. If the ratio is lesser, it will be insufficient to create the cyclone action that separates heavy contaminants effectively. Approximately 30% of the incoming airflow (above 25kph / 15mph) is used in the separation process. Any deflection of the incoming airflow must be avoided since it dramatically affects efficiency.
- Deflections may be caused by:
1- Air Ram situated in close proximity to the hood of the vehicle
2- Air Ram with a curved or foiled roof
3- Turning Air Ram away from travel direction
4- Where Air Ram design makes the air go back on itself at an angle greater than 100 degrees. - Incorrect Air Ram design may cause excessive induction noise, lack of separation and air blocking by vortex at various speeds. This air blocking will limit airflow. This is a common occurrence when “looks” take priority over functionality. If the Air Ram is moulded on the body of the snorkel (for aesthetic reasons) it does not provide particle separation, thus all contaminants need to be removed by the internal air filter. This increases the maintenance cycle of the air cleaner. Furthermore, this configuration may cause a vacuum into the snorkel, thus increasing the risk of engine damage.
2.The Body- Now that the air is free of large particles, it starts traveling down the snorkel body in a straight line. The body may be of two types, induction or non-induction. In the induction case, the air slows down because it enters in a larger volume, the plenum chamber. The swirling created by the Air Ram diminishes, thus reducing friction losses. There, the air is buffered, immediately available for the air box at positive pressure. The engine management system can use it readily. Not all bodies are equal in performance. In the case of a non-induction body, the air passes down directly to the hood tubing and ducting into the air box. While this technique increases efficiency and engine performance, it is not as effective as the cold air induction type.
3. The Air Cleaner Commonly, there are two types of air cleaner fitted to cars by manufacturers: the Flat Air Cleaner and the Cyclonic Air Cleaner, both are fitted with paper filters. While they conform to emission laws, they are not fuel or power efficient. The Cyclonic is the most effective of the two types. Some after market suppliers replace the paper filter by a foam oil filter to further increase airflow and thus power to the engine. However, what is gained in power is lost in filtration. Generally, a paper filter will suppress particles down to 30 microns while foam oil filters will not filter below 40 to 50 microns. Larger particle sizes will increase exponentially the risk of damage to the power of the engine.
Conclusion
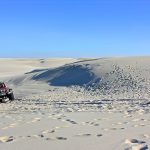
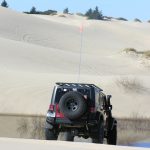
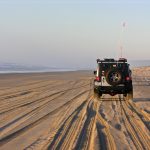
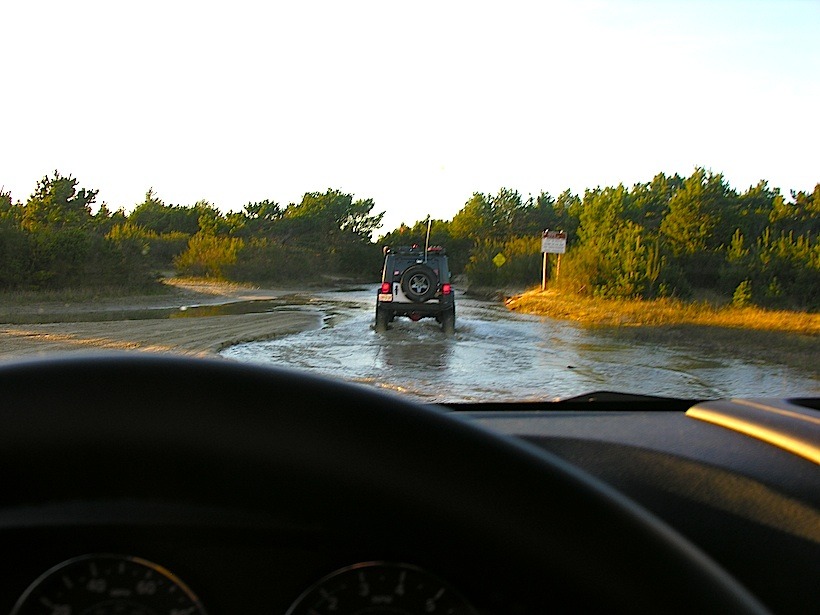
Purchasing a vehicle snorkel ought to improve your car’s performance at most engine speeds. Furthermore, it should reduce fuel consumption and make your engine run cleaner. Not all snorkel body designs produce a cold air induction effect. This effect improves fuel efficiency while also improving engine power. Once installed, your 4WD will be ready for new adventures and maybe some river crossings and let’s be honest….just look cool.
Article courtesy of: Michael Kirk-Williams, Australian engineer and designer of Airflow Snorkels.
Editor: Lori Palmer