Endurance, Navigational Skills-Rebelle Rally 2016

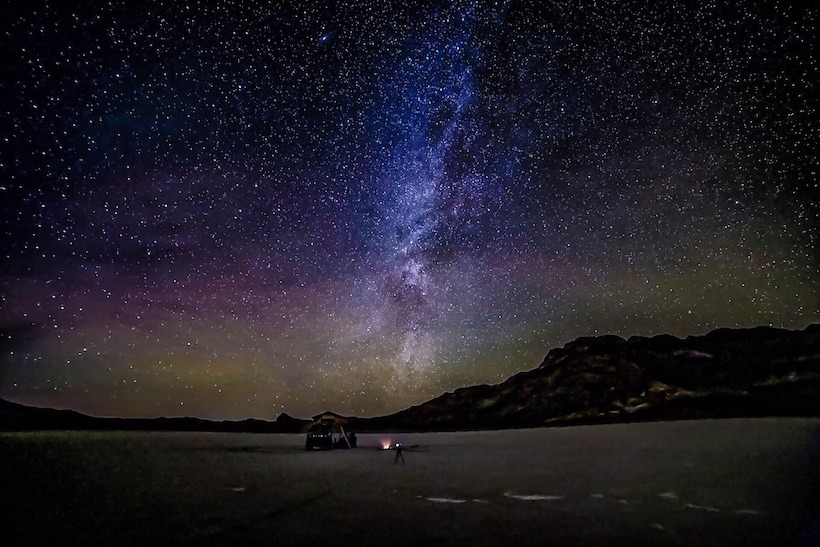
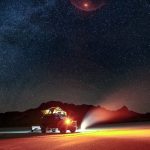
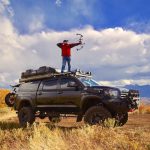
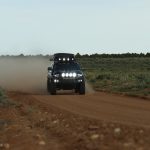
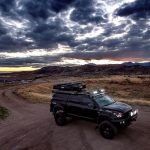
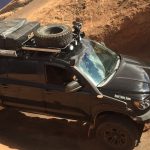
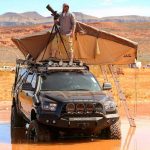
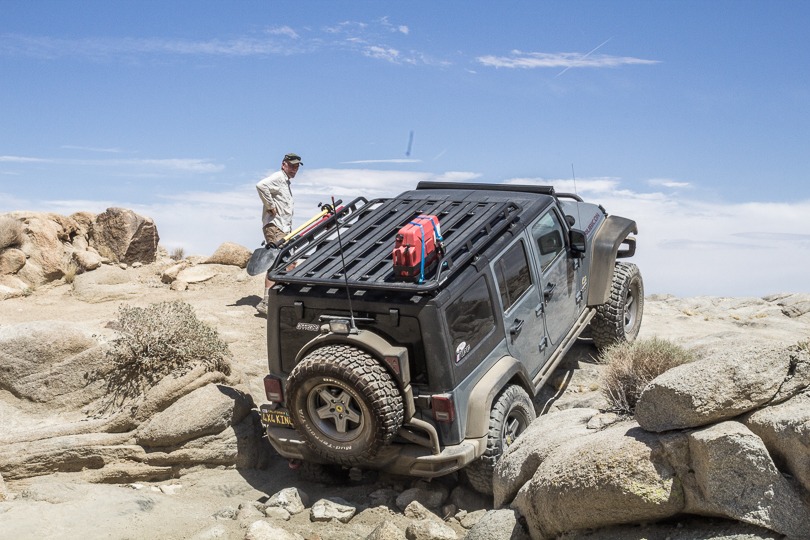
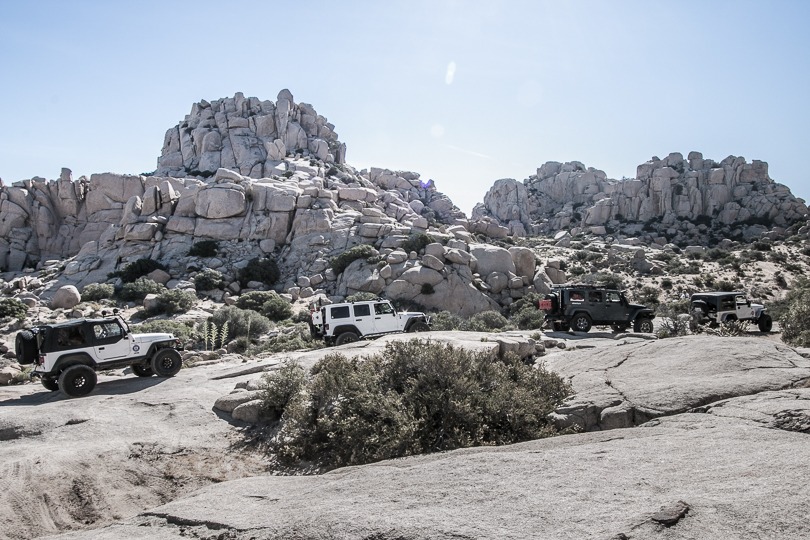
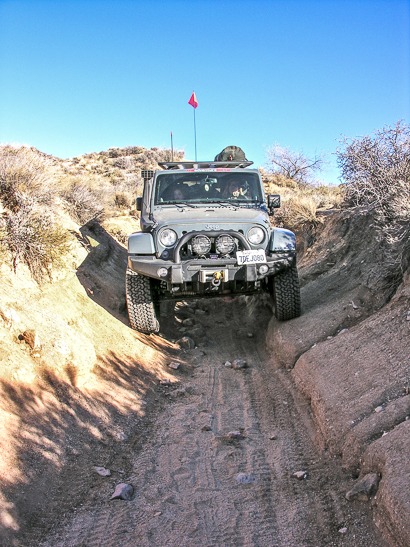
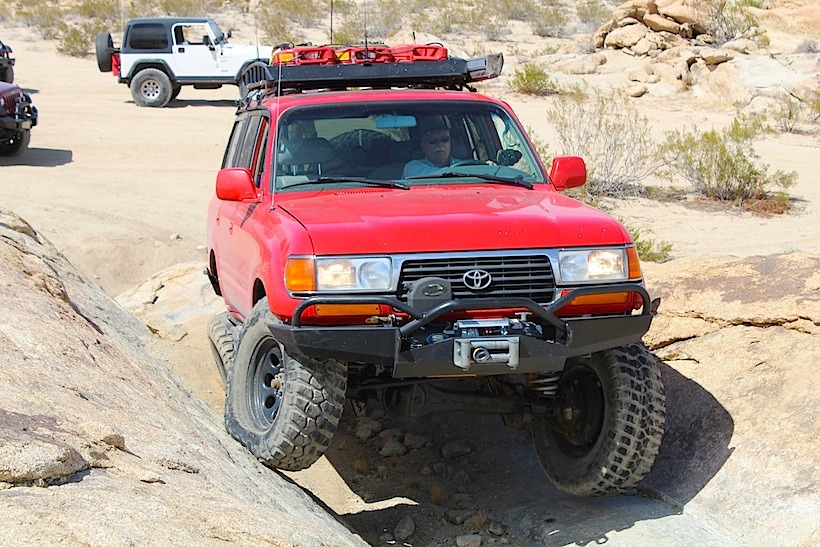
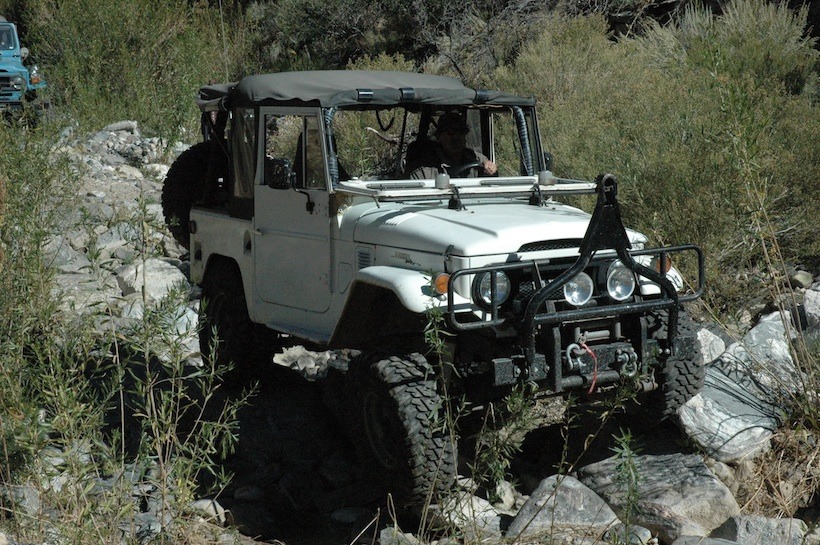
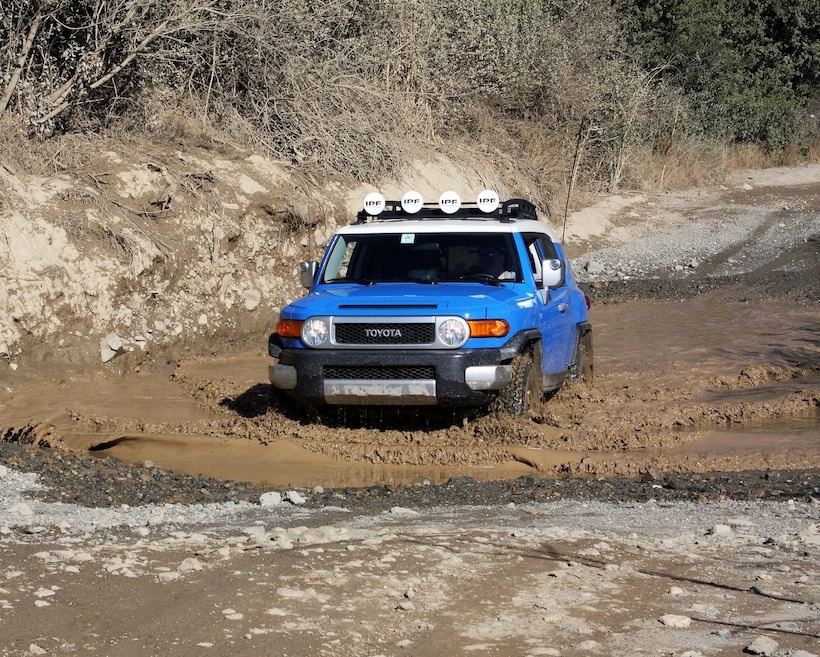
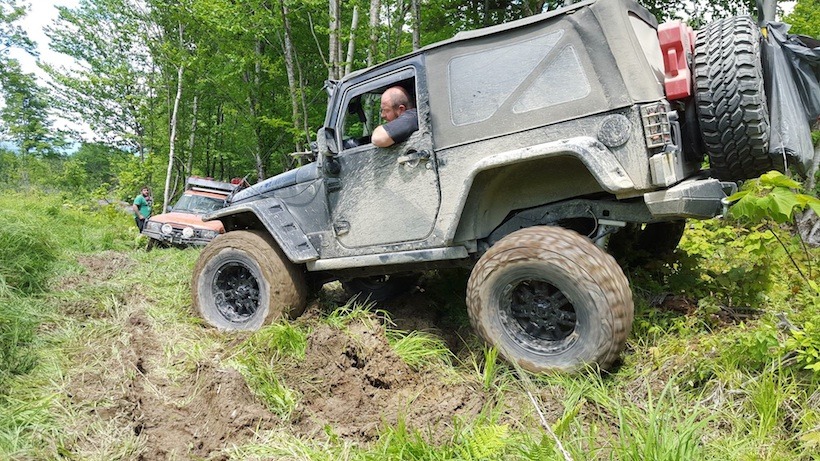
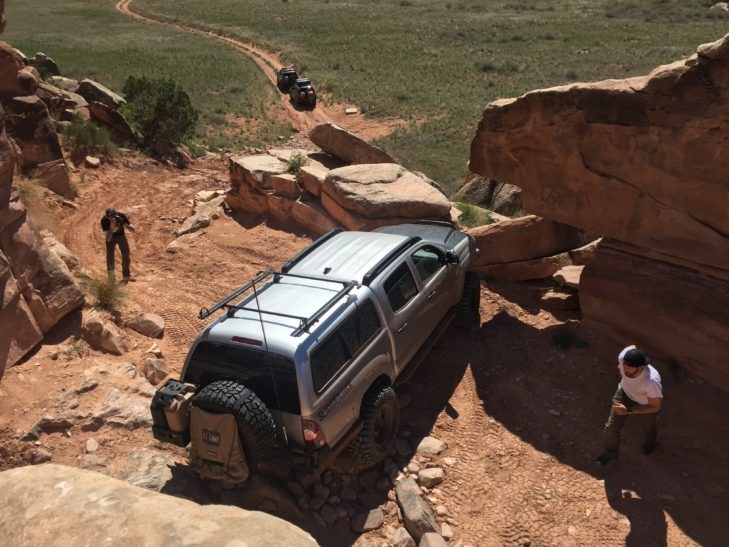
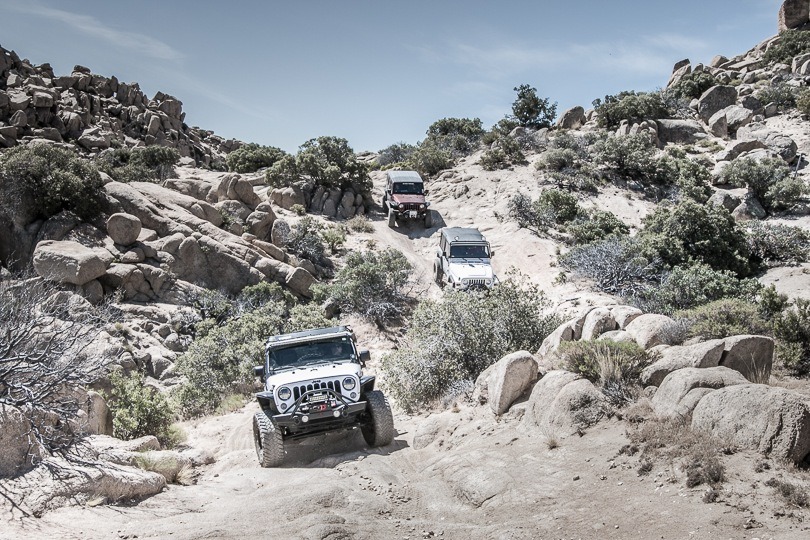
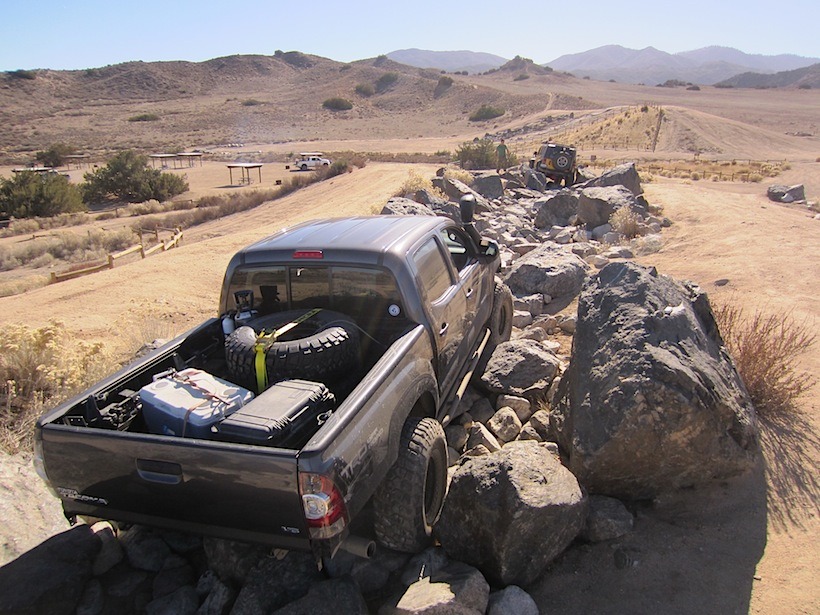
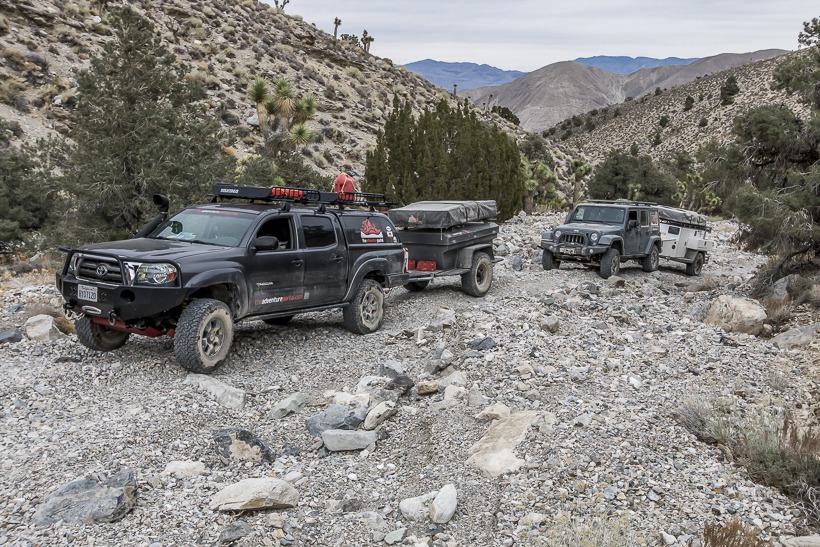
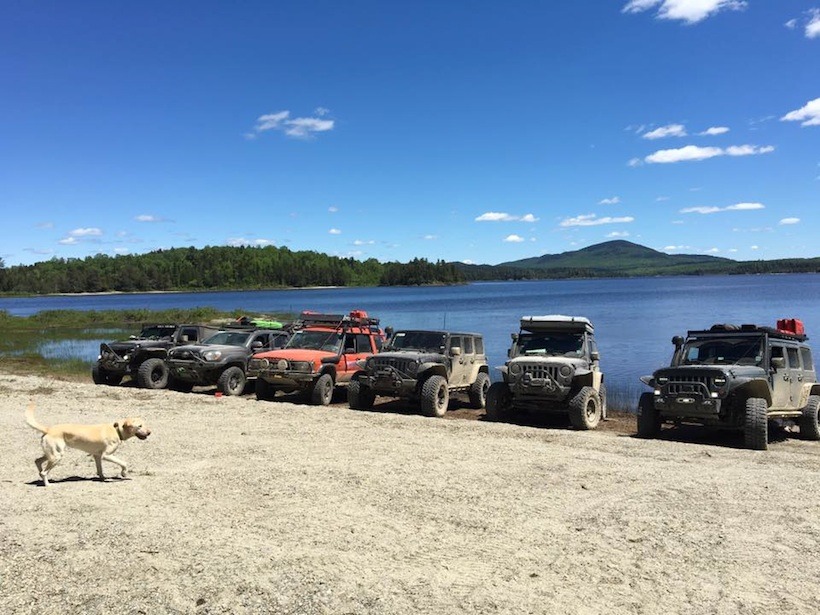
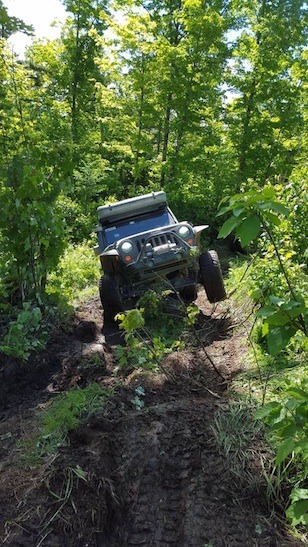
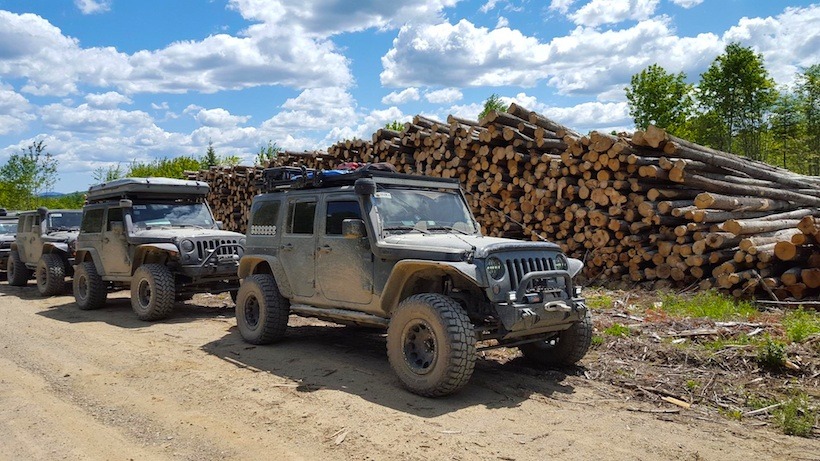
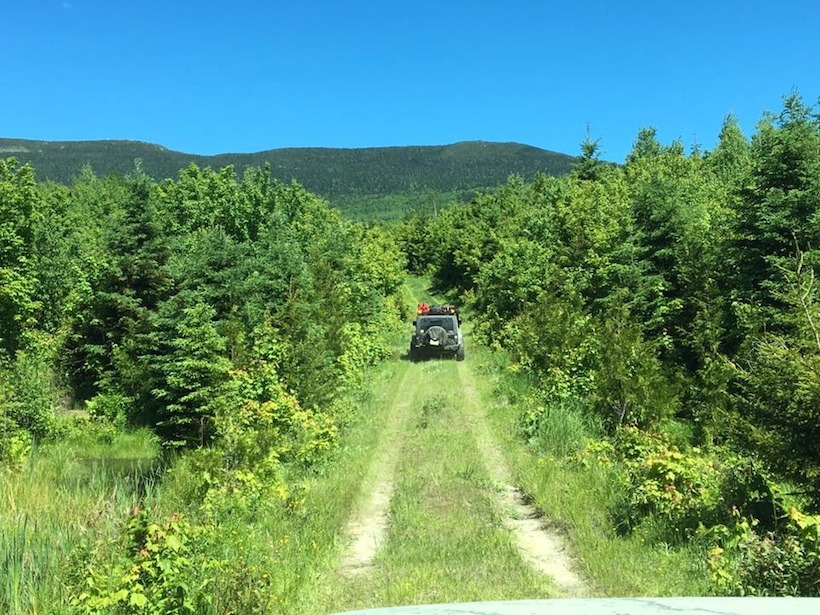
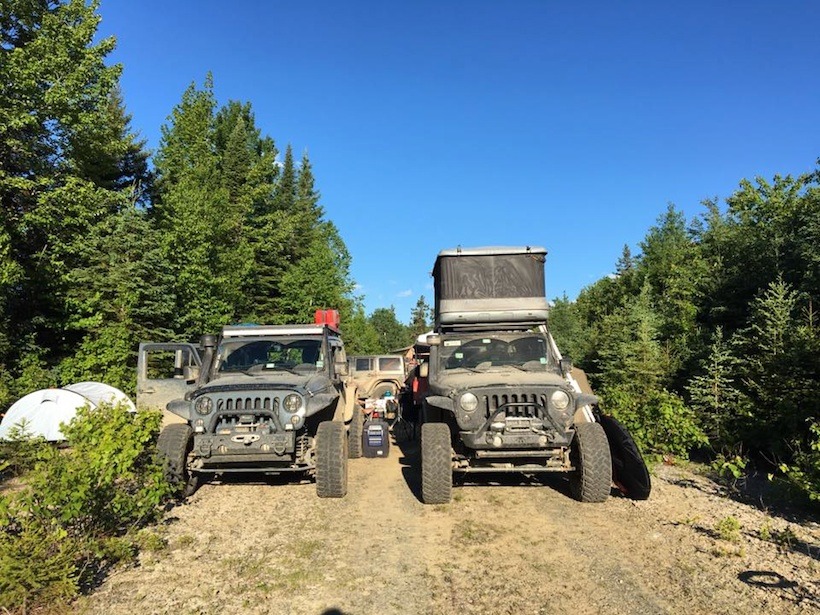
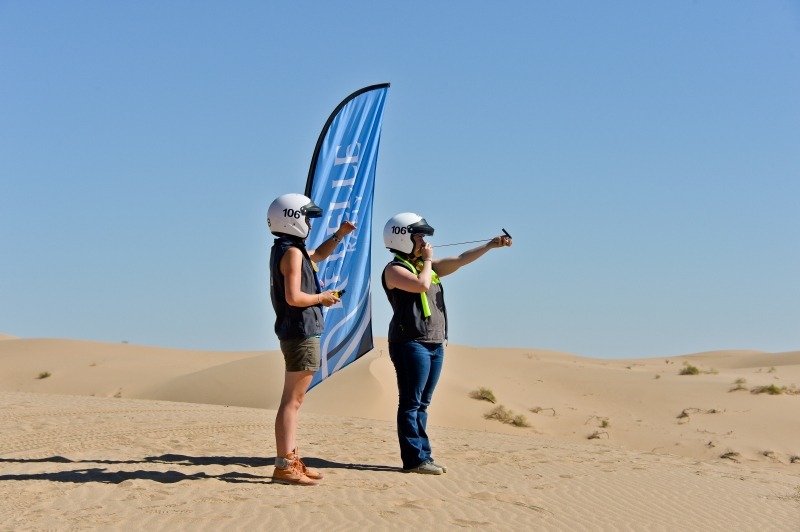
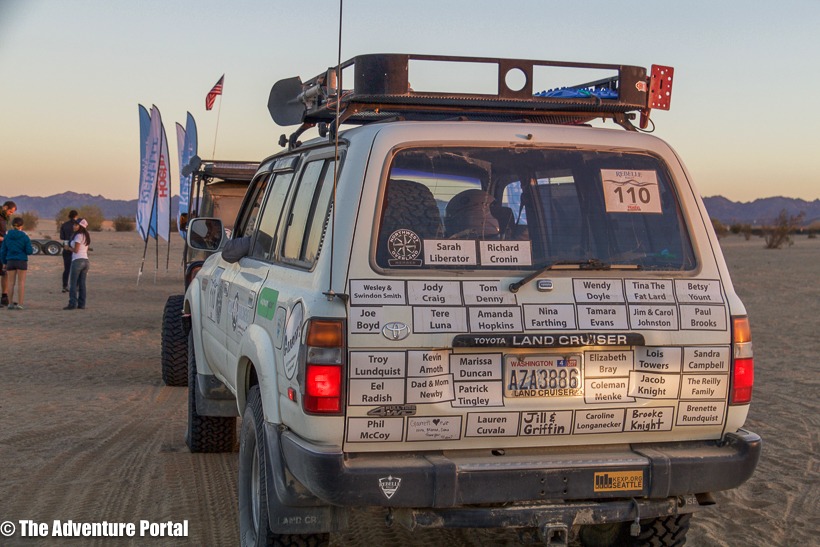
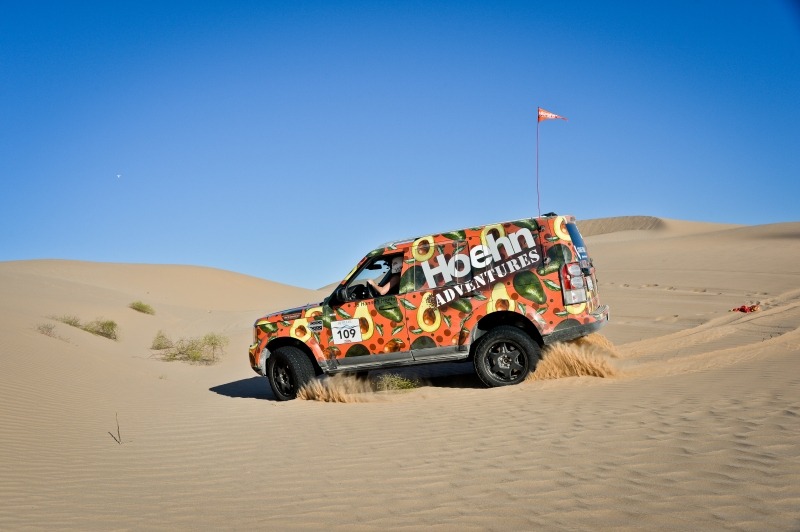
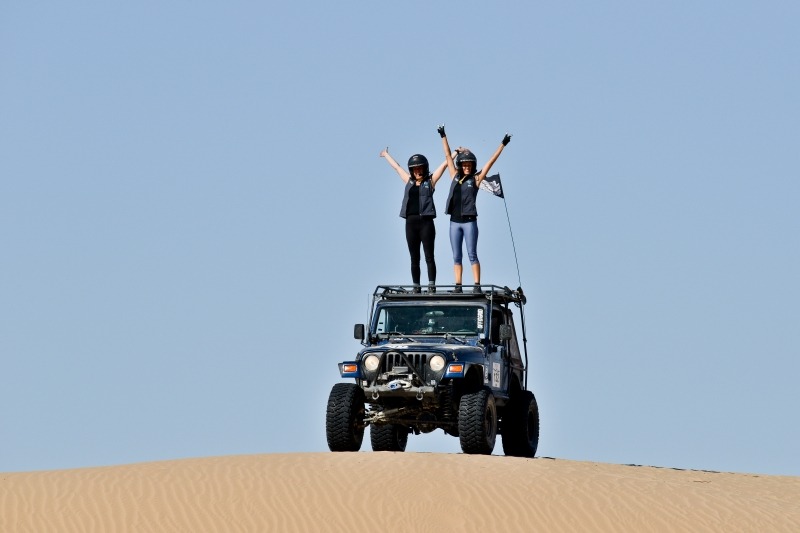
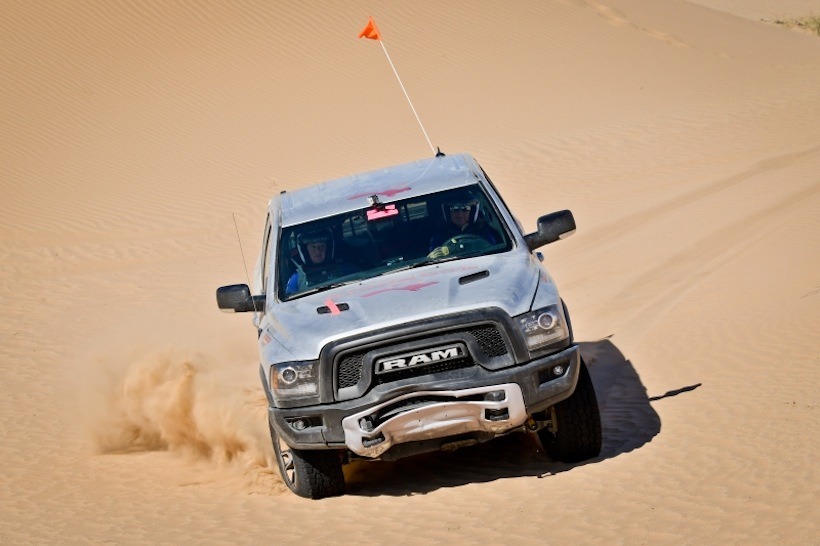
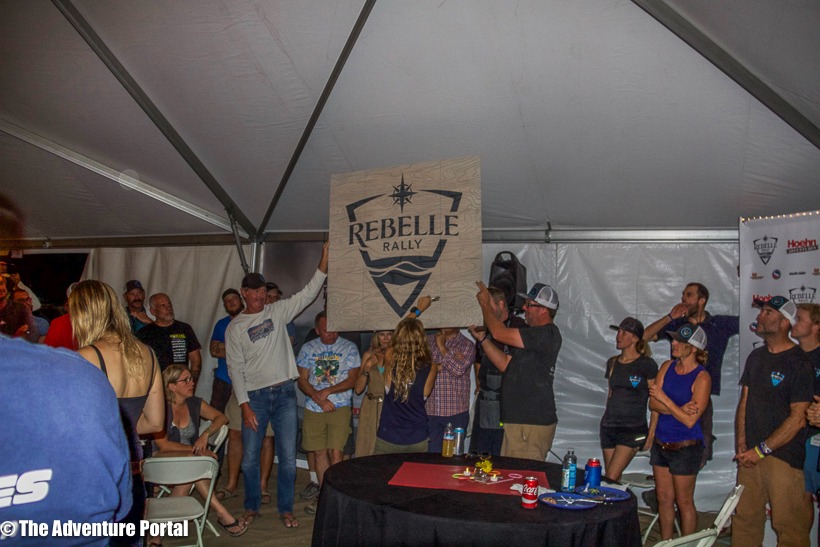
The Rebelle Rally is the first all women, overland, navigational rally to be held in the United States. This 1,200 mile, mainly off-road rally spanned from South Lake Tahoe to the Glamis Recreational Sand Dunes in Imperial Valley, CA. The rally entailed 7 days of driving and navigating and 2 days of travel to and from the technical inspection and final awards. Thirty-six teams entered this inaugural event and each team consisted of a driver and a navigator. The teams drove cars that ranged from stock as well as modified 4×4’s, to the Crossover Class, defined as having a unibody construction and two-wheel or all-wheel drive (no low range). No tires bigger than 35” were accepted. All participants were required to wear helmets when the vehicle is in motion.
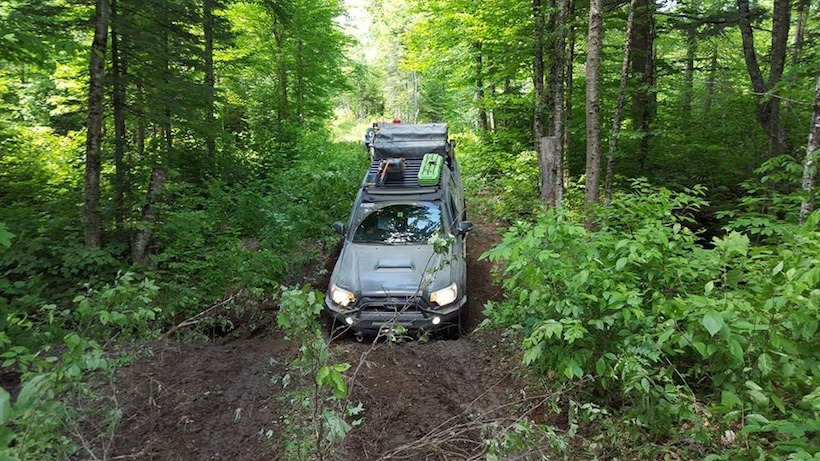
Participants skill level varied from novice, to off-road driving, racing and training professionals and previous rally participants (Gazelles Navigational Rally-Morroco). The teams relied upon compasses, paper maps, and the ability to identify topographical focal points in order to navigate their way to checkpoints and to each night’s basecamp. This proved especially difficult once they hit the last leg of the rally in the dunes. This is not a race. The object is for the teams to hit as many checkpoints as possible to score points. There are three types of checkpoints, green-easy to find and it’s required that everyone hit all of them in order to stay on course. Then the blue and black checkpoints, which were increasingly difficult to find.

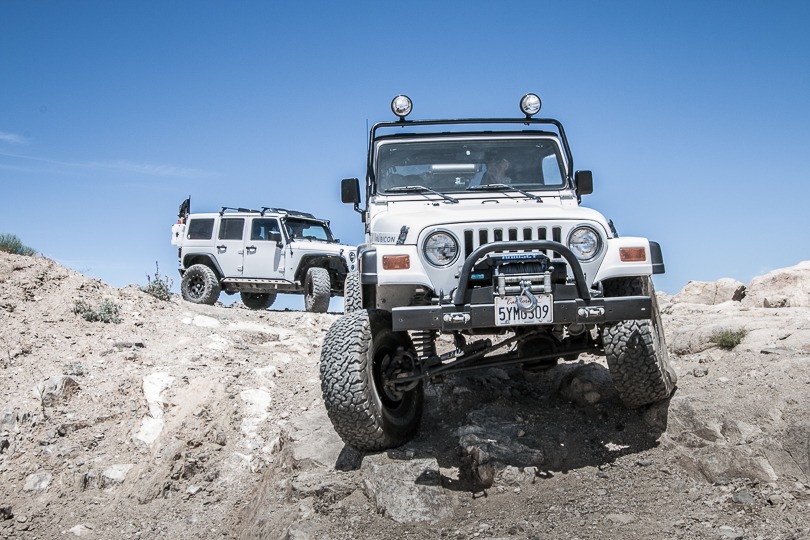
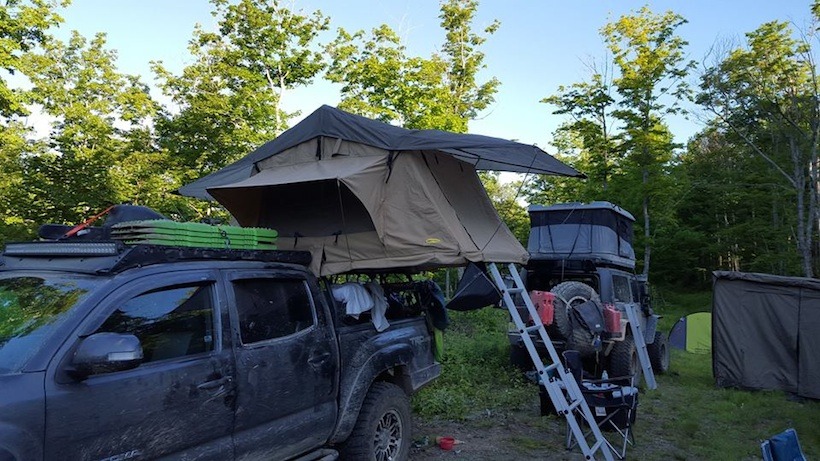
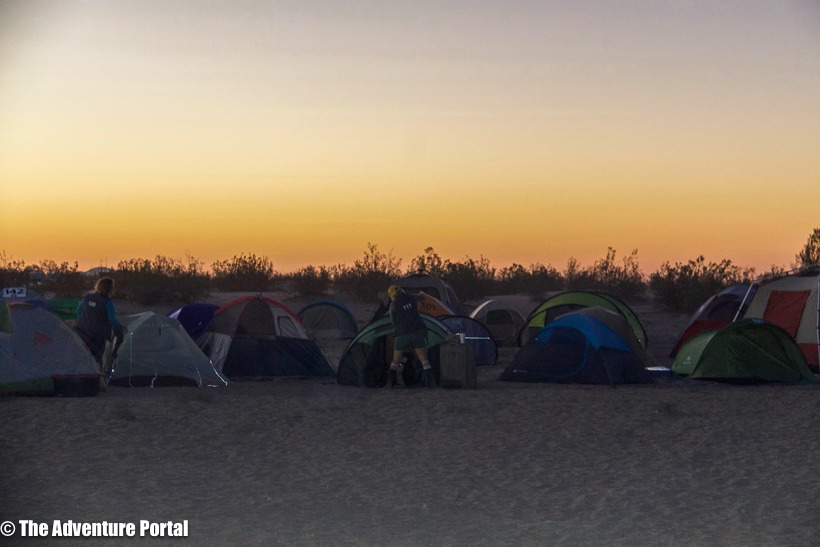
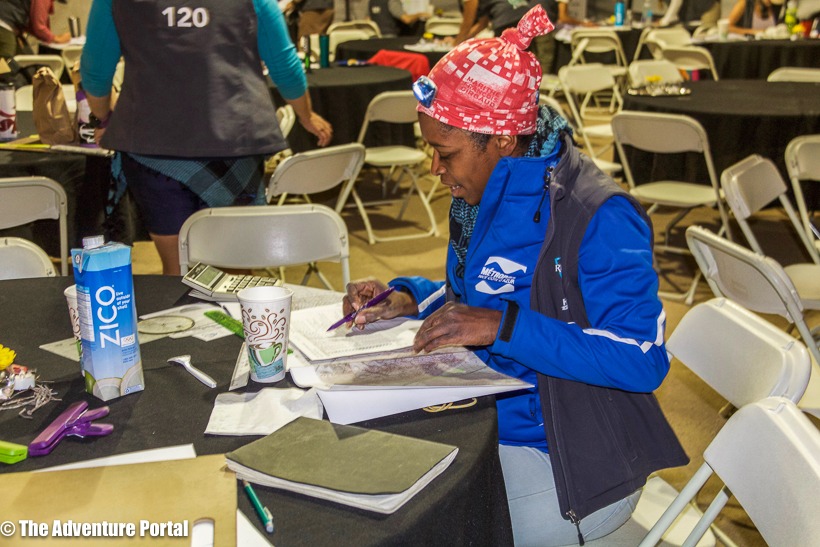
The teams woke every morning between 4:30 and 5:00 a.m. The navigators would get the latitude and logitude for the day’s points and plot those on the map while the drivers got them breakfast. The race staggered start times from between 7:00 and 8:15 each morning and for the next 10-12 hours they were on a hunt for checkpoints to rack up score points.
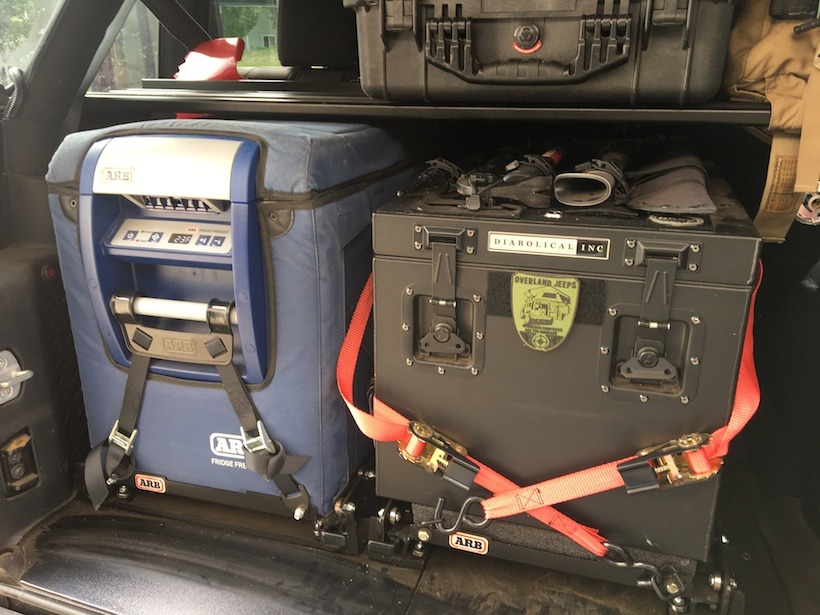
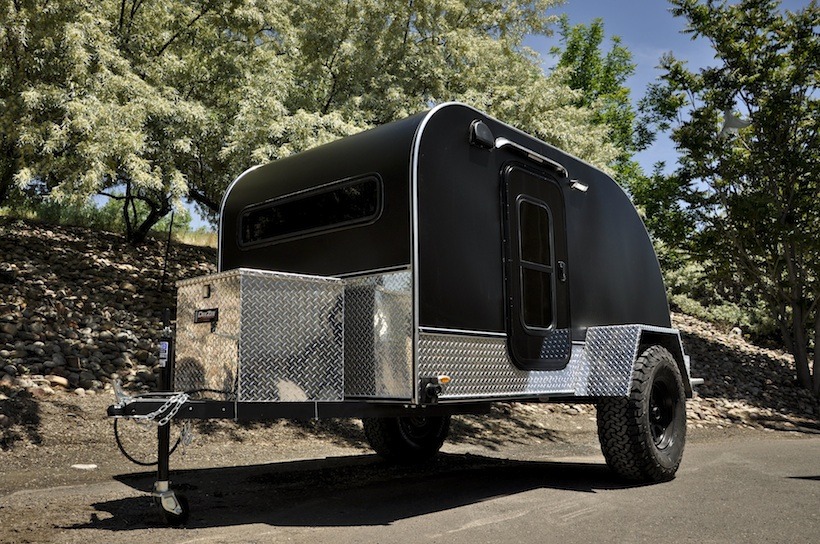
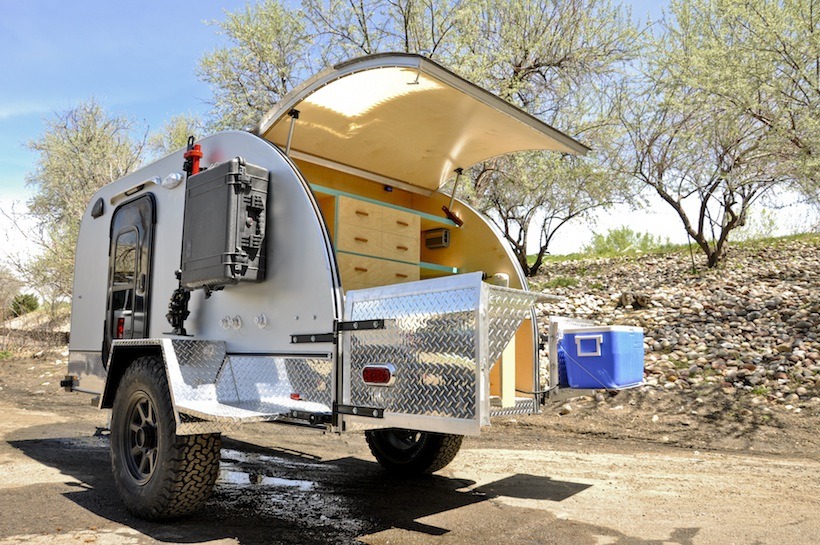
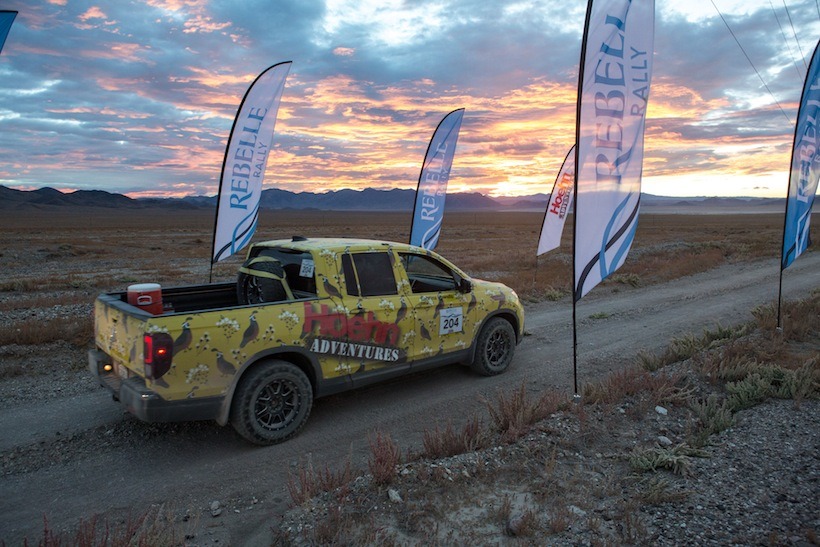
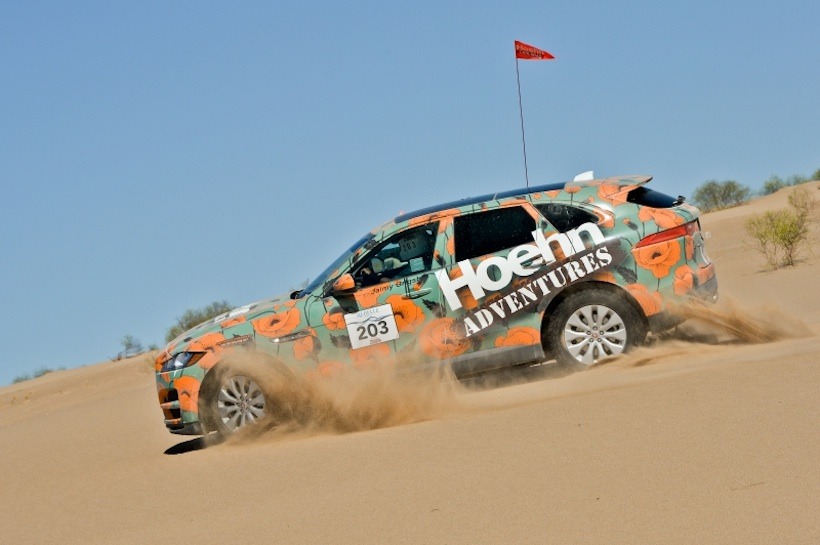
Rebelles were sponsored by a variety of companies ranging from automotive (ARB, Rebel Off-Road), recovery gear (MaxTrax), professional overlanders (Expedition Overland), off-road trailer rentals (Off The Grid Rentals) to Marie Claire fashion magazine and Macy’s department stores. Some teams sponsored themselves with Go Fund Me pages, friends and family. Hoehn Motors was the main sponsor of the event itself.
REBELLE= Rebel– Someone who defies convention Belle-Beautiful woman
Tortoise Alert-When the Desert Becomes California Interstate 5…
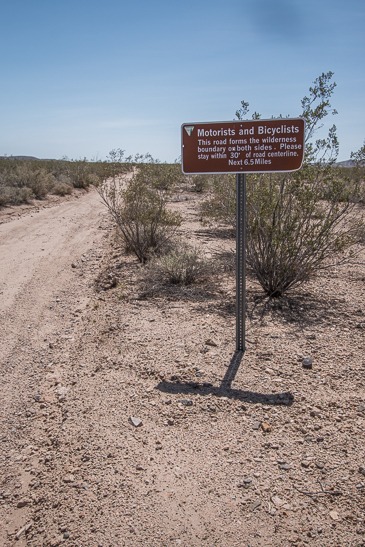
Somewhere between Joshua Tree National Park and Glamis, the Rebelle vehicles began to slow, 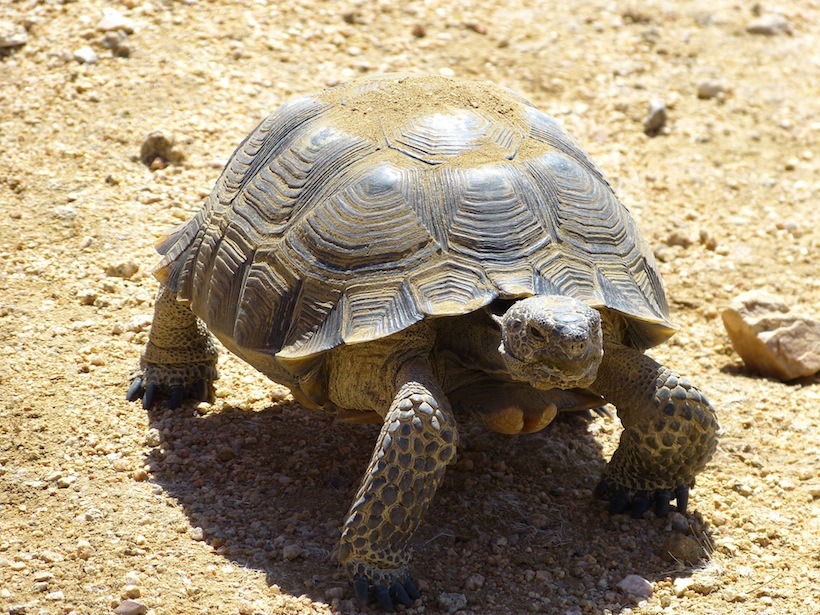 formed a conga line then morphed into a desert version of CA I-5 going through L.A. at rush hour (read: any time). The line of rigs eventually came to a halt and stayed that way for two hours as a couple of Tortoises crossed the road. No joke. No one, according to BLM regulations, is allowed to touch, cajole or wave pieces of lettuce in front of Desert Tortoise in order to get them to move out of the %$# way. Emily Miller, Rebelle Founder, worked with the BLM for months getting use permits in place and all the Rebelles were well versed in what was and was not allowed while on the course. As the drivers came into basecamp that evening, I got the desert Tortoise story and even found that one team (Squirrel Girls) named them Mike and Jimmy. Mike and Jimmy later became euphemisms for words I cannot print, when it became apparent that the pair weren’t going anywhere fast and nobody could do nothin’ about it.
Minor Casualties:
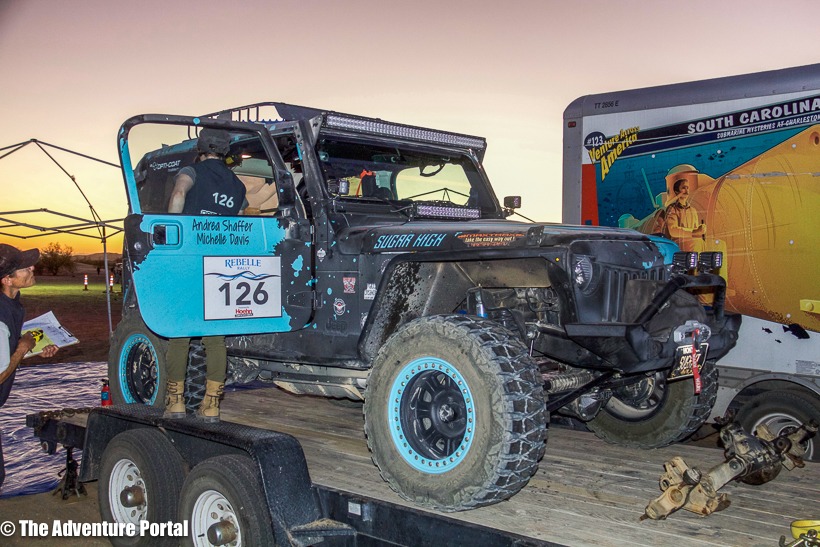
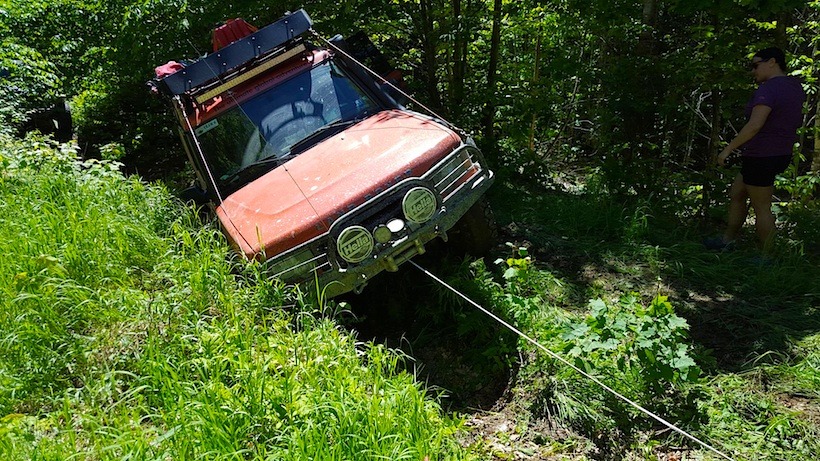
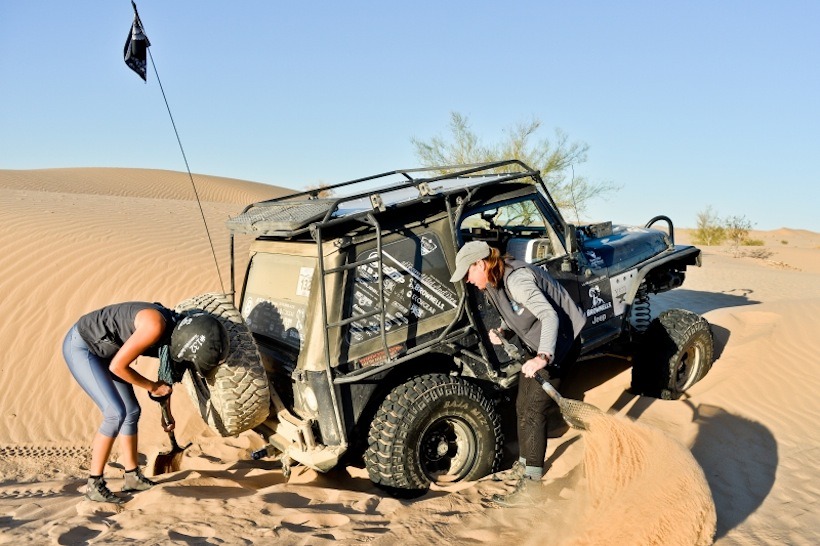
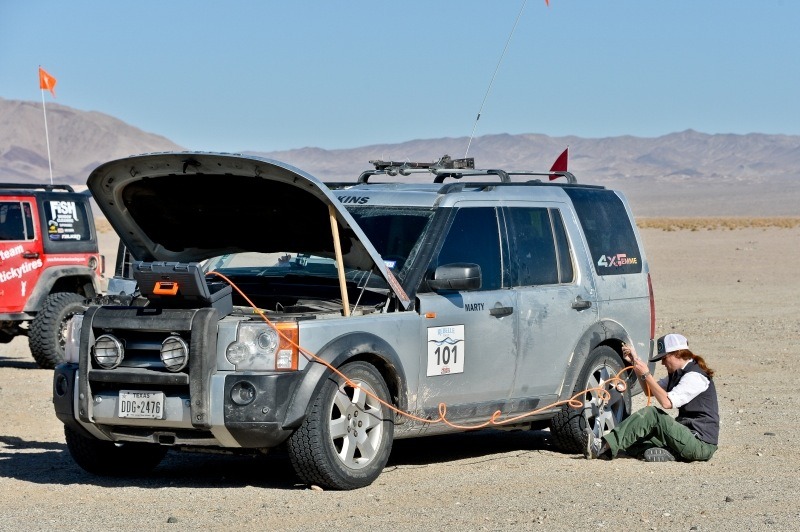
A couple of teams met up with some unforseen dirt a little faster and harder than they had anticipated. When I first arrived at the Glamis basecamp, I was greeted by a smiling team that called themselves Sugar High, Michelle Davis and Andrea Shaffer. Why were they there in the early afternoon? Two days before, they had crested a dune at full speed, not anticipating the drop on the other side, caught air, landed hard and bent the axle and broke it’s seal. The mechanics did their magic; straightened the axle, but were unable to replace the axle seal securely enough to survive the whoops that the women were to drive on the following day. So the women came back to basecamp early and their Jeep went back to the Rebelle mechanics. The women were able to rejoin the rally the following day, and despite their whiplash, they were up and raring to go.
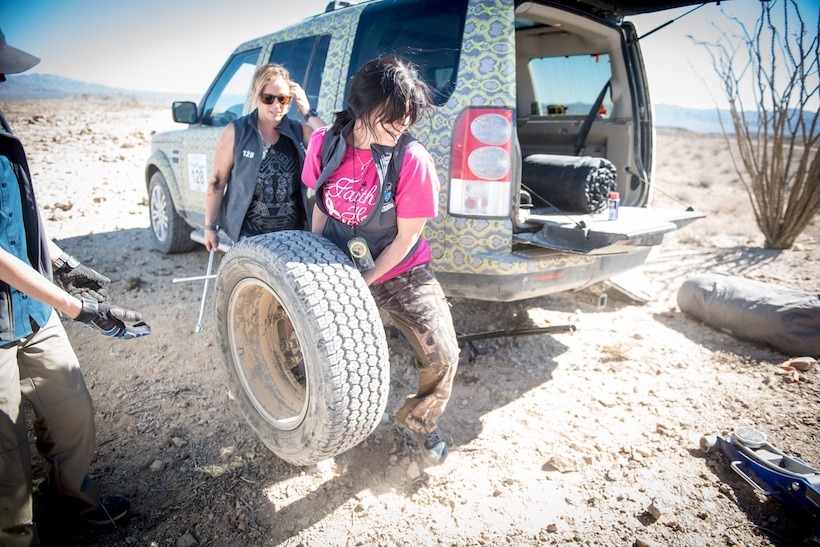
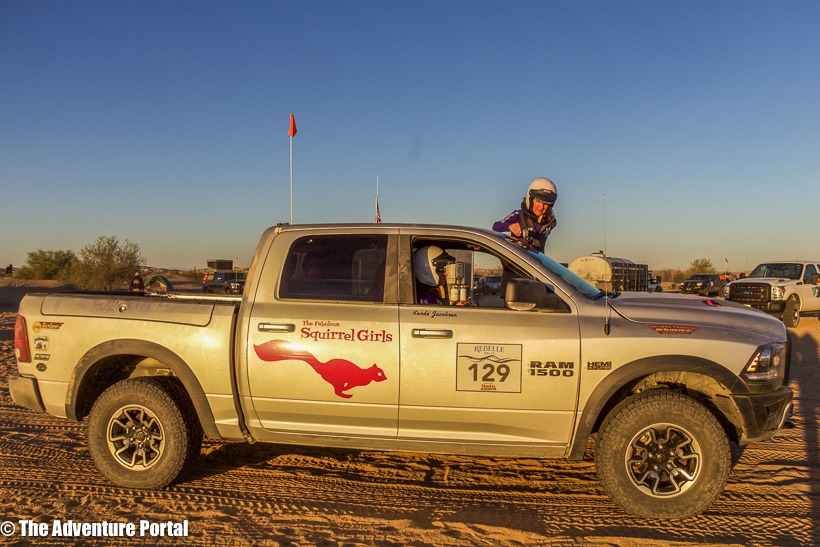
Team 129, The Squirrel Girls, Nena Barlow and Kande Jacobsen came rolling in with a smacked front bumper. Around midday, the terrain looked flat, no shadows. The women were bombing out toward the road, making good time, when they found themselves careening into the windshield. There was a 6 foot drop that they had not seen and the Ram went nose first into the dirt. Again, the women were all smiles, they checked the rig, which was in good working order and got their mild whiplash and bruises tended to at basecamp.
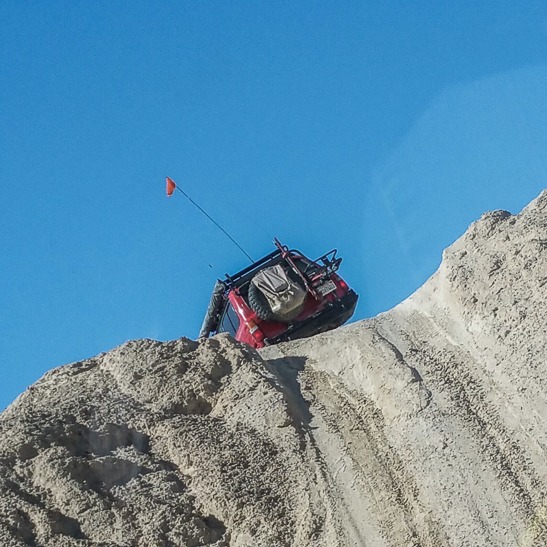
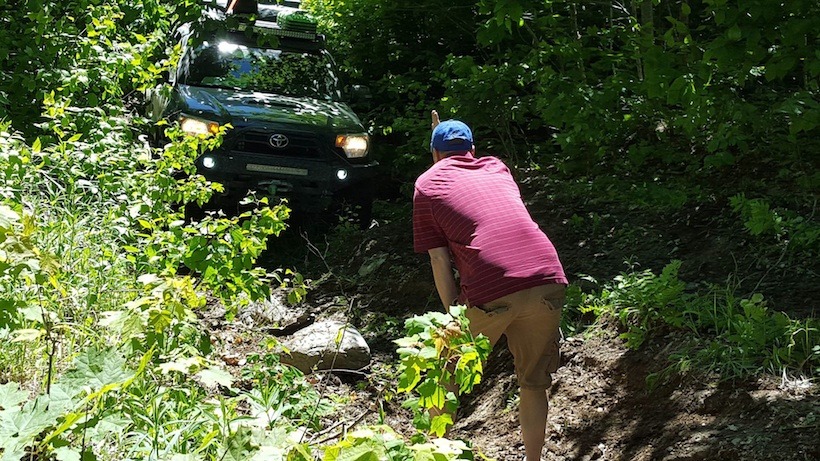
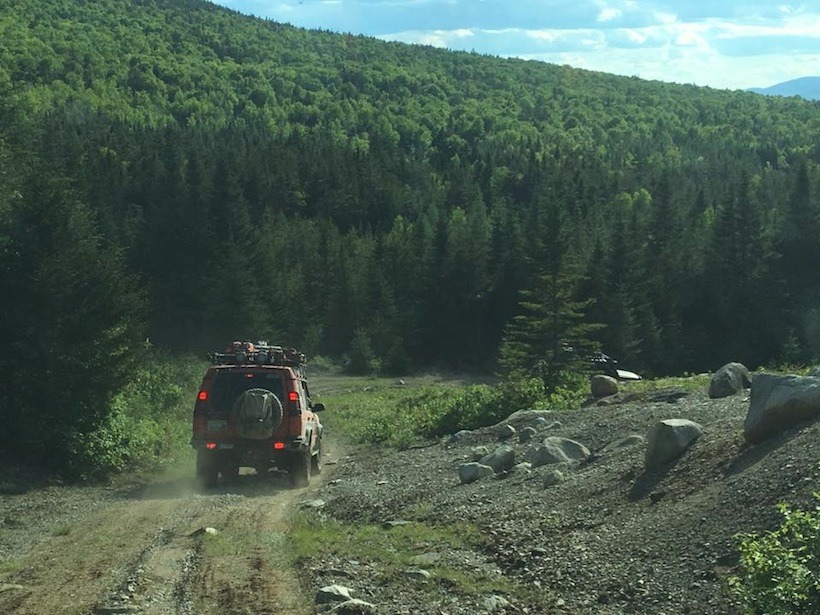
This Rally is Gruelling…
Rebelle Rally founder and former Gazelle Rally driver, Emily Miller chose the path of the course to vary in difficulty, making sure that even the most veteran drivers were challenged. All teams were equipped with a satellite phone to use for emergency medical purposes or if they could not repair/recover their vehicle on their own or with the help of another team.
And The Winners…
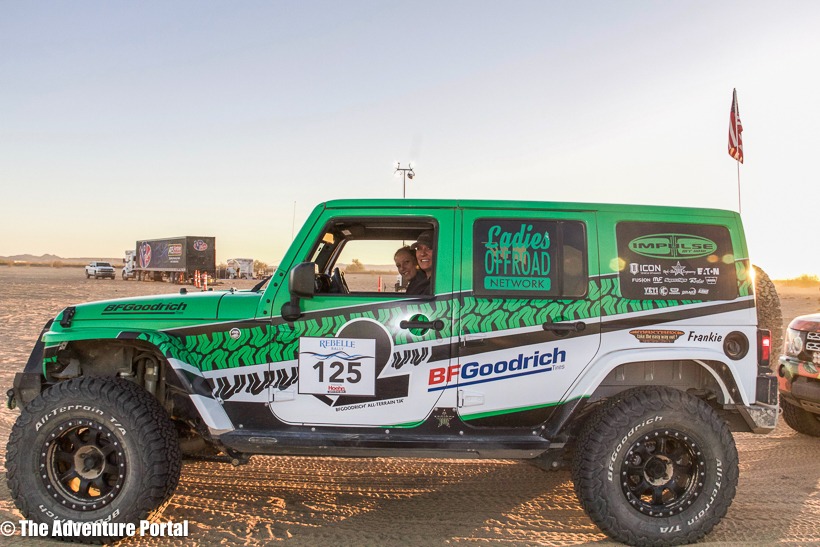
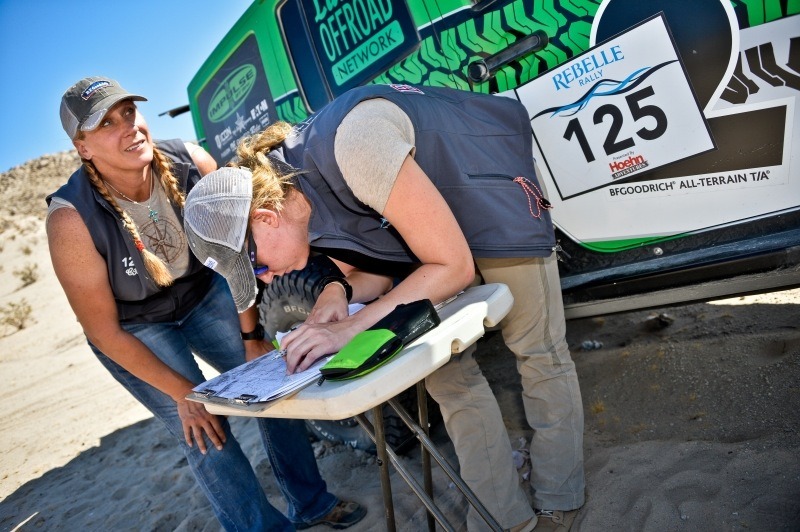
First Place: Team 125, Charlene Bower of Bower Motorsports Media, a PR and marketing firm in the off-road industry, her talkshow, the Bower Power Hour the Race Team Store, an on-line marketplace, I’m Not Just A Girl clothing and jewelry line and Ladies Off-Road Network Kaleigh Hotchkiss, Co-driver for Dirt Riot, an off-road endurance racing series and member of the Wildcat off-road Club. She became the navigator by winning Charlene’s “Ladies Co-Driver Challenge”. They drove a Rubicon 2016.
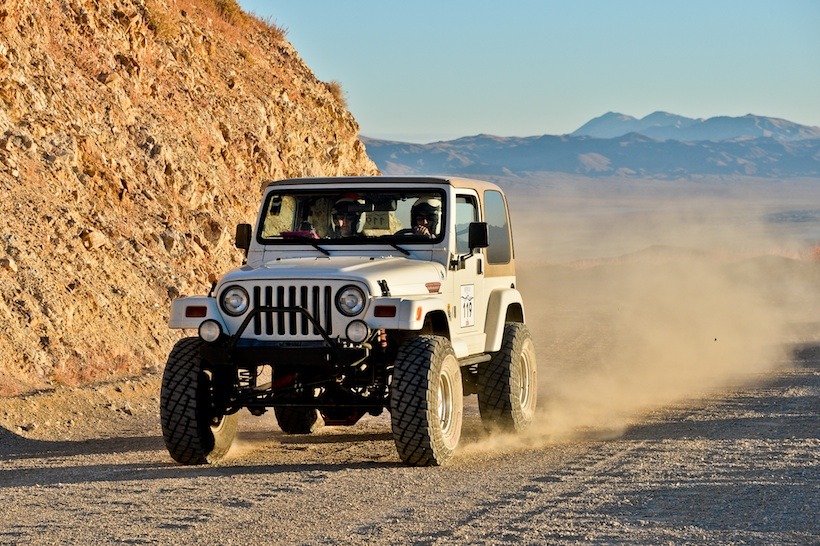
Second Place: Team 119, Micaela Windham and Taylor Pawley both rally and racing novices called their team “Why Not?” drove a 1997 Jeep Wrangler.

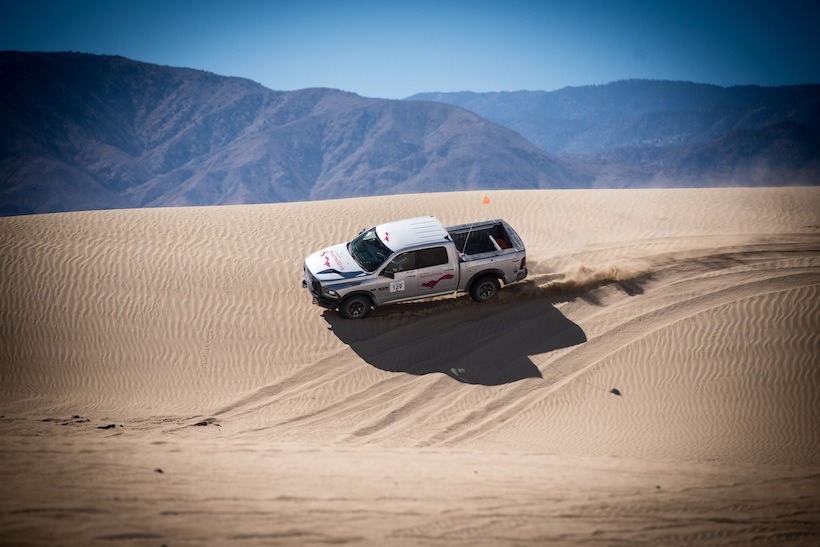
Third Place: Team 129, Nena Barlow of Barlow Adventures and the only female I4WDTA trainer in the United States and Kande Jacobsen of Adventure Driven. Team Squirrel Girls drove a 2016 stock Ram Rebel.

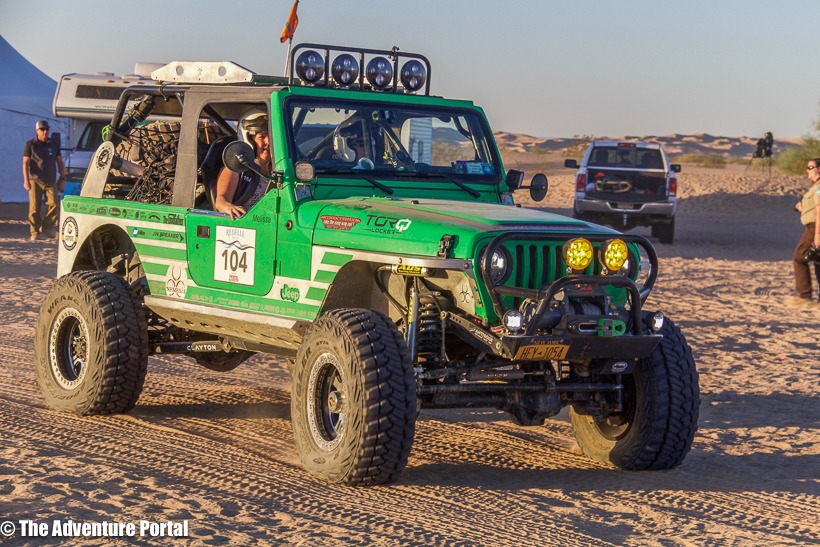
The Spirit award went to: Cora Jokinen and Melissa Fischer, team 104: While on the track they picked up trash and helped at least 5 other teams in sand recovery at Glamis. The amount awarded is $5,000.00 and goes to the charity of their choice. They are donating to Best Friends Animal Society. They drove a 2005 Wrangler TJ unlimited and came in 5th overall.
The Bone Stock Award went to: Team 129, Nena Barlow and Kande Jacobsen-Team Squirrel Girls drove a completely stock 2016 Ram Rebel.
4×4 Crossover Placings:
Overall….
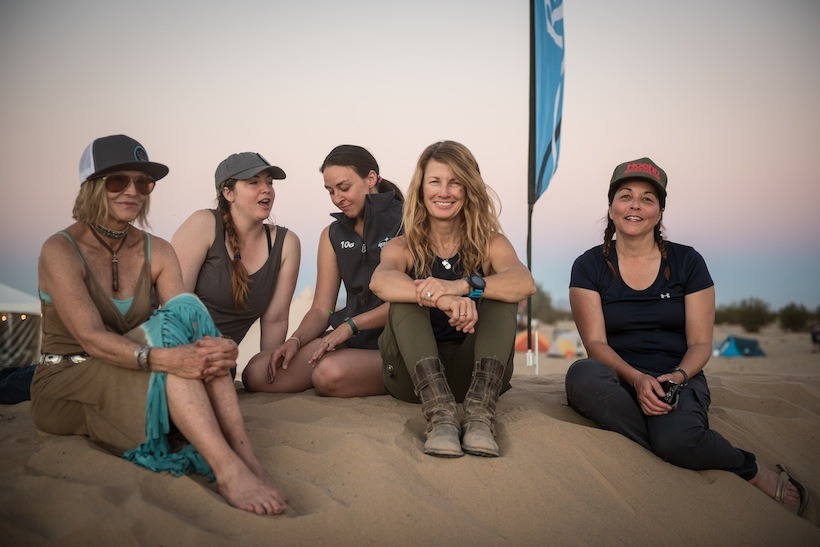
This was an amazing event to attend as a journalist. I spoke with many of the teams and had an opportunity to witness the way they were processing this very challenging event. The interesting thing is that most of the women I spoke with had the same message. That this was one of, if not the hardest things they have ever done. They said that they were forced to find their “groove” quickly, both in terms of effective communicate under challenging circumstances, and in terms of sussing out a pattern of “energy conserving partner duties” (an example: one gassed up at the end of the evening, while the other set up camp).
Most of the competitors stepped completely out of their comfort zone and just went for it. They described coming to the end of the Rally as having had a transformative experience. What I heard many more times than once, was that if you set your mind on achieving something that you are not sure you are capable of, and you work hard, really persevere to attain that goal, you can do just about anything.”
Click here for more information on the Rebelle Rally and how to get involved next year and ………….TAP into Adventure!
written by: Lori Palmer Editor and Co-Founder TAP