Directions: FromBishop CA on US-395: go to the intersection of Main Street and West Line Street. Go west on West Line Street for 2.6 miles. Turn south on Reata Road and proceed straight on the paved road for about a mile. Turn right onto an off-road graded dirt road at an unmarked intersection. Go 3.9 miles down the road to the trail head at 5,716 ft.
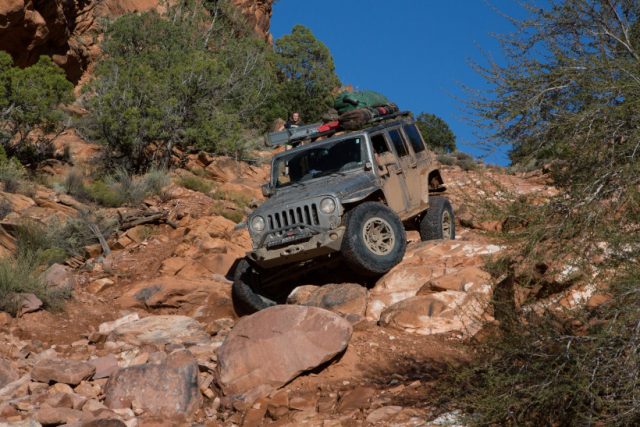
Site Location and Description: Coyote Creek Trail is the main overland trail leading into a network of off road and ATV trails in the Eastern Sierra, just west of Bishop CA. The trail starts off in Owens Valley, crosses BLM land then enters into Inyo National Forest. The first 3.9 miles is an easy sand road that leads into a steep uphill switchback section that climbs more than 2,000 feet.. This section will be challenging for those without aggressive tires, high clearance, 4WD vehicles. There are many primitive camping opportunities along the trail. At 6.3 miles there is a picturesque campsite by the trail and creek. Coyote Creek Trail passes by the Peterson Mill site where you can see the remnants of the mill. This trail offers multiple primitive camping sites. There is a split in the trail at GPS coordinate: N37 14.91 W 118 29.34, if you take a left, it leads to Coyote Flat Trail. Coyote Creek Trail continues along the West Fork Coyote Creek in a narrow valley. The terrain becomes rougher but is easily driven with 4WD and high clearance. The trail ends above a small lake at a spectacular viewpoint. This is a TAP recommended vehicle supported adventure trail worthy of a few days of exploration and camping.
Click here for more CA off-road, Overlanding trails…..and TAP into Adventure!
This article on the Tread Lightly principles comes from 4WD Trainers Association certified professional trainer Tom Severin. It provides good food for thought when getting ready to prepare for your next adventure, as well as tips on how to behave in a way that preserves the environment we all love to play and explore in.
Travel responsibly and only on roads or trails that are marked for 4WD use. Drive Carefully through streams to avoid disrupting habitat, and make sure to cross on designated paths. Fish beds and spawning grounds are susceptible to being churned up and destroyed by passing vehicles. If you must travel through a stream, resist the temptation to splatter through. Drive very slowly to avoid chewing up the stream bed and disrupting the habitat.
Respect the rights of others, including private property owners, recreational trail users, campers, etc. so that they may enjoy their recreational activities undisturbed. There is enough room for all of us to enjoy our hobbies. On particularly busy holidays or week-ends be extra considerate of others who are out there to enjoy the outdoors just like you are.
Educate yourself by learning rules and regulations. Buy maps and obtain regulations from public agencies. Plan for your trip with a “hope for the best, prepare for the worst” attitude. Take some recreational skills classes: off-road safety and recovery, wilderness first-aid etc. Most importantly know what all of your gear does and how to use it correctly and safely. Whatever you do, don’t “wing it”. Mother nature is unforgiving. Too many people have found themselves in dire straights because they went out unprepared or travelled across terrain that they did not have the skill level or recovery techniques required for safe travels. Even experienced drivers can find themselves in perilous positions. Be prepared.
Avoid sensitive areas like meadows, lake shores, wetlands and streams, unless they are on designated routes. This protects wildlife habitat and sensitive soils from damage. This ties into the first point, which was traveling responsibly and only on marked trails. Even when on the designated routes be sure to travel slowly and stay on the path, disturbing the surrounding ecosystem as little as possible. Resist the temptation to make a “big splash” when crossing a waterway. This only disturbs the surrounding ecosystem.
Do your part and leave the area better than you found it. This means: dispose of your waste properly; be it waste from bodily functions or trash. Pack it up and take it out. Minimize the use of fire. When building a fire, be sure you use a designated pit or bring a fire container. You can buy propane camping fire pits for that “cozy campfire feel” without the wood burning component. Note: It will not put out significant amounts of heat. Leaving the area better than you found it could also mean being of service and picking up a trashed campsite. TAP has rolled into more than a few primitive, yet highly trafficked sites loaded with empty beer bottles, caps, water bottles….you name it. Really bad. We always carry extra, large trash bags and have a Trasharoo on each truck for secure trash “storage”. If we all picked up a little extra, we’d all be better off.
As you can see, these are simple and common sense principles. Unfortunately, it’s easy to not always follow them. We get lazy, we are in a hurry etc. Recommit yourself to following these principles and you will have a more enjoyable and rewarding time outdoors.
Happy Trails!
Author: Tom Severin is a 4×4 Coach who teaches 4WD owners how to confidently and safely use their vehicles to the fullest extent in difficult terrain and adverse driving conditions. Visit www.4x4training.com to develop or improve your driving skills.
TAP Editor: Lori Palmer
Please add your Tread lightly practices below in our comment section. We can never have enough too much input on better ways to keep our environment healthy.
Dirt, smooth to gravel, narrow to rocky two-tracks
Difficulty
Easy/More challenging side trips on marked forest roads
Required Vehicle
Stock 4×4 with high clearance.
Time
Three to four hours for the loop
Length
approximately 18 miles
Directions to Buttermilk Country Loop Trail: From Highway 395 in Bishop, head west on Hwy 168 (West Line Street). After 7.3 miles, turn right on Buttermilk Road 07S01.
Site Location and Description: TheButtermilk Country Loop trail is situated below the majestic Sierra Nevada Mountains. The trail is composed of a loop with several legal side roads to explore both on foot and in your off-road vehicle. There are also a variety of primitive overland campsites on the marked national forest side roads.
Buttermilk Country Loop trail crosses into the famous John Muir Wilderness area that extends along the crest of the Sierra Nevada of California for 90 miles, in the Inyo and Sierra National Forests. The loop is 16 miles long and runs through terrain which varies from desert boulder strewn geography to pine forest glades. Along the first four miles, you may encounter other vehicles as this is a popular bouldering destination. There are a couple of stream crossings that are mellow in the summer, but have the potential of being considerably deeper during rains or with spring run-off. The side roads should be explored as they are picturesque and some provide stunning views down into the valley. A TAP recommended vehicle supported adventure trail.
Road Conditions: Inyo National Forest, White Mountains R.D.: Call- 760-873-2500
Click here for more CA off-road, Overlanding trails…..and TAP into Adventure!
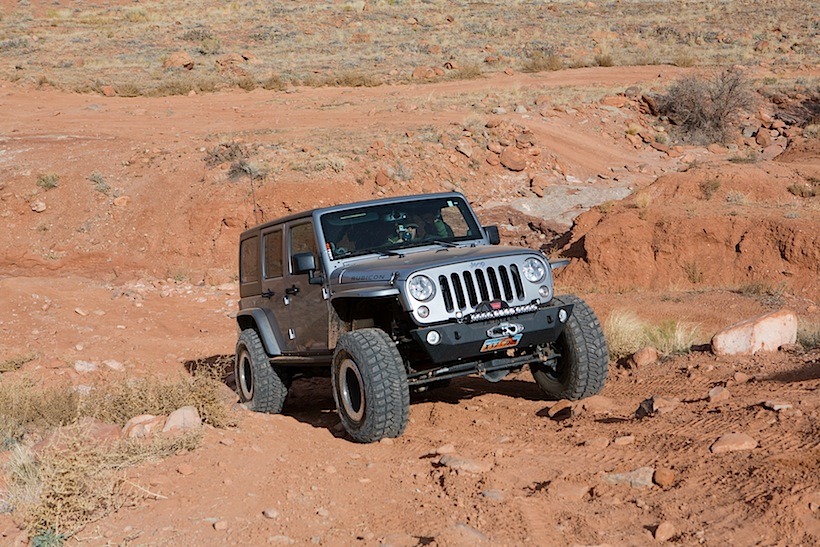
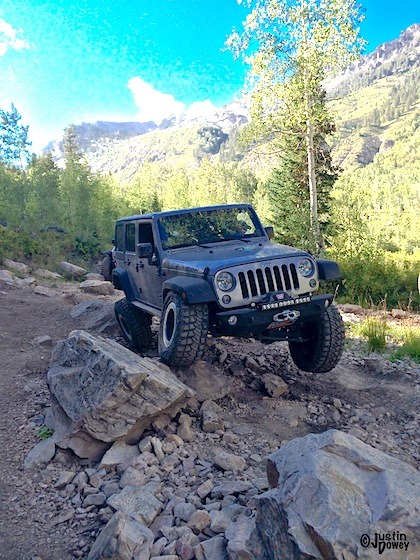
At this years American Adventurist’s Mountain Rendezvous, the TAP team met up with a lot of old friends and got a chance to make some new ones. This cherry red Jeep caught our eye so we went and met the owner Kevin Vaden. After getting a closer look at his rig, we knew that we wanted to feature it on our site. So, here it is in all it’s component glory. Enjoy and make some notes of your own.
The following is written by Kevin Vaden.
After gleaning a lot of information and advice from relevant forums, forum members, and others in the Jeep and off-road communities, I’ve spent several years building something that works quite well for me. Since my wife has not (yet?) developed an interest in this type of camping and the kids are busy with school and their own young adult interests, the Jeep is basically set up for solo expo use, but with the ability to take a passenger or two on occasion. The Jeep is about 98% done, but I doubt it will ever be complete.
While I don’t get out anywhere near as often as I’d like, I’m the kind of guy who keeps vehicles for a long time. Someday, when I grow up, I want to be “that old guy with the old Jeep.”
Highlights:
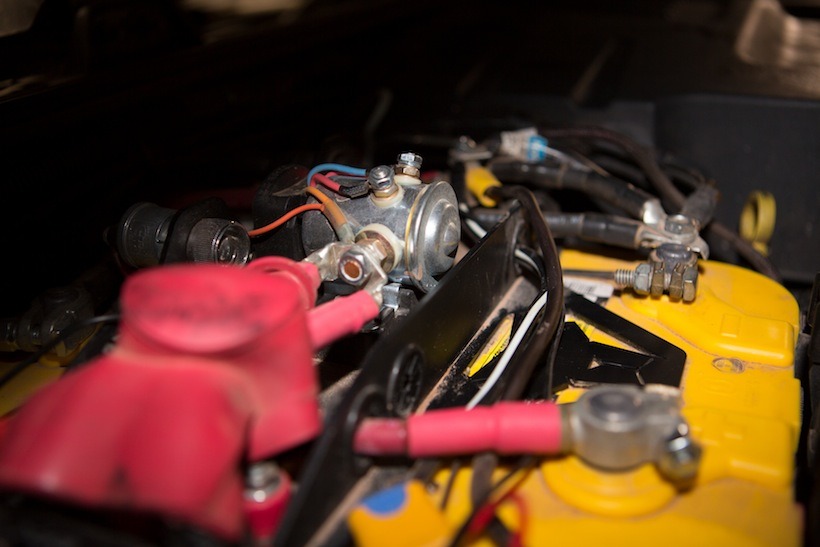
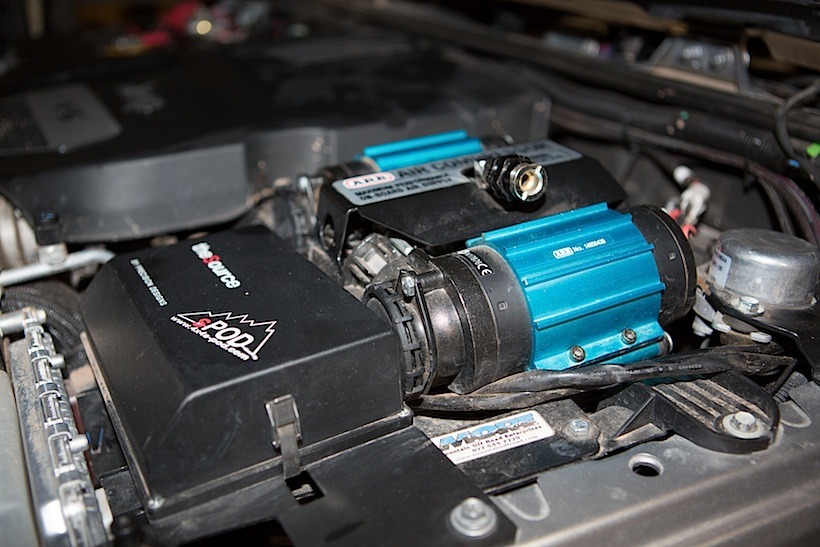
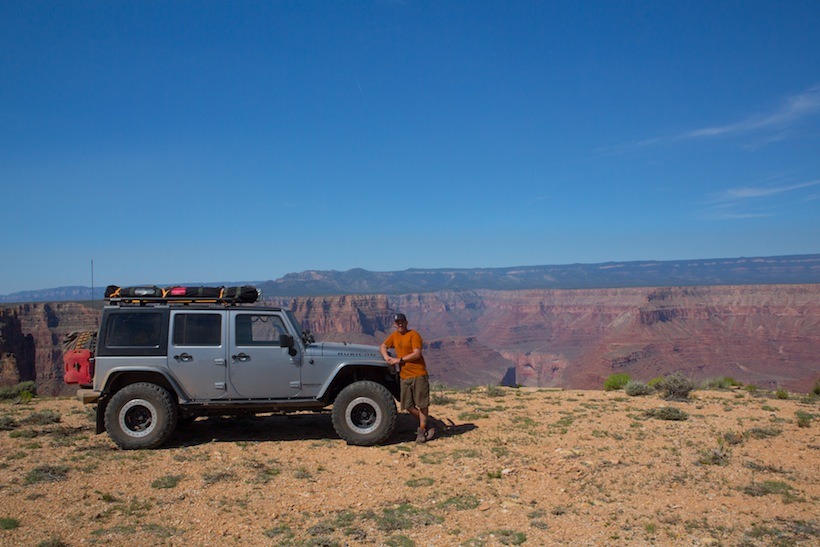
-2007 Jeep JK Unlimited Rubicon, 6-speed manual (still with 4.10 gears), 121,000 miles -Ursa Minor Vehicles J30 camper -35×12.50R17 KO2’s on OEM wheels with 1.5″ Spidertrax spacers -GenRight 20 gallon auxiliary fuel tank with Currie Antirock rear swaybar -Shrockworks front bumper (with -Warn PowerPlant and IPF 968 lights), rails, and rear bumper/tire carrier -Old Man Emu springs (2619’s front, 2620’s rear – 660# rating to better handle weight), long-travel Nitrocharger shocks, and extended brake lines -JKS ACOS adjustable spacers, driveshafts, and upper control arms -Dynatrac ProSteer ball joints -Removable custom rear cargo rack of my own design, built by SMP-Fabworks -Whelen 3” LED compartment light with both white and red settings -Vector Offroad JK E-dock with RAM mounts for iPhone, Cobra 75 WX ST CB, and iPad -ARB 50qt fridge/freezer -Front Runner 10.57 gallon upright water tank with Helton heater and pump -Dual butcher block cutting boards/tables-self designed -Pelican cases with Caribou Cargo Quick Fasten System -PETT toilet and Outback Porta Privy -Recovery gear (straps, tools, shovel, Hi-Lift, Pull-pal, etc.) -Safety gear, Adventure Medical Kits Comprehensive First Aid kit, fire extinguisher -A Renogy 100w flexible panel connected to a dual-battery set-up.
Still to come:
-So Cal Teardrops “Scipio” awning and annex
-Rigid SRM2 LEDs for utility/camp lighting on both sides
Last month TAP got the chance to try out the TemboTusk Camping Table System while on a week-long primitive overlanding camp trip in the Sierras. Here is a quick review of our thoughts after giving these tables a trial run.
First, let’s be honest, you can buy camping tables everywhere and there are a multitude of inexpensive (or should I say, cheap) products stocked in any Sports Authority or Big 5 Sporting Goods store. The next level of quality can be found in stores like REI, where the price and quality goes up, and then there’s the TemboTusk Camping Table System that’s at the higher end of the price and quality ladder. TempoTusk is a small U.S., privately owned, artisan business producing high-end, quality camping gear for the discerning overlander. (TAP note: We have used a Tembo Tusk fridge slide for the past 3 years and it has performed perfectly, despite the crazy amount of dust and dirt thrown at it.)
The TemboTusk Camping Table System is constructed of powder coated steel and has bamboo surfaces. It’s legs are removable and held in place by stainless steel turn bolts. The table’s dimensions are 15″ wide, 30″ long and 30″ high. Each table can be used as a stand alone or integrated into a system that effortlessly locks together to increase your cooking space. TemboTusk offers a wash basin option (not pictured here) that can be added to the table system. The tables are sold separately, or together in the “System” package. The TemboTusk Camping Table System’s build quality is obvious and I would imagine that these tables would last for many years of camping abuse.
Assembly is as simple as it can get; simply place the 4 legs into the obvious holes on the underside of the table and screw in the turn bolts. Takes less than a minute. Once assembled, the tables are sturdy and secure. The legs are adjustable for uneven ground. Lack of stability has been a personal gripe of mine while using many other inexpensive camping tables. Each table comes in a canvas carrying bag and is designed to store in most overlanding vehicle drawer systems.
In conclusion, we found the TemboTusk tables to be sturdy. Their surfaces were able to stand up to the muck of camp cooking, and they are very easy to set up and store. Aesthetically, the trademark TemboTusk blue powder coating is a great contrast to the light colored bamboo wood surface. This is a TAP recommended product: The TemboTusk Camp Table System is a solid camping gear investment and will add a level of luxury to your backcountry basecamp. Go to TemboTusk
and check out this Camping Table System, it’s separate components as well as TemboTusk’s other products and TAP into Adventure!
Here at TAP we’ve used roof top tents (RTT’s) on trailers for the past 5 years, so it was interesting and a definite change to go on a 5 day backcountry overland trip in the Sierra’s and get to try out the OZ-Tent RV-5.
Ground vs Roof- So, the first obvious difference is that you’re on the ground and not elevated on top of a roof. In all reality not a big deal, but you of course now have to find a fairly flat spot to set up. Being elevated off the ground certainly gives a sense of security against intrusion from critters, especially in the desert. On the other hand, not having to deal with a ladder in the middle of the night will be a positive for a lot of people.
Set up time, ease and stability- Set up probably took twice as long as an RTT. The marketing says “a 30 second tent”. I beg to differ and had it dialed all in, at around 3 minutes once I’d taken it off the roof rack and pegged out all the corners. Not a big deal, but reality. This time does not include putting up the awning, which took another couple of minutes. I didn’t use the side-panels, if I had, set-up time probably would have doubled. It was fairly easy to set up on my own, but two people would have made it a breeze. This is something actually stated in the set up manual. Once erect, the tent was stable and I could see it easily handling a strong wind with the application of guide ropes. I didn’t experience any difficult weather, so never used them on the tent body, only on the awning. The build quality and materials used in construction (high-quality waterproof 8 Ounce Rip-Stop Poly-Cotton Canvas, taped waterproof seems, YKK zips, quality window/door mesh and heavy-duty heat-sealed PVC floor) are rugged, and I fully expect it will easily stand up to the abuse we’ll put it through over the next 6 months. I particularly like the fact that the entire rear of the tent rolls up, it has openings on both sides and a mesh front door. All this gives great ventilation.
Comfort- I’m used to sleeping on a mattress in an RTT. For the OZ-Tent, I used a basic fold away cot from REI, which was really comfortable. I’d even go as far as saying that I was more comfortable than any of my nights in the RTT’s we’ve used.
Size- The tent is named RV-5, which hopefully doesn’t indicate it’s made to hold five people? In my opinion, three people on cots (and a dog), would be cozy but doable. As I mentioned, I have the side and front panels to the awning. If I’d used these, it would have created a lot more livable (as well as sleeping) space and a dry sheltered area to cook and get out of any weather. I like this addition that can be added when needed.
So, what didn’t I like?- The OZ Tent was too large to fit in the bed of my Tacoma with all my other gear, so every day I had to load it on the roof rack and strap it down. This concerned me when going through tight tree lined trails, which I did a fair amount of. I was also concerned about the potential of theft. I used Yakima locking cables to ease my mind on this matter. Of course, this is a personal issue based on my own vehicle choice and will not be relevant to everyone. I also had some sticker shock with the RV-5 coming in at $1100 and the additional deluxe side and front panels adding another $500. At this price it’s right up there with the RTT’s. However, having used it for a week, I can see how the innovative design and quality construction justifies the price.
TAP’s 12 month OZ-Tent Up-Date:
We’ve spent many nights in the Oz-Tent over the last 12 months and thought we’d up date our thoughts.
Pros: The quality and the build of this tent is excellent. It is also a well thought out design that simply works. It has held up to a fair amount of abuse and still looks new. We’ve used it in 50+ mph winds and torrential rain and have yet to see any leaks or worry about it collapsing in a storm (There are multiple tie/stake down points). We also, used the additional annex throughout a fairly significant storm recently and that too came through with flying colors. The annex is sizable and a great place to hang out when the weather closes in. The travel bag is beginning to show signs of wear, but honestly I’m not surprised as it’s been on the roof of our rigs through sun, dust storms, rain, wind and low hanging branches. The zips on bags are a pet peeve of ours as we often see them fail. Not this one. Tough!
Cons: It’s heavy and taking it off and on a roof rack on a lifted rig gets tiresome. Also, it always needs locking on the roof, as we are never prepared to take the risk of leaving a $1500 tent simply strapped to the roof when we were off somewhere. As previously stated, don’t believe the marketing hype….it’s not a 30 second tent. By the time you take it off the roof, get it out the bag, stake it out and erect it, it’s more like 4 mins +. Not a big deal, but be prepared for reality. Finally, they call the RV-5 a 5 man tent. We beg to differ, as 5 people would be a real crush. In our opinion the RV-5 fit two adults really comfortably with a sense of room. 3 adults on small cots is also fine, but no room to move around. 5 people crushed in together and too close for comfort, maybe, but not for us.
Conclusions: The buyer has to decide whether they want the convenience of a RTT or the extra size and space of the Oz-tent. Quite honestly sleeping on a cot in the Oz-tent, is more comfortable than any RTT mattress we’ve slept on. However a RTT is less effort to set up. Overall, we’ve been impressed with this set up and can genuinely recommend this product as an excellent overlanding camp choice.