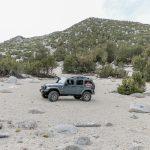
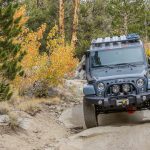
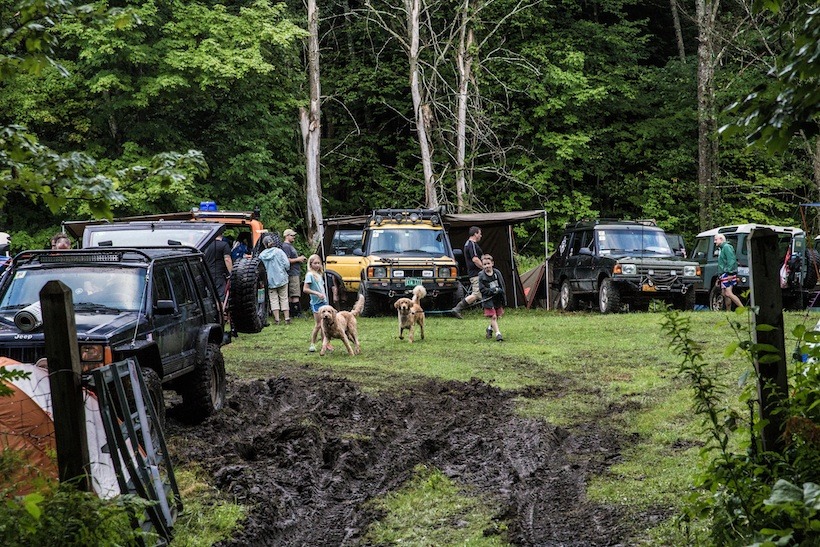
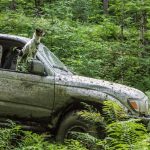
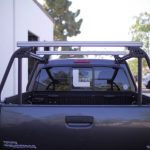
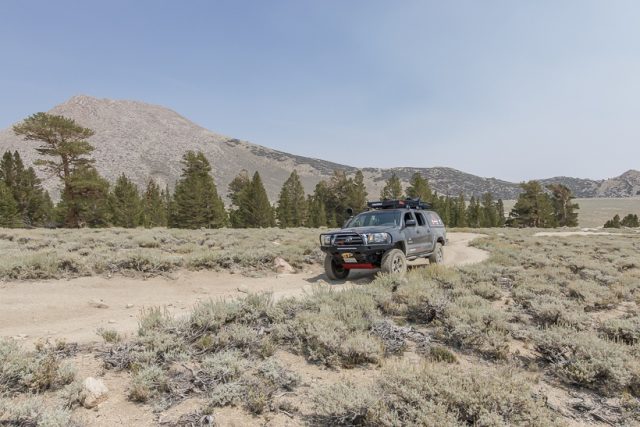
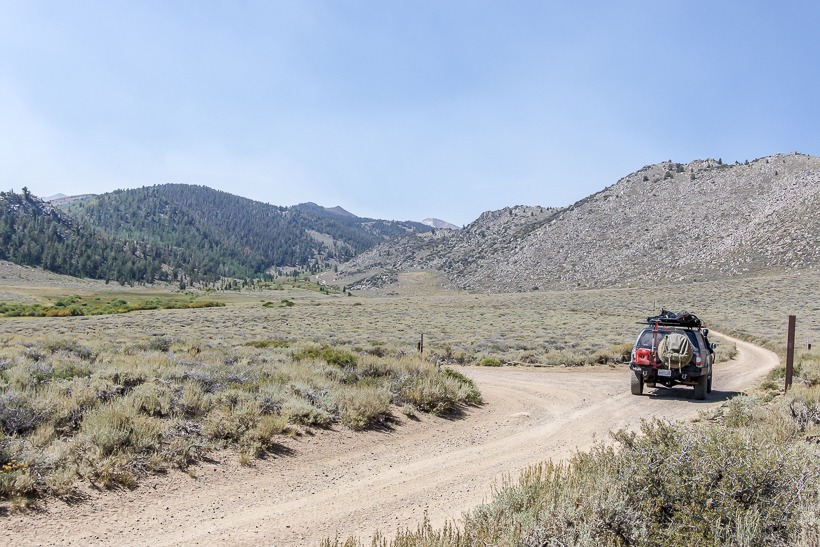
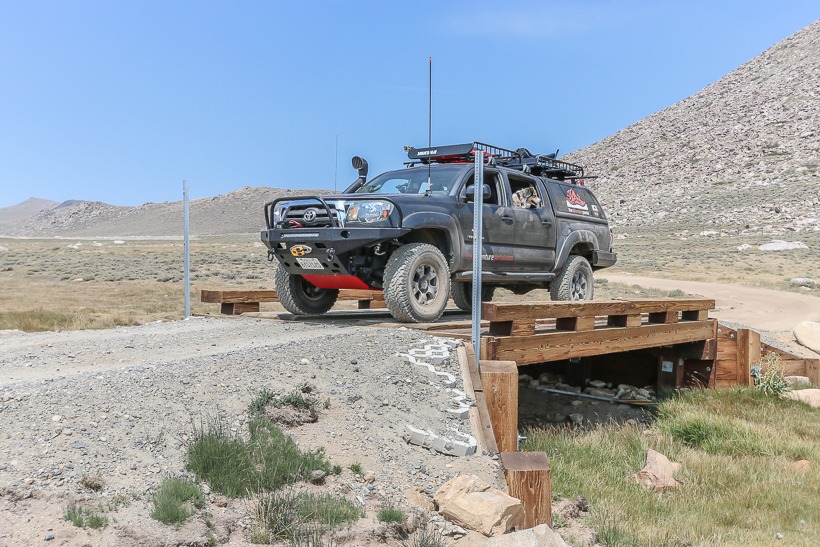
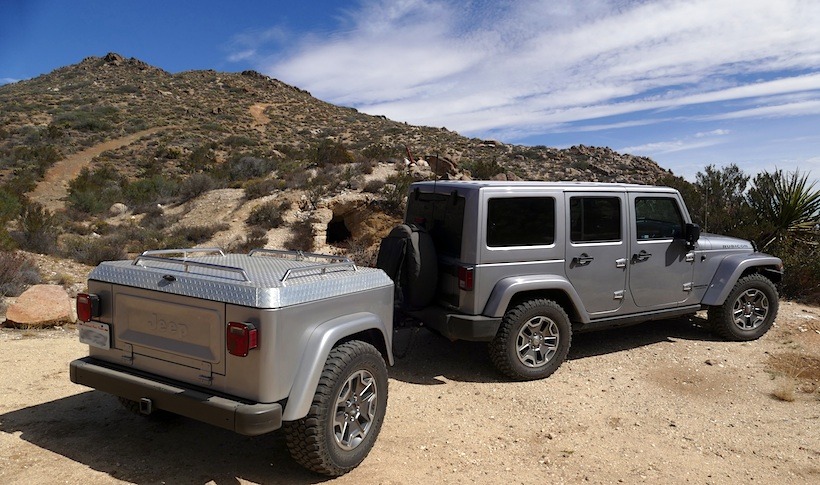
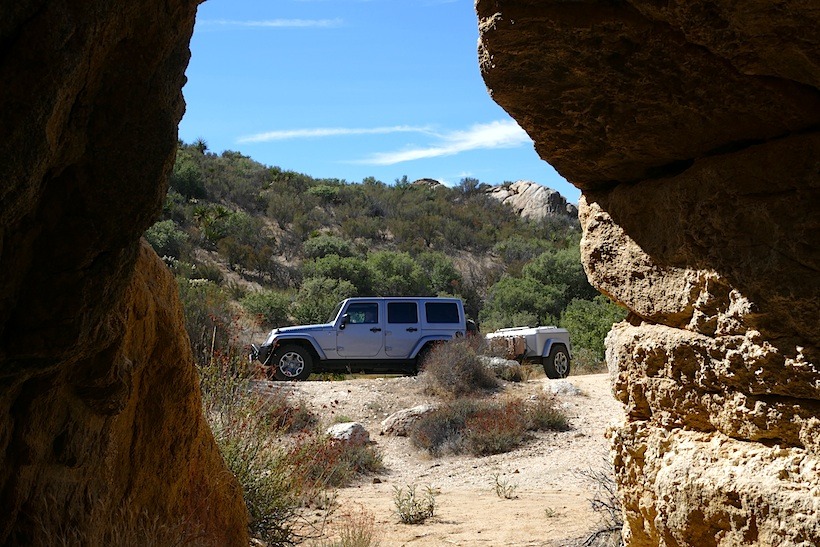
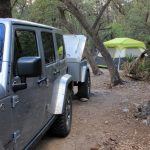
2015 Jeep Wrangler Unlimited Rubicon and Trailer

Jeep Wrangle Unlimited Rubicon: From old school to new school. TAP’s friend, David tells us about the evolution of his overlanding rigs and how he ended up with his 2015 JK and trailer. Read on and make your own bucket list!
“My affection for exploring the great outdoors began in college in the early 70’s, camping in the back of a Toyota Hilux pickup fitted with a small topper shell. I just put a piece of foam in the bed along with some sleeping bags and an old Coleman ice chest, a Coleman white gas lantern and a Coleman two-burner cooking stove. Using that setup my wife and I explored Arkansas, Tennessee, Georgia and Florida. We later bought a small LoLiner trailer and felt like we were really in tall cotton. Eventually, we sold the Toyota and trailer and bought a Dodge panel van (slant-6 engine included) and outfitted it with the paneling, shag carpet, and sleeping platform so in vogue in those days. Exploring Oregon, Washington, and northern California was a weekend passion for the next two years.
Next came a Ford Bronco II, a quite capable little off-road rig. We switched to tent camping then and travelled around Texas, Oklahoma, and New Mexico. I loved the little Bronco, but had wanted a Jeep Wrangle since high school after seeing what a friend’s 304 cid V8 equipped CJ-5 could do. When my daughter turned 16, I took advantage of her needing transportation and gave her my Ford Taurus SHO, ordered a new 2000 Jeep Wrangler TJ, and proceeded to moderately build it up over the next 14 years with ARB air lockers, suspension and body lifts, winch, plenty of skid plates, roof rack, bolt-in cage, etc. A year later, I ordered a new Rubicon Cargo Trailer, built-in Toledo, OH of mainly Jeep CJ-7 parts that even included a drop-down tailgate. It took several months for the build and delivery, but the builder kept telling me that this would be a trailer I would own until I died, and I believe he was correct. Now I could haul lots more gear but I needed more security, so I engaged a local machine shop to build a custom aluminum diamond plate locking cover for it. Halfway through those 14 years, a new Chevy Silverado ¾ ton diesel 4×4 pickup and slide-in truck camper were added to the fold, allowing towing of the Jeep and resulting in significantly less tent camping. More adventures in Texas (Big Bend NP, Padre Island), Utah (including The Maze and Elephant Hill), New Mexico, Wyoming, and California ensued.
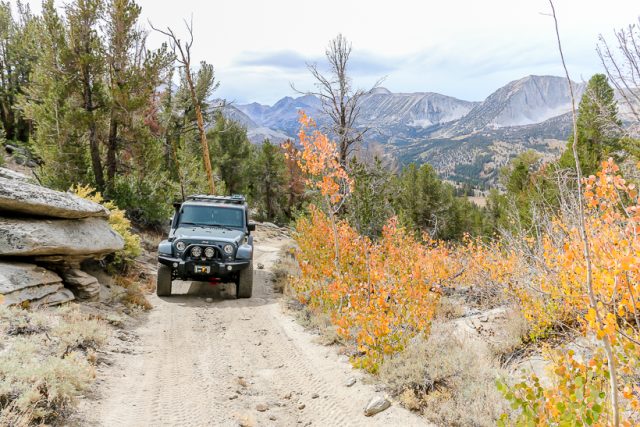
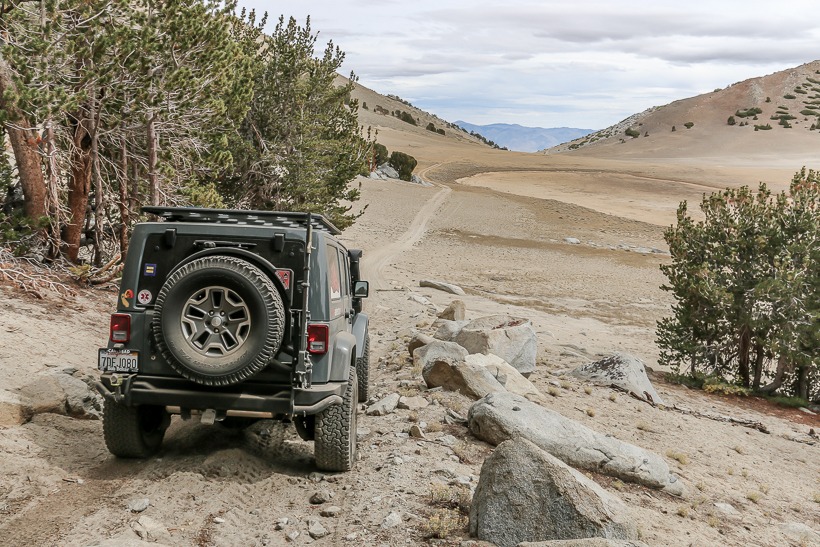
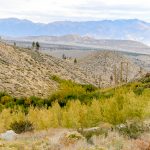
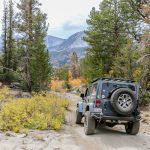
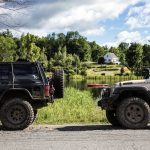
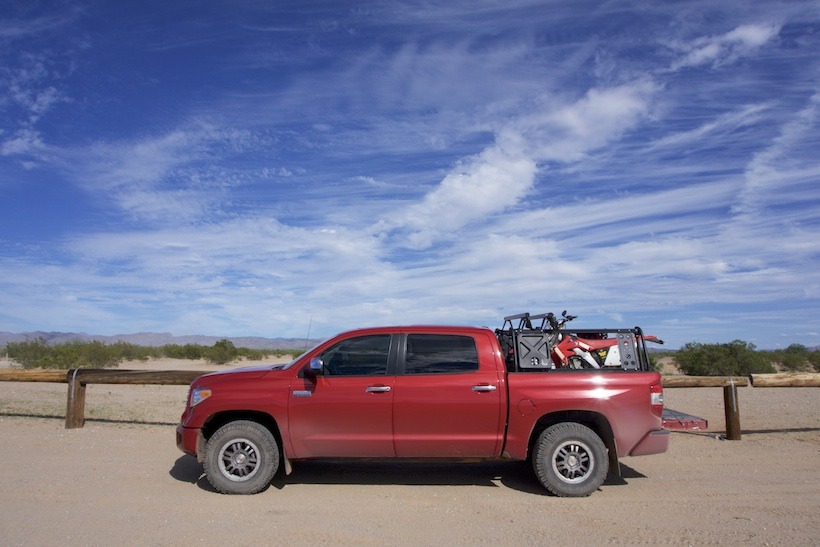
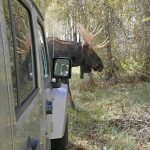
But eventually one’s needs change as life progresses, so a new 4-door Jeep Wrangler was recently ordered and the TJ, Chevy, and truck camper sold. Wanting the most stock capability that was available, we went with a 2015 JK Unlimited Rubicon in billet silver. Of course now was the time to freshen up the trailer with new paint, new tail lights to get rid of the cracks, and new matching wheels and tires so the same spare could be used. Also, it was time to start building up the new Jeep starting with some safety and security mods to be followed by mods designed to get its belly up a bit. Recent adventures have included trips to Anza-Borrego Desert State Park, Chiricahua National Monument in SE Arizona, Organ Pipe Cactus National Monument, Yellowstone NP, and Grand Teton NP. Upcoming trips with the Jeep Wrangler will focus more on California and southern Utah.”
Design considerations for the Jeep Wrangler:
- Focus on security and safety additions first, while getting to know the new Jeep’s capabilities.
- Keep overall weight as low as possible, incorporating aluminum where available.
- Keep low center of gravity while eventually improving break-over angle a bit.
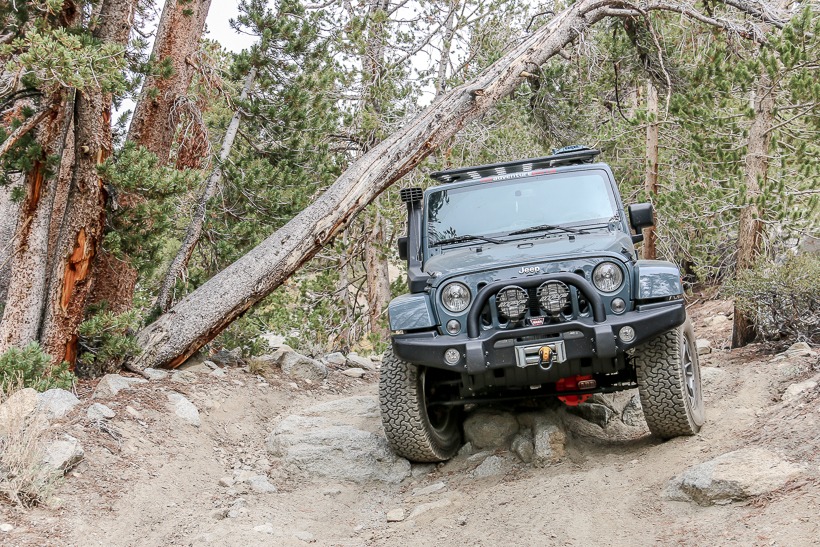
- Build for what will realistically be encountered not to conquer every possible terrain.
- Spend more time using and enjoying the Jeep than building it.
Stock Components:
-Automatic transmission
-4.10 axle gearing
-Connectivity package
-Side curtain airbags
-Automatic climate control
-Body color hardtop and fender flares (billet silver)

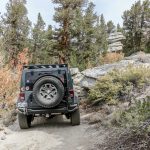
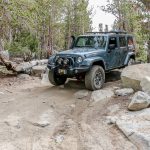
Jeep Wrangler Build Components:
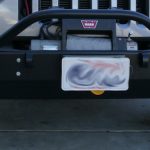
-Rock Hard 4X4 aluminum patriot series full width front bumper with lowered winch mount (37 lbs total weight) https://www.rockhard4x4.com/product_p/rh-5045.htm
-Warn X8000i winch (no longer available)
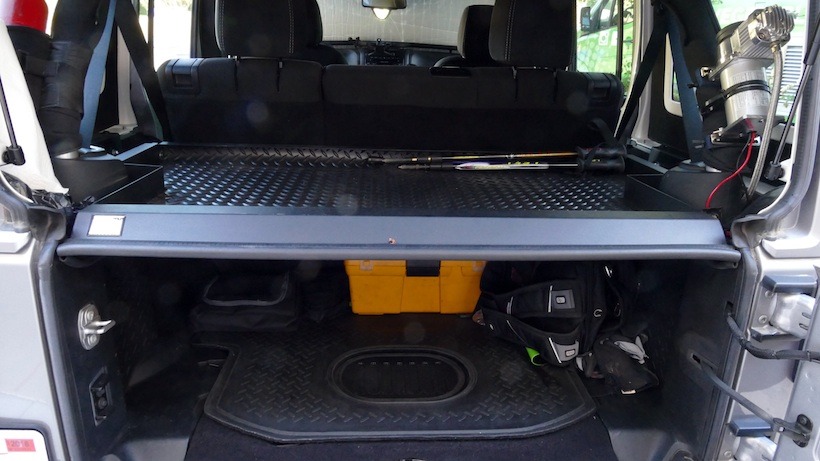
-Tuffy hood lock #292 https://www.tuffyproducts.com/p-457-tuffy-2007-jk-hood-lock.aspx
-Tuffy security deck enclosure #275 https://www.tuffyproducts.com/p-294-tuffy-2011-jk-security-deck-enclosure.aspx
-Ravelco anti-theft device https://nohotwire.com/product/about-ravelco/?gclid=CLq3ib3wnMgCFYeBfgodfaQIZQ
-Cobra CB Radio Model 75 WXST https://www.cobra.com/products/recreational/c-75-wx-st
-Cooltech LLC GateMount CB antenna system https://www.cooltechllc.com/6-wrangler-parts-accessories
-Cooltech LLC VersaMount2 https://www.cooltechllc.com/6-wrangler-parts-accessories
-Outback Trailgater tailgate fold down table https://outbackadventureproducts.com/
-AEV floor mats (front & rear) https://www.aev-conversions.com/shop/jk-floor-liner
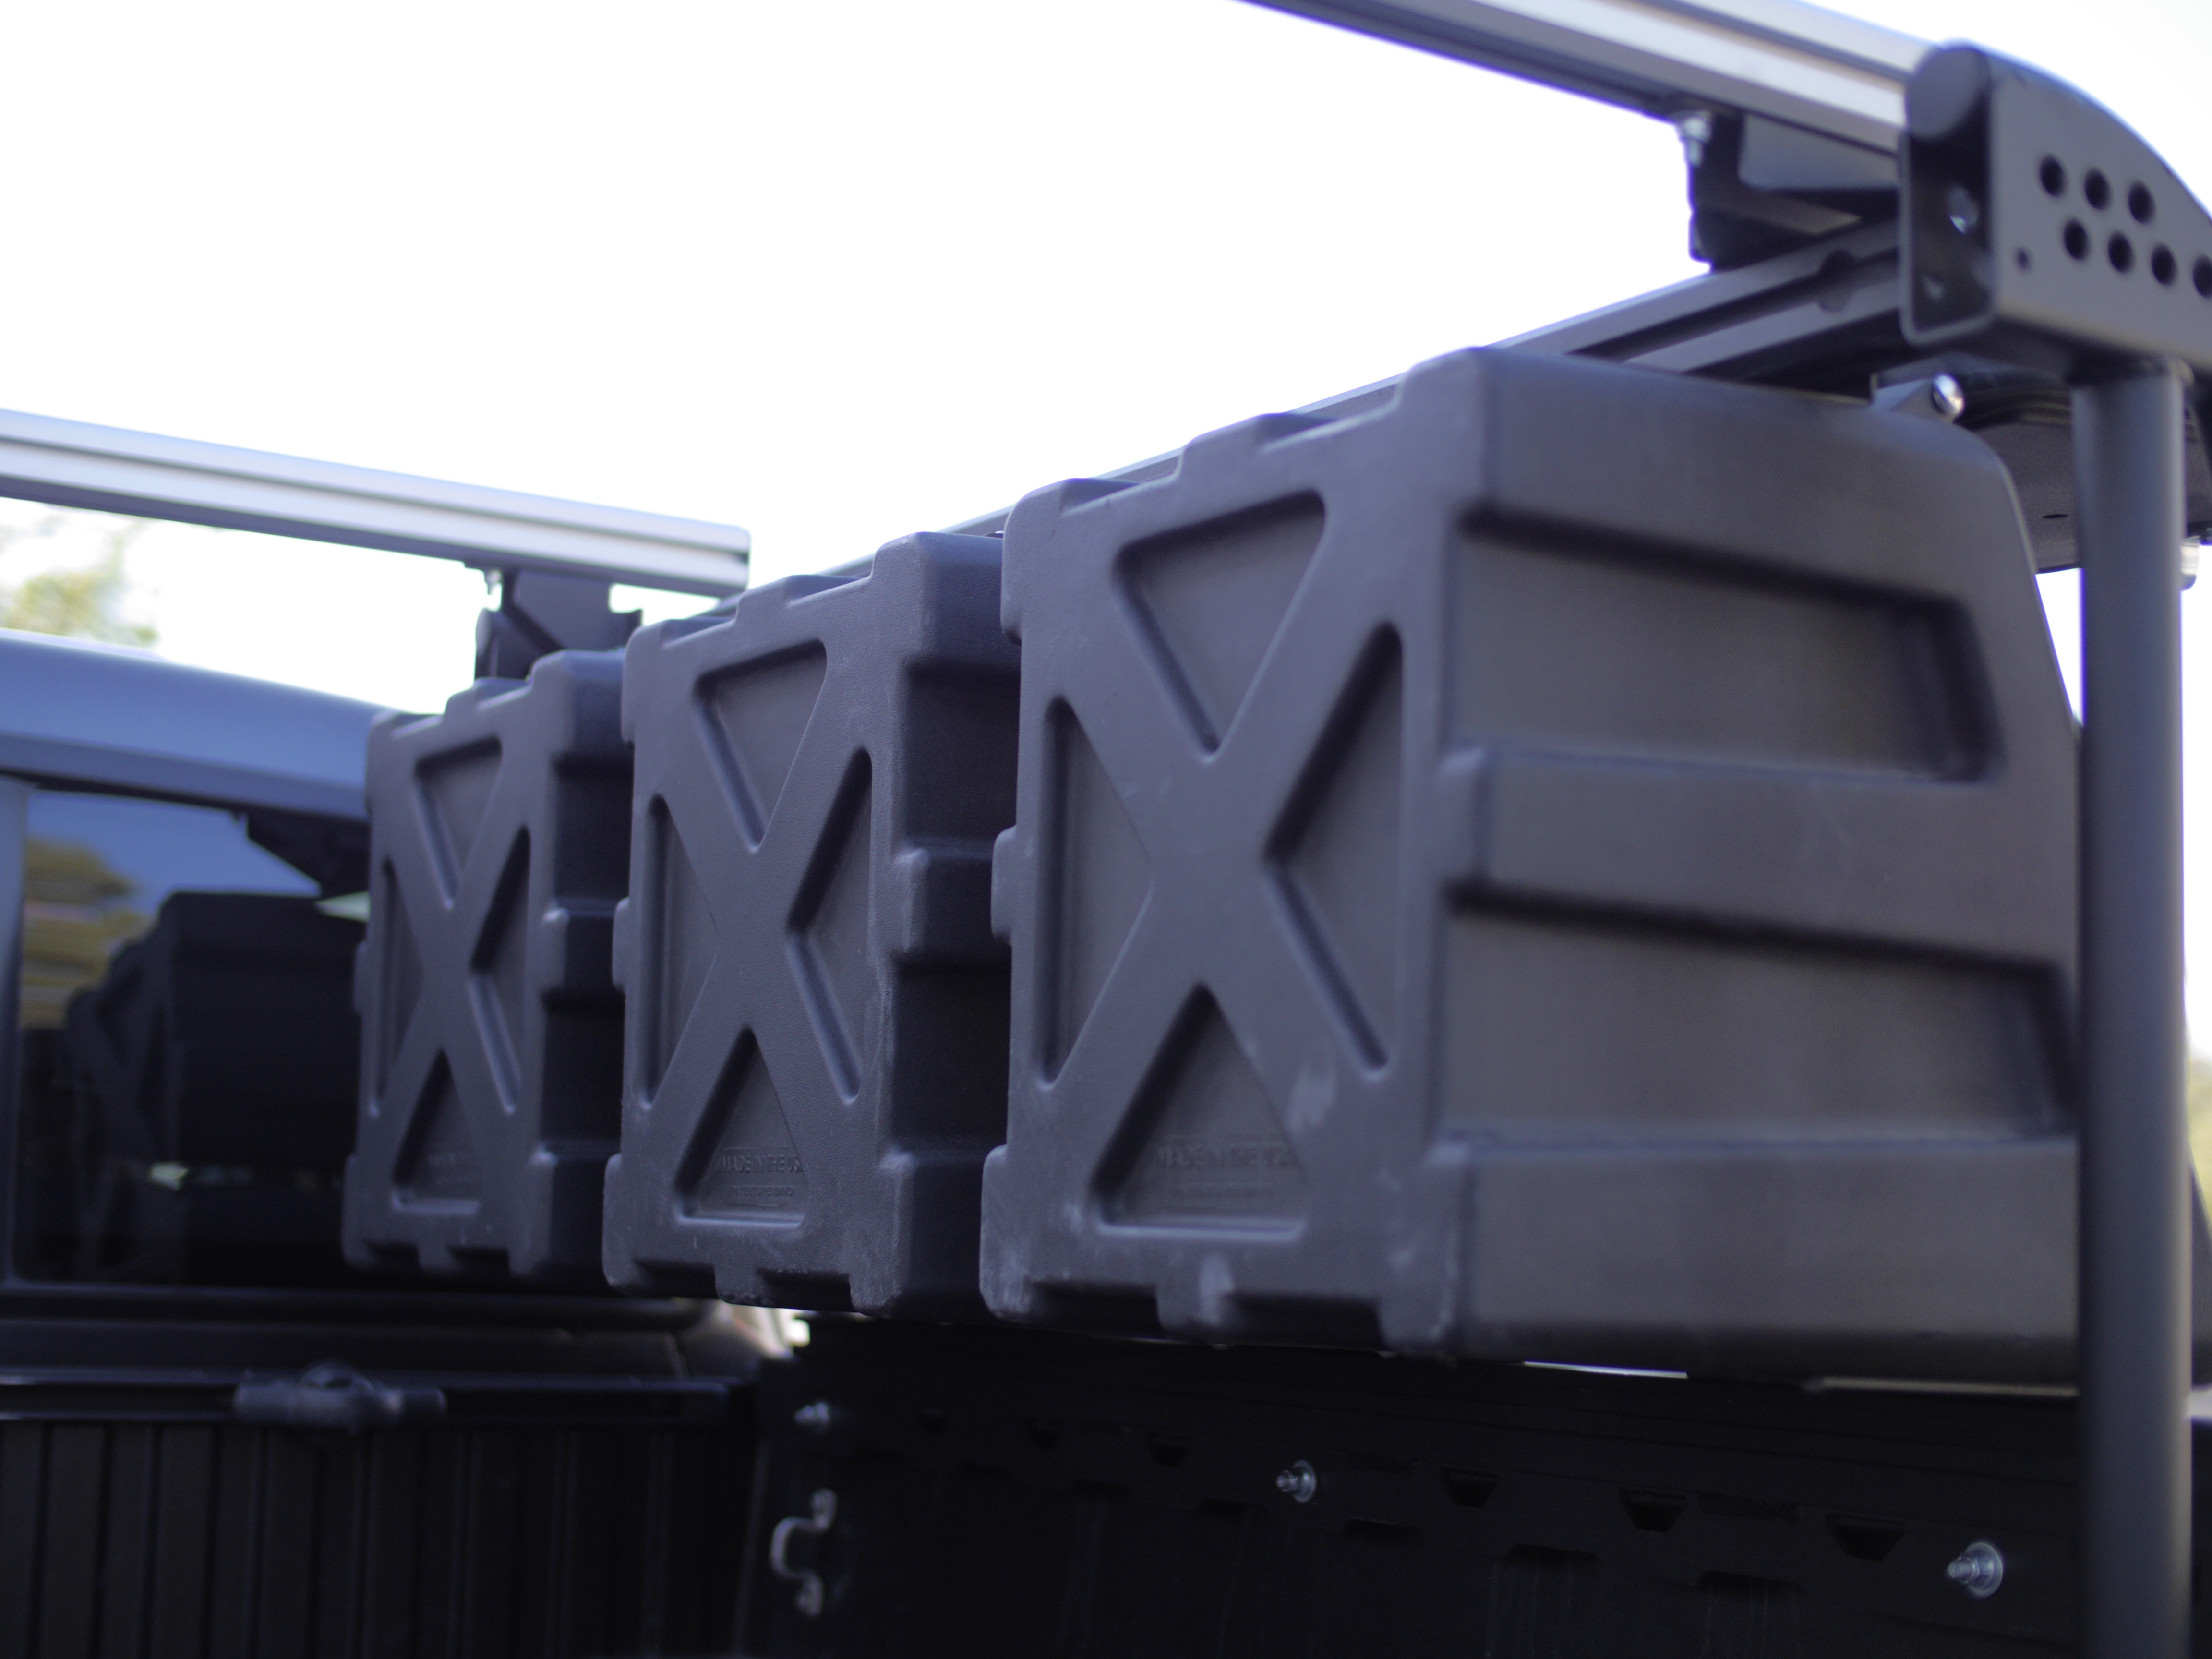
-Vector OffRoad JKE full width dock https://www.vectoroffroad.com
-Assorted ram mounts to fit on Vector OffRoad dock https://www.rammount.com/
-Viair 400H air compressor https://www.viaircorp.com/h-models.html
-ARB Bushranger X-Jack https://store.arbusa.com/Bushranger-X-Jack-Complete-Kit-72X10-P3589.aspx
-Canyon Outfitter 35 quart cooler https://www.canyoncoolers.com/outfitter-35.html
-Trasharoo https://www.trasharoo.com/TRASHAROO%20/Order%20Yours%20Today.html
Potential future upgrades:
-Aluminum rear bumper (GenRight currently under consideration)
-Moderate lift of 2”-3” (AEV, MetalCloak, Teraflex, etc)
-All terrain tires such as new BFG KO2’s (no larger than 35×12.50×17)
-Teraflex hinged spare tire carrier https://teraflex.com/shop_items/528ffa7fead962f416e72f7f
-Rock Slide Engineering Step-Sliders https://www.rockslideengineering.com/product/step-slider/
-Aluminum skid plates for underbody (manufacturer TBD)
-Control arm skid plates (manufacturer TBD)
-Roof rack (such as from AEV or Front Runner)
-LED driving lights (manufacturer TBD)
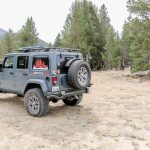
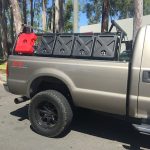
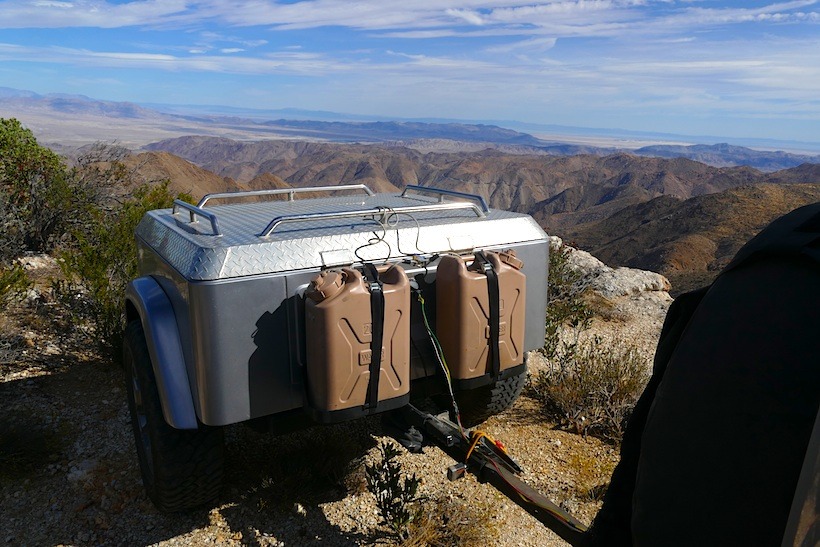
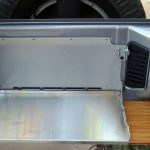
2001 Rubicon Cargo Trailer (no longer sold)
As delivered:
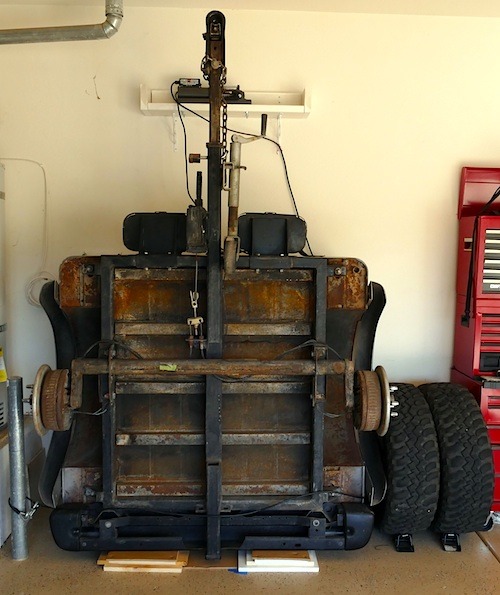
-3500 lb Torflex axle
-Drop down rear Jeep tailgate
-Dual jerry can holders on front
-Hitch mounted tray to hold ice cooler, firewood, etc
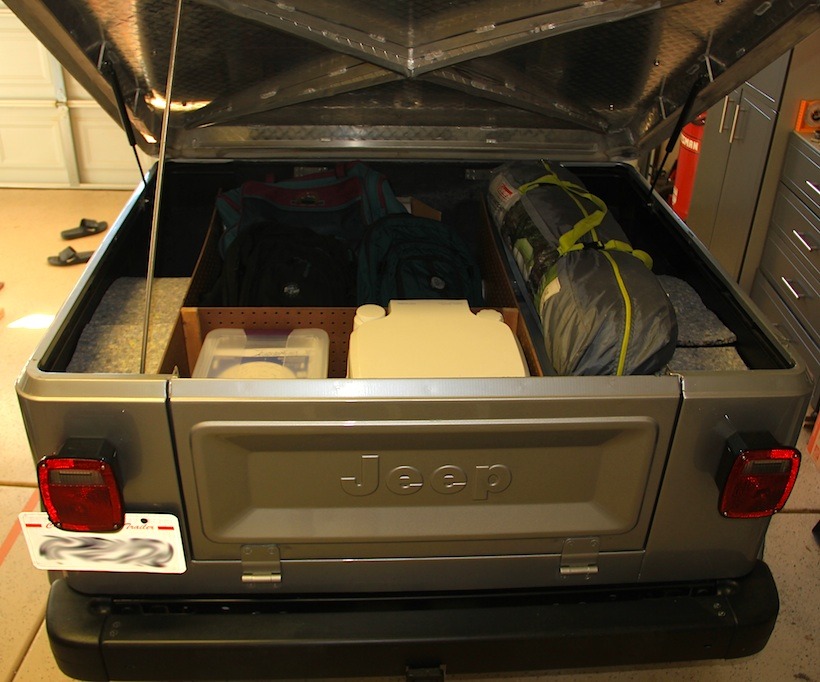
-Tonneau cover
-Rhino lined
-Painted Desert Sand to match my 2000 Jeep TJ
-5 on 4 ½ wheel bolt pattern to match Jeep TJ
-OEM TJ Sahara wheels to match Jeep TJ with 30×9.5×15 tires
Items installed since delivery:
-Jeep TJ rear bumper
-Locking aluminum diamond plate hardtop with tie-down bars
-Various wheels and tires have been fitted over the years to match the tow Jeep
-Malone SeaWing kayak carriers https://www.maloneautoracks.com
-Rugged Ridge axle adapters to change from 5 on 4 1/2 to 5 on 5 spacing for Jeep JK https://www.ruggedridge.com/wheel-adapters-5-x-5-inch-to-5-x-4-5-inch-bolt-pattern-15201-15.html
-OEM JK Rubicon 17” wheels/BFG Mud-terrain tires to match 2015 Jeep JKUR
-Repainted Billet Silver to match 2015 Jeep JKUR
So there you have it. Check out the resources listed above and TAP into Adventure! TAP sends a shout out of thanks to David G. for his write-up and photos.

Author: David G.
Editor: Lori Palmer