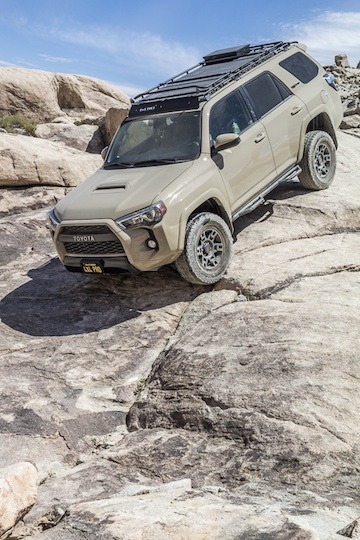
2011 Trail Edition 4Runner

I’ve always loved Toyotas and over the past 30+ years there’s always been one in my driveway. I remember the first generation 4Runners hitting the market in the mid 80’s and I just thought to myself… “someday”. My first 4Runner was a 3rd generation two-wheel drive, 4 cylinder, manual transmission. My love for the outdoors led me away from paved roads where I found myself wondering what was beyond the obstacles and rocks that I would not dare attempt with my 2-wheel drive. Seeing a muffler and various vehicle parts on the road was enough to get me to realize that I was limited with what I had and to safely venture further on these off-beaten paths would definitely require a modified 4-wheel drive off-road capable vehicle.
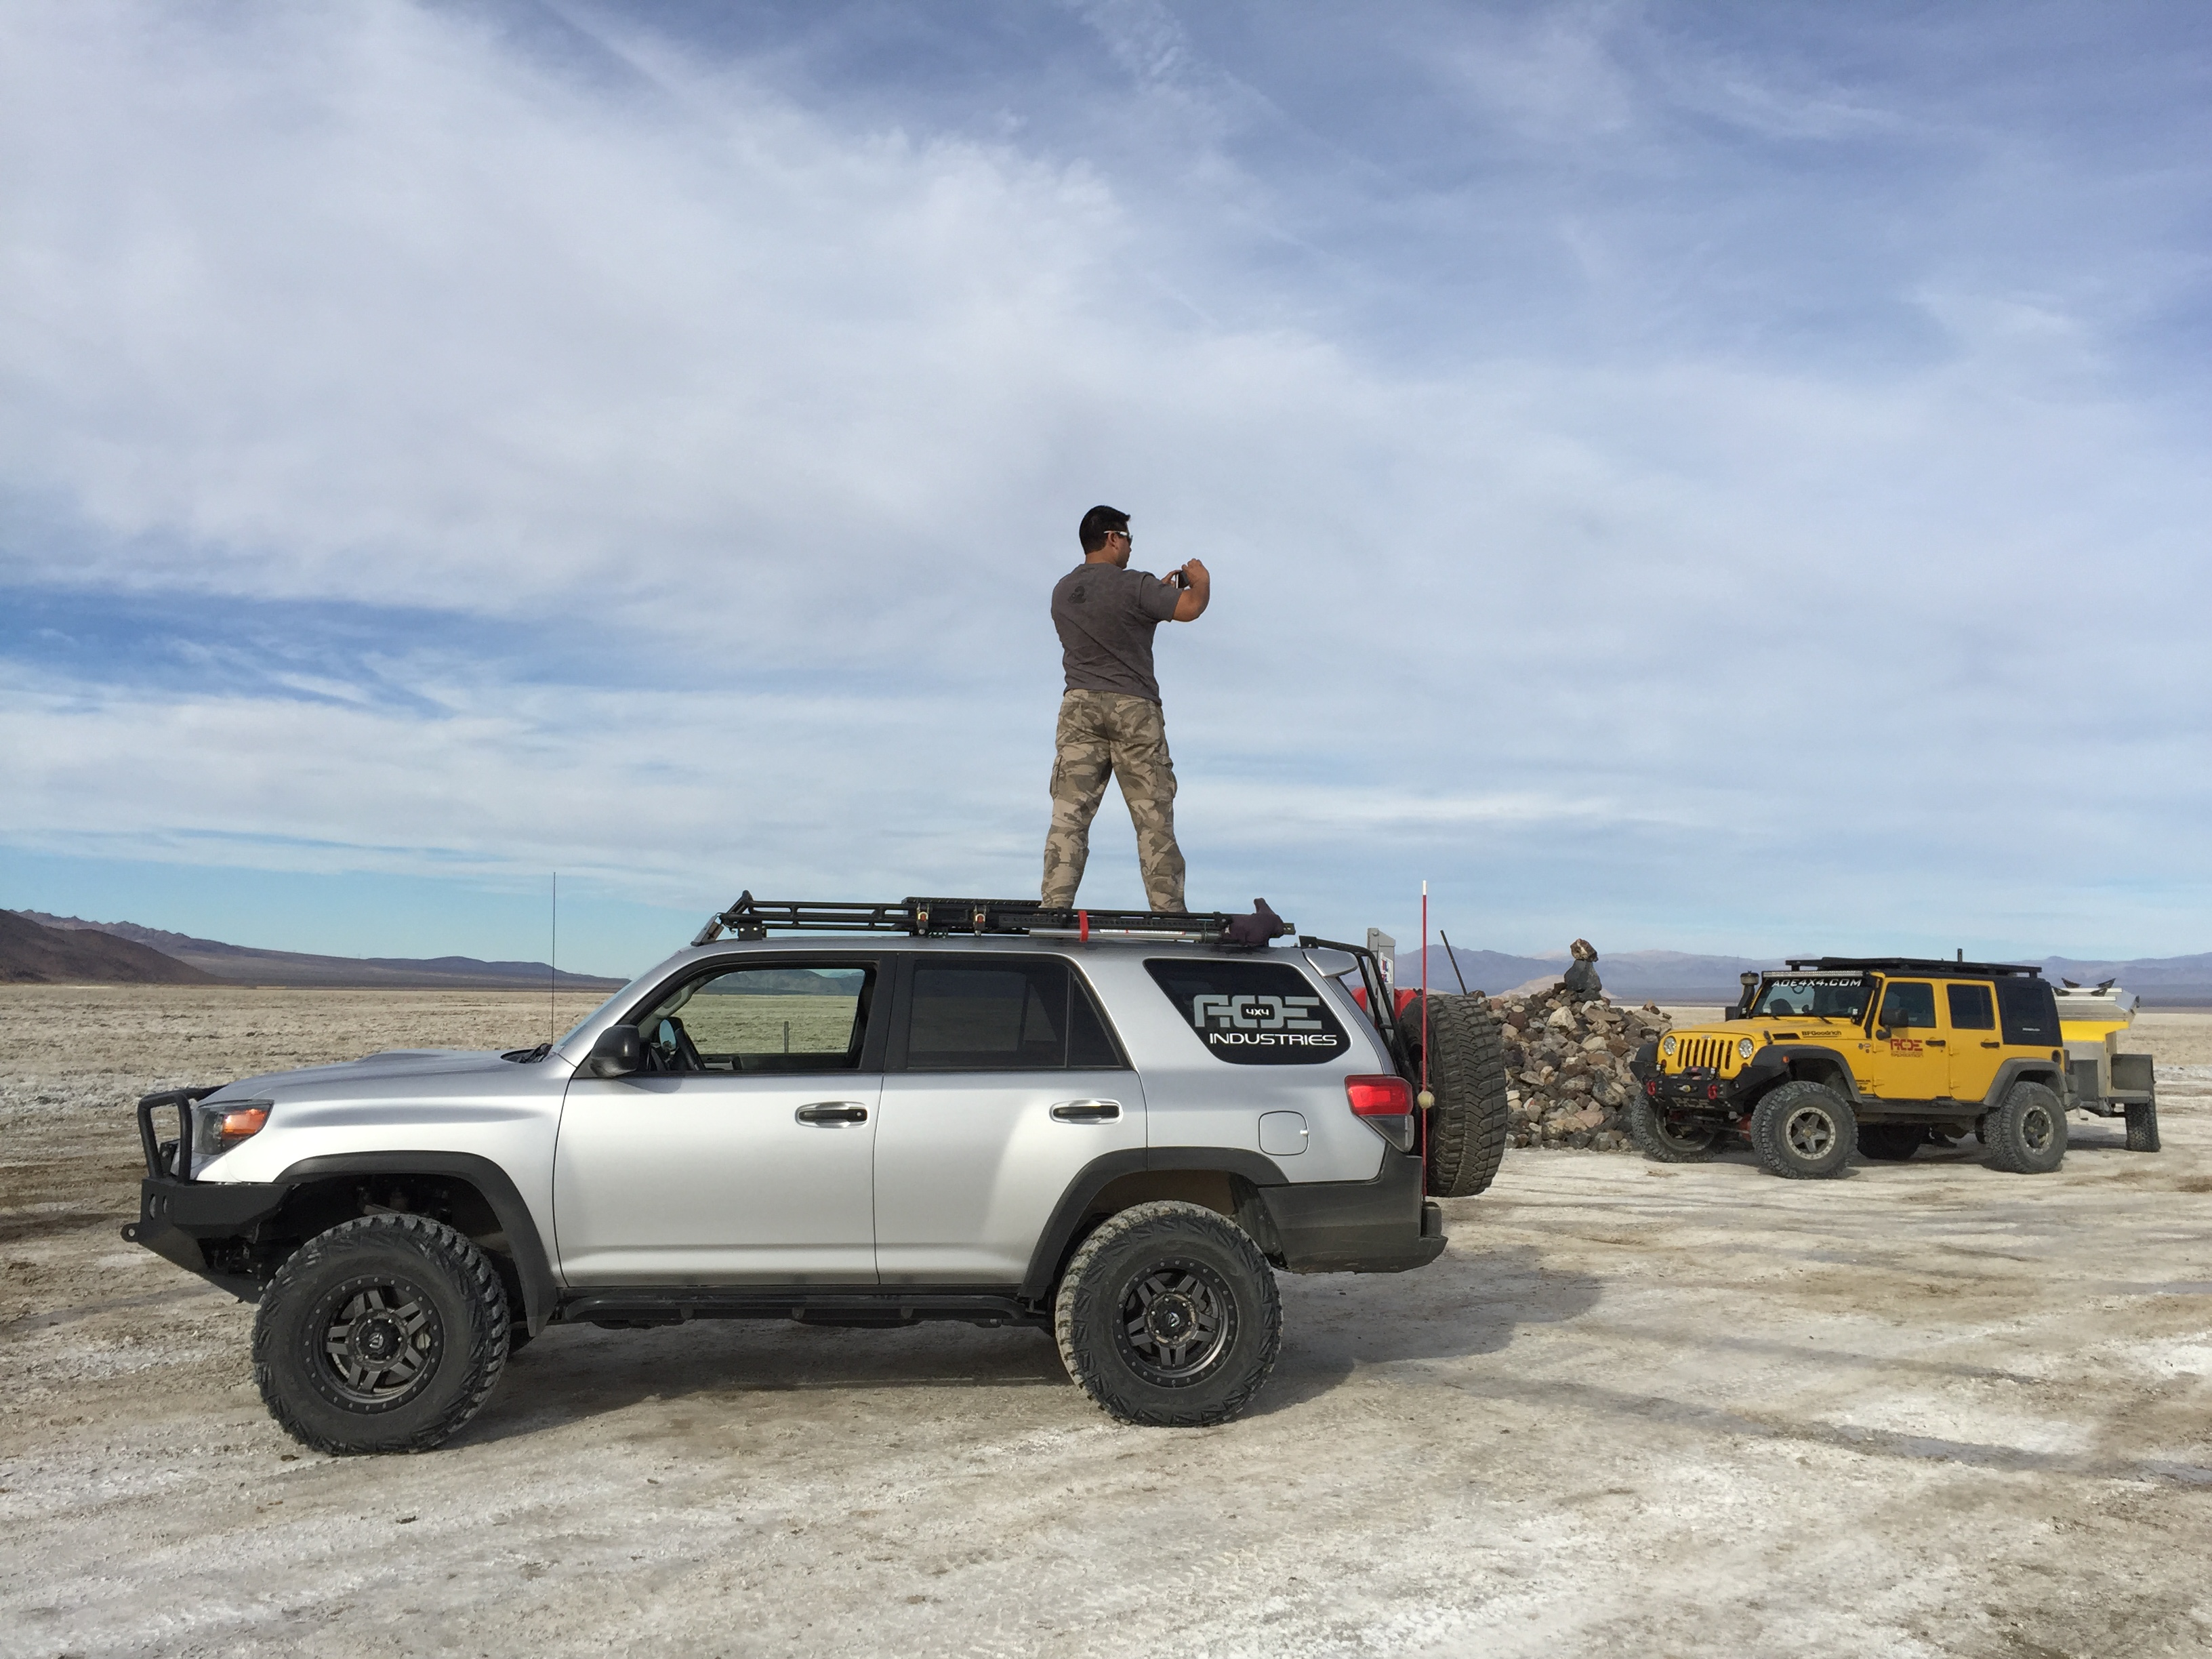
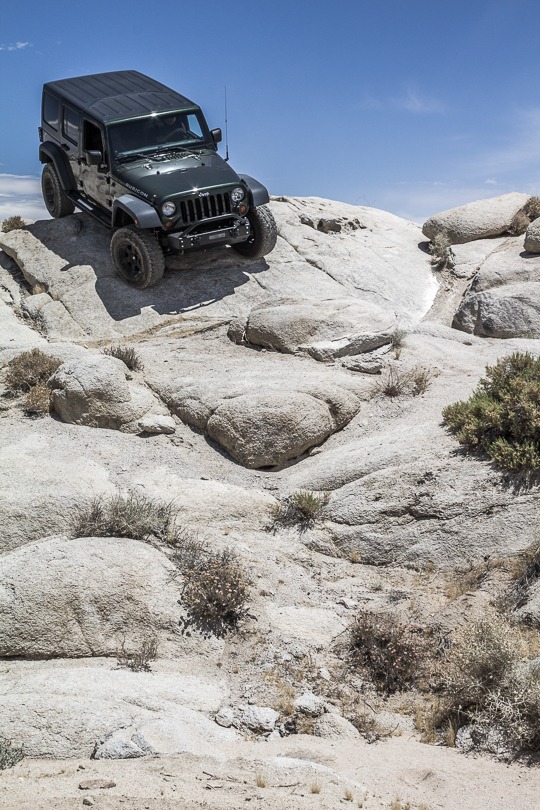
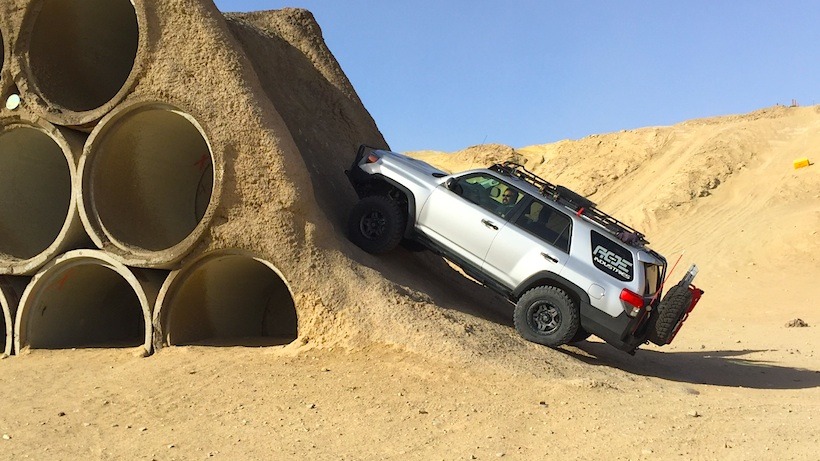
When the 5th generation Trail Edition KDSS appeared on the market, I just had to have one and could finally afford it, so I traded in my 1998 4Runner for the 2011 Trail Edition. It delivered the smooth road ride I wanted for family trips and reduced the body roll that was sometimes a bit scary with my 3rd gen. Then I started to interact more with the off-road community both face-to-face and online and learned about the importance of both protecting the undercarriage and of having rocker panels. While there were not many aftermarket parts for 4Runners available at the time, I did find that ShrockWorks had the rock sliders I needed; my first modification!
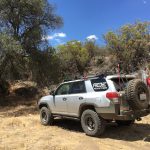
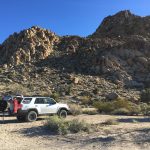
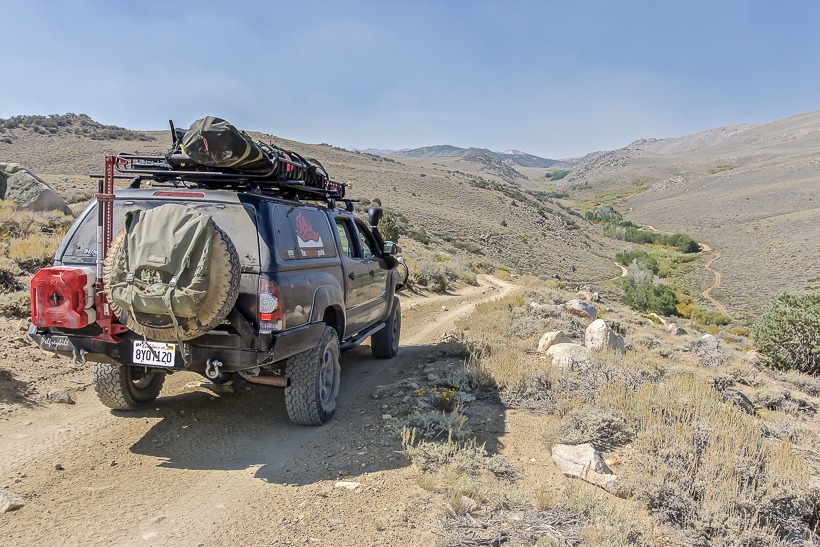
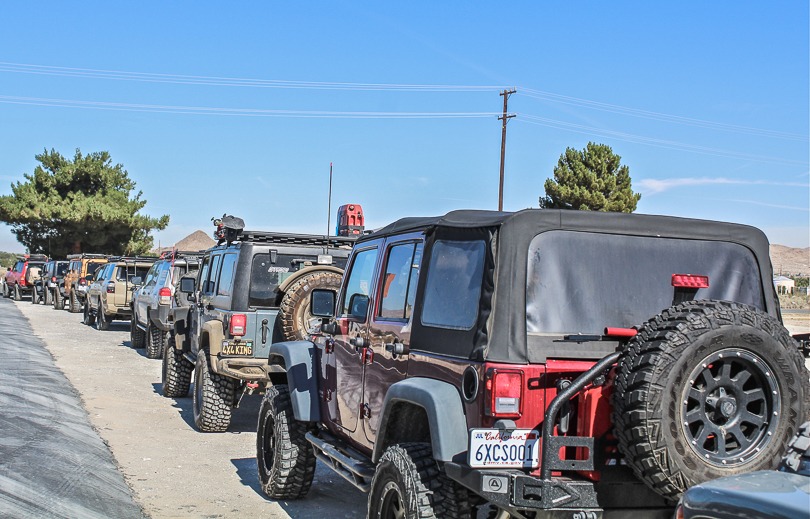
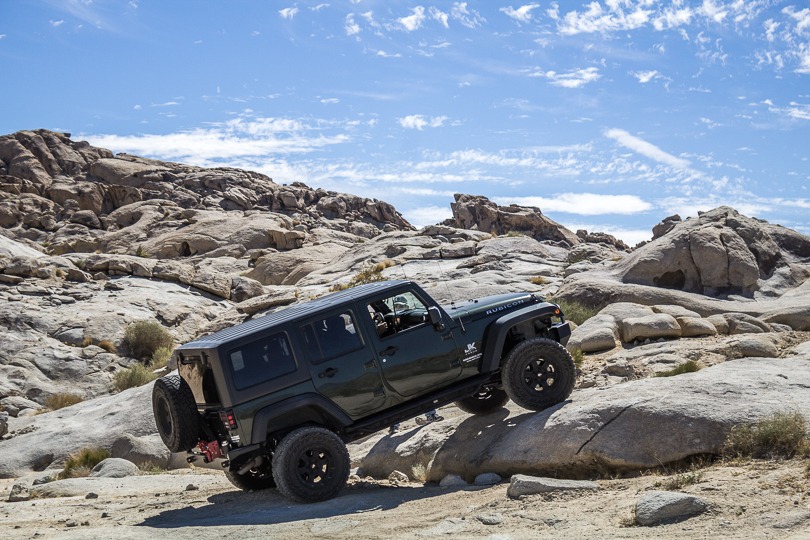
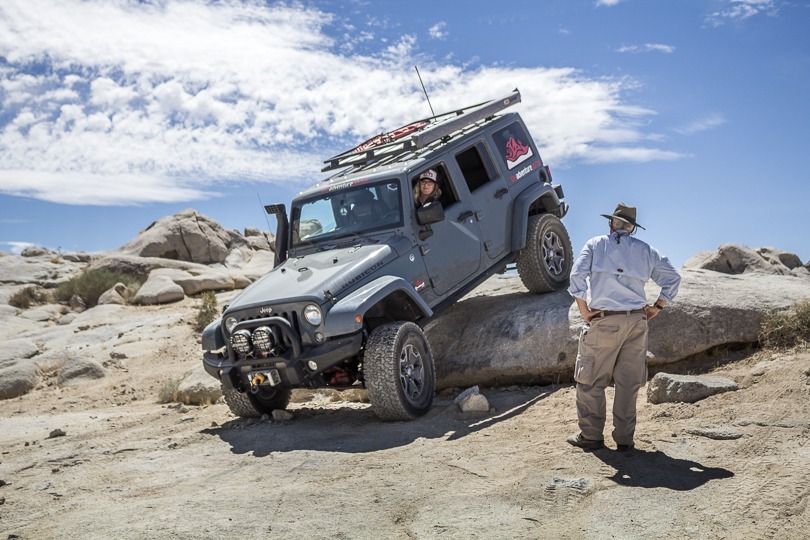
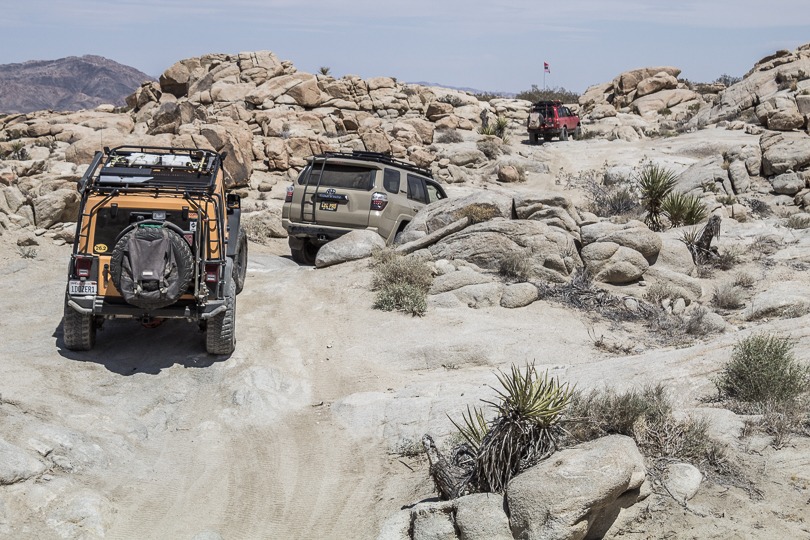
Wanting more of the off-road experience, I took a run into Joshua Tree via Berdoo Canyon Road. While today I would consider it an easy route, back then my wife and I got a bit nervous on a few of the obstacles scraping the front stock bumper and undercarriage in this stock vehicle. Thinking about the possibility of causing serious damage, I began to search for off-road training and came across Badlands Off-Road Adventures 4WD Training School. Enrolling in the beginner’s class at Hungry Valley is where I learned a great deal about the fundamentals of driving off-road and the necessary equipment to be safe. After attending the Off-Road Expo in Pomona, the build was on!
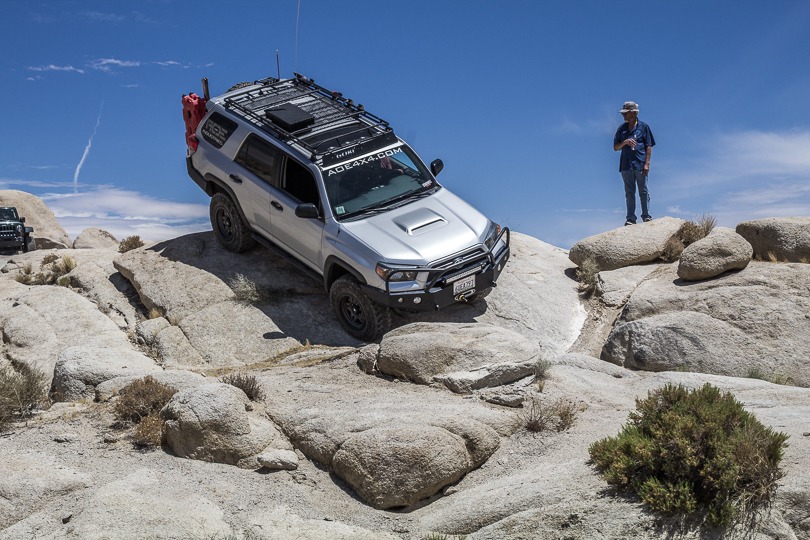
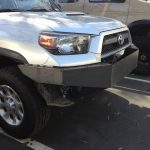
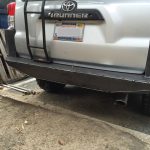
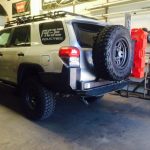
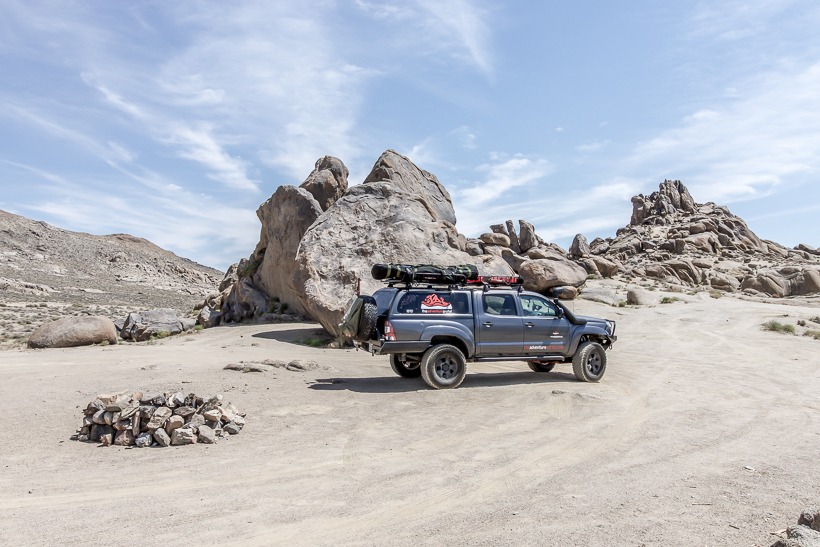
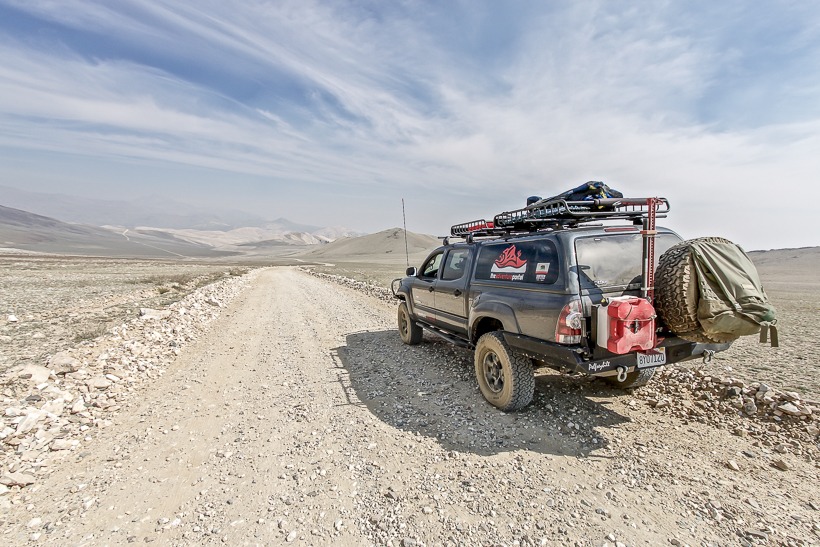
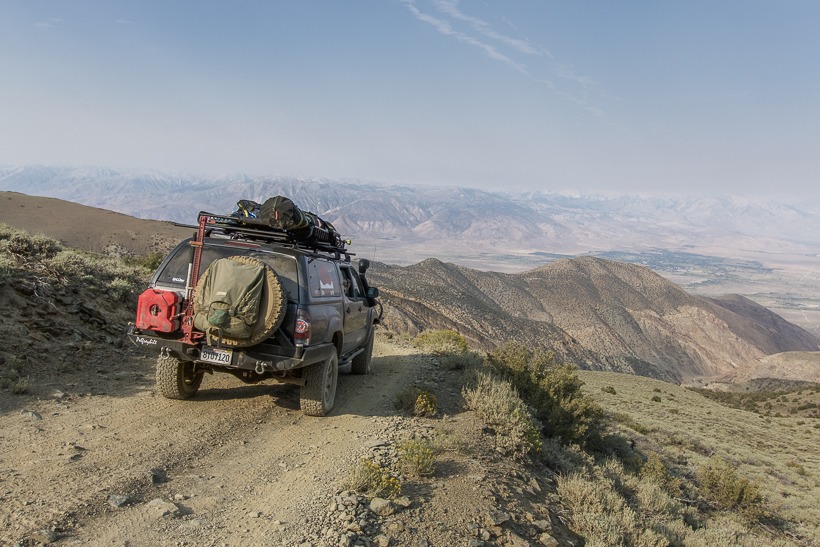
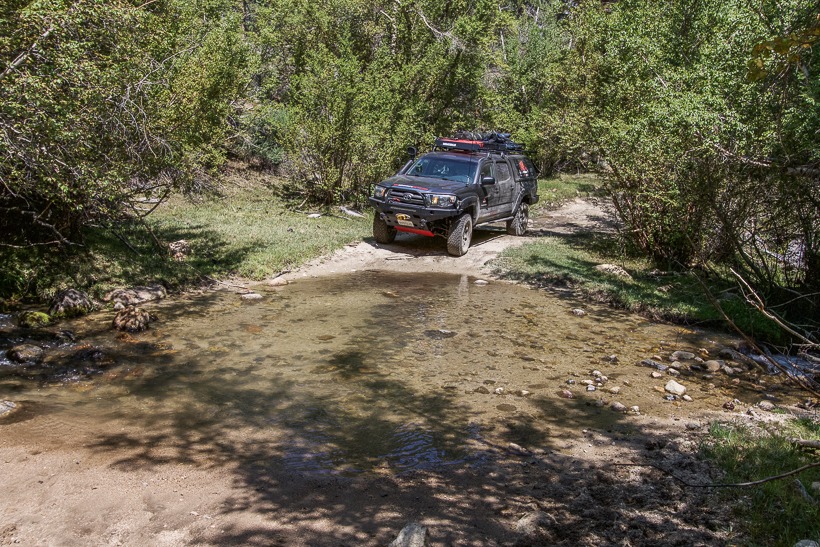
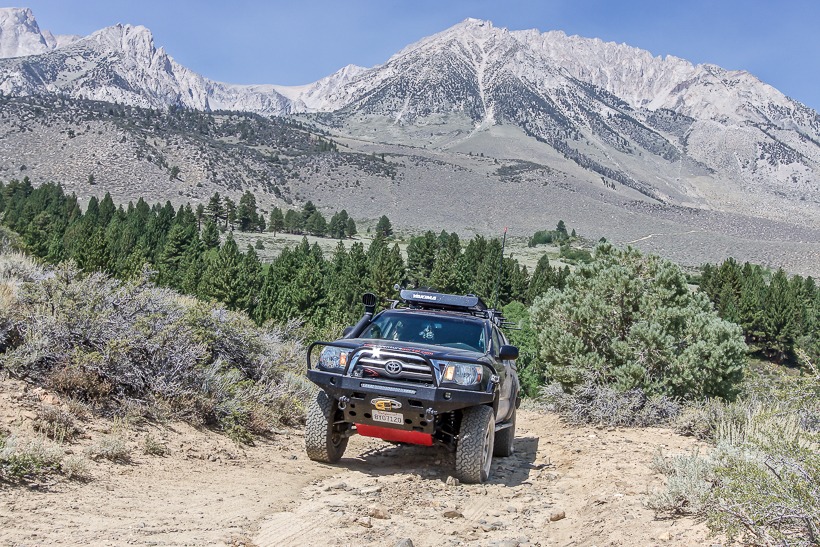
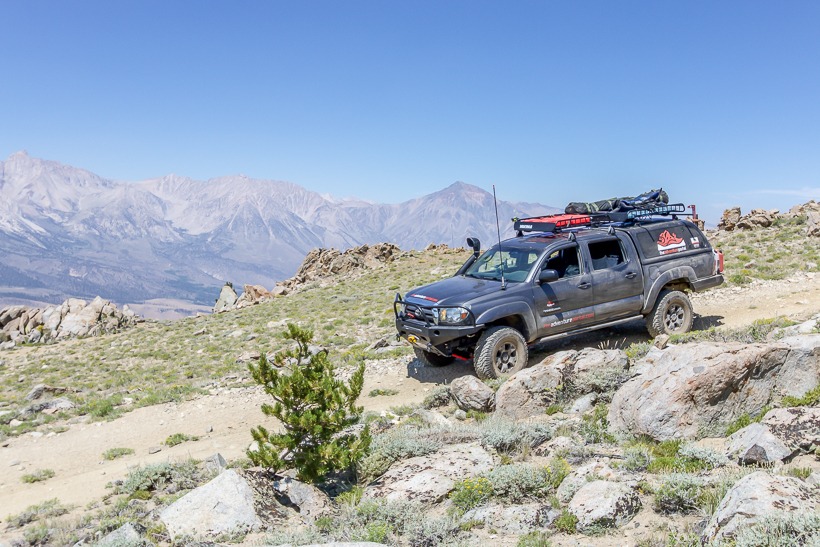
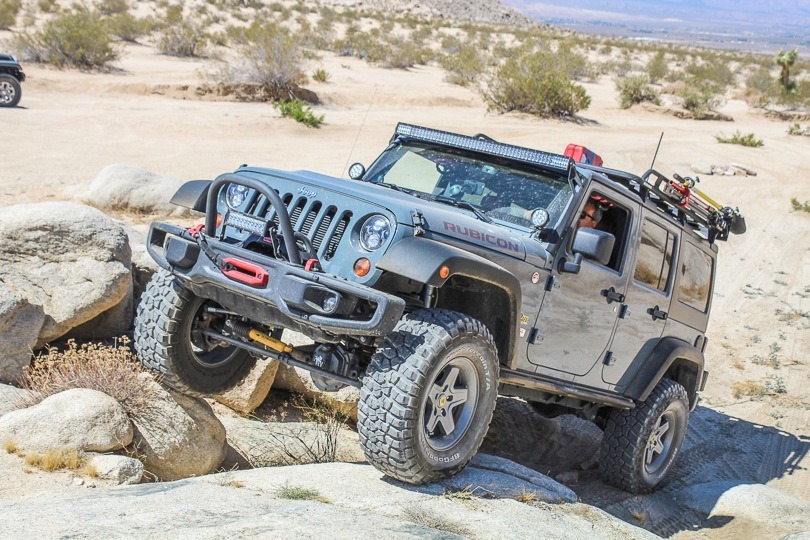
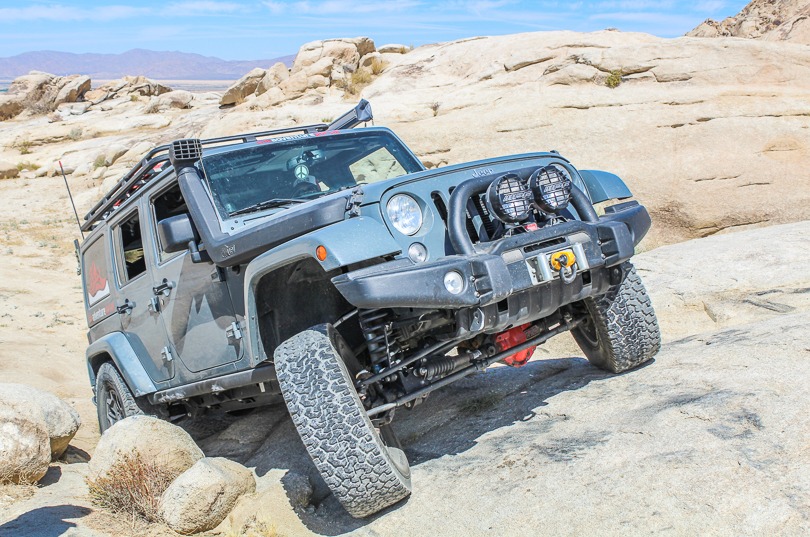
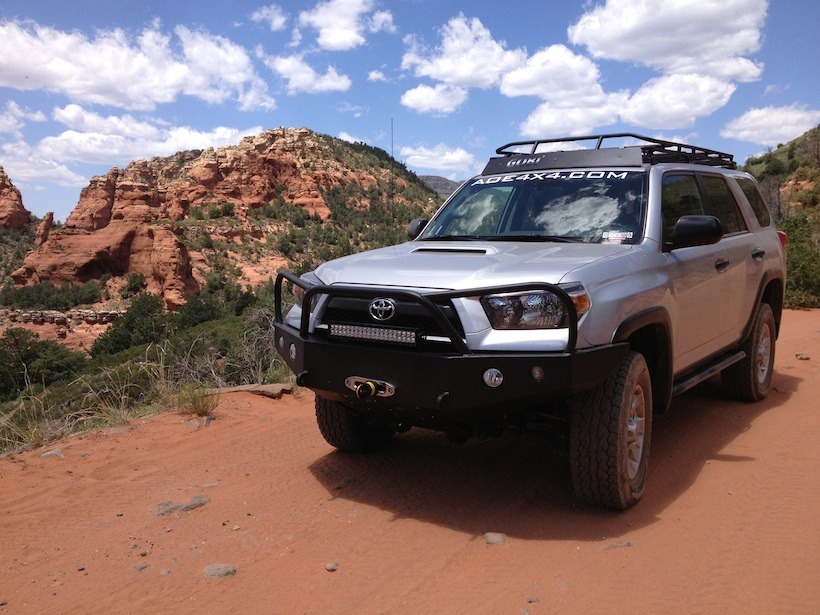
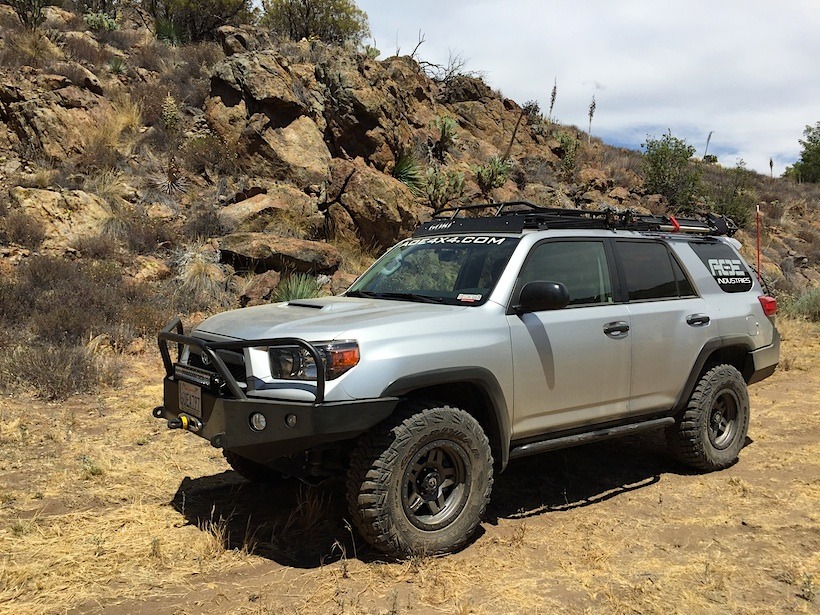
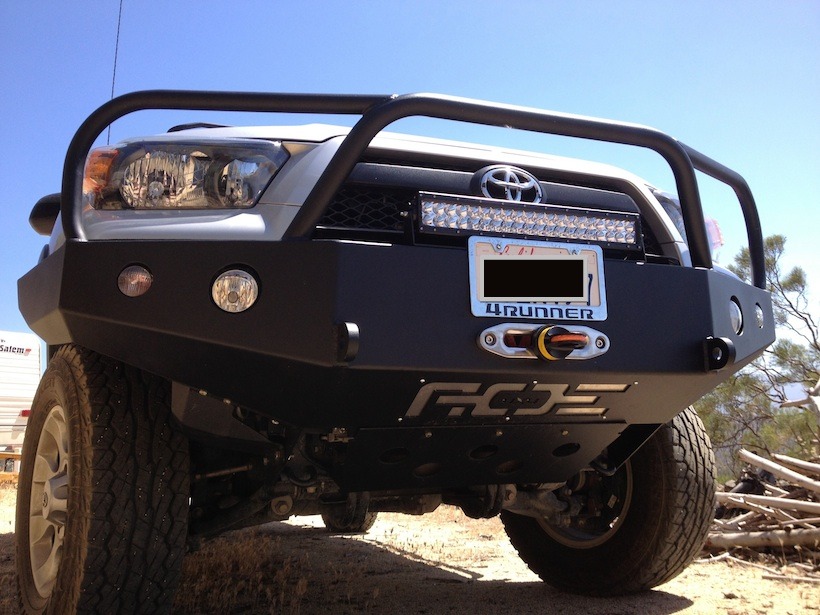
With a bit research, I felt the Gobi Stealth Rack with all its available accessories fit my needs providing a mount for my Hi-Lift jack, a tool box, and a high point to fly a safety flag. But with front and rear bumpers and skid plates there wasn’t much to choose from back in 2012. Luckily I discovered a local small business, American Overland Expedition (AOE), who specialized in custom modifications for off-road enthusiasts. Working with them, I explained what I wanted and they delivered. The custom front bumper houses a Warn XP9000 winch with wireless control equipped with 3/8”x 80” synthetic winch line with safety thimble threaded through a Viking 100 Series Hawes Fairlead. A Rigid Industries 20” light bar is mounted on the front bumper.
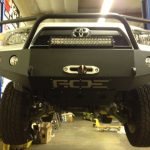
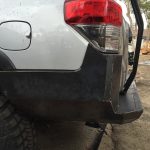
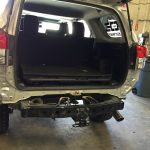
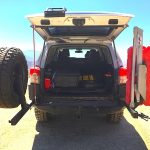
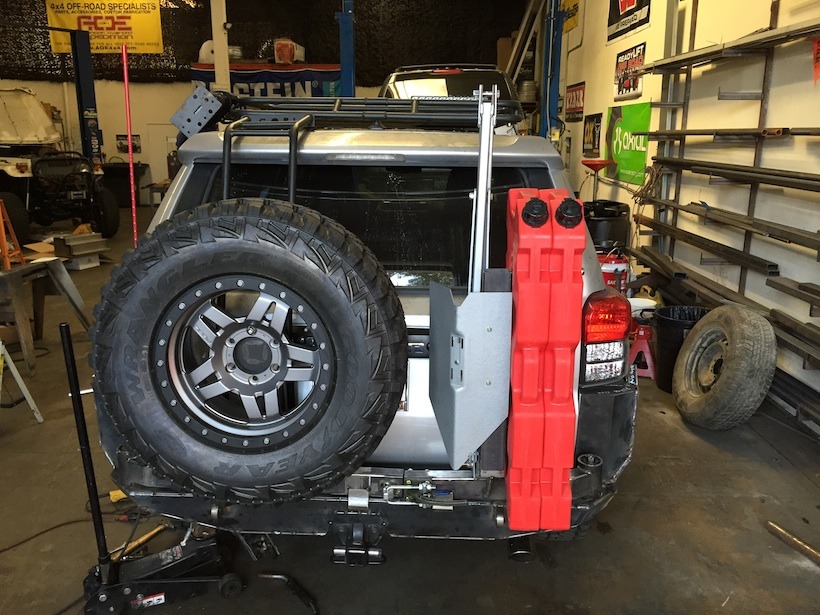
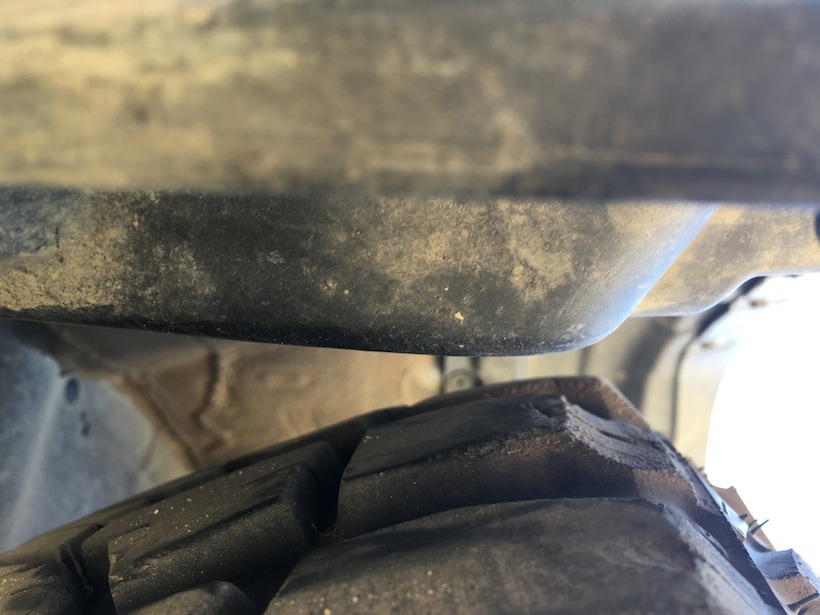
The custom skid plate system is 3/8” aluminum protecting the engine transmission and Tcase. A ShrockWorks skid plate protects the gas tank. The rear bumper carries the spare, two 4 gallon Rotopax fuel containers, a Pull-Pal Winch Anchor 11000, and allows room for original tow hitch. It also provides multiple locations to mount antenna.


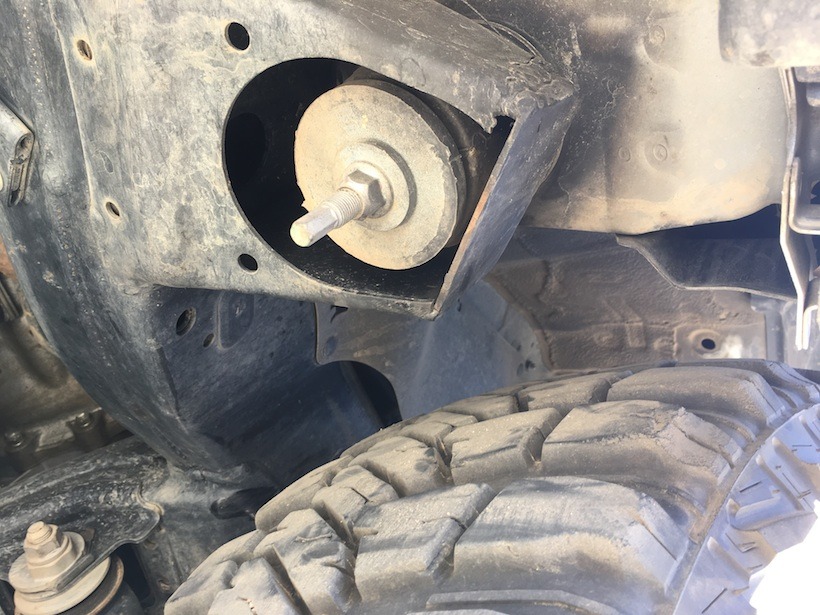
Having the KDSS suspension system limits the amount of lift you should add to the 4Runner, so it is equipped with an Icon Stage 2 suspension system providing 2 1/2” of lift. Tires are (LT285 70/R17) 33” Goodyear Wrangler mt/r Kevlar mounted on D558 Anza Fuel Wheels. Having 33” tires on a 5th gen, from my off-road experience, requires a body mount chop. When moving slowly down a steep slope where a turn is required, the front tire wedges itself against the front body mount. To continue to move forward you have to force the tire from this wedged position which will likely throw the alignment off. Been there, done that. AOE handled the body mount chop.

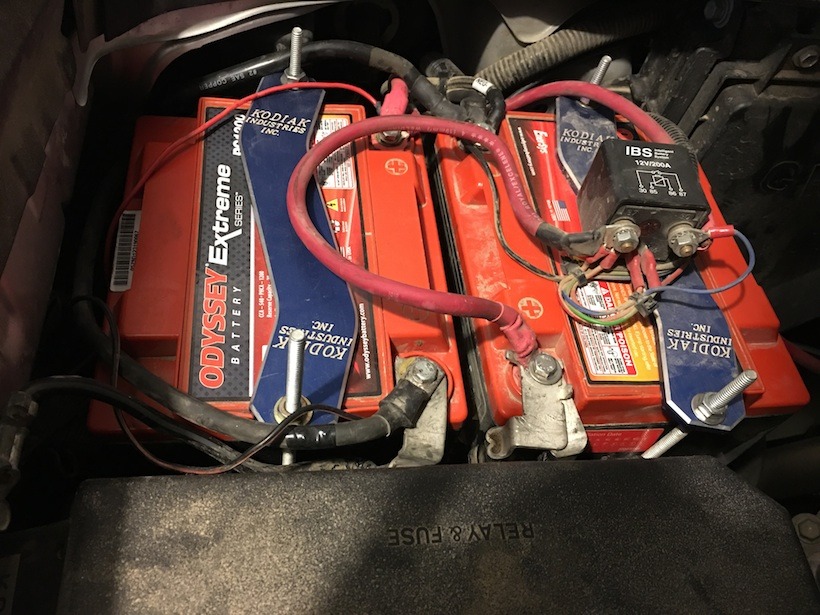
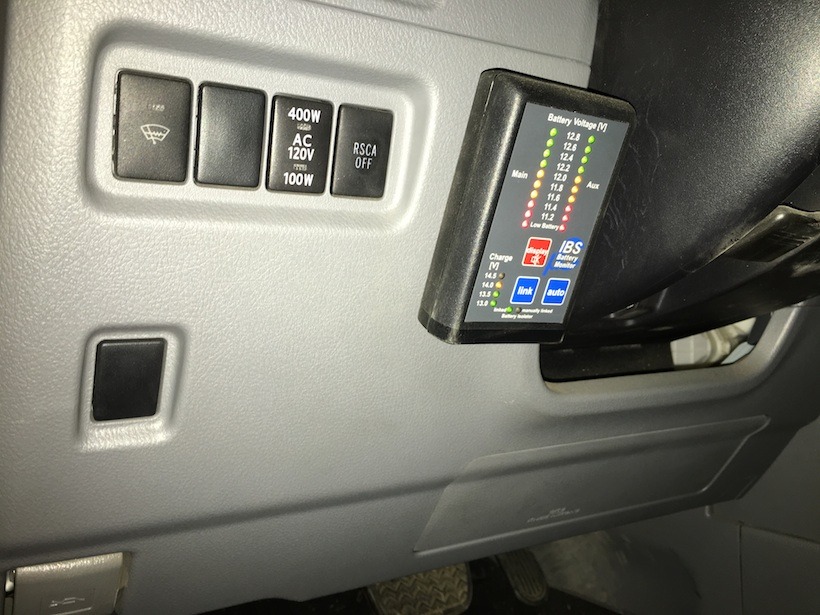
Other modifications include a Kodiak Dual Battery tray holding two PC 1200 Odyssey batteries with an IBS system controller. An IBS monitor display is installed in the interior. A 4×4 sPOD 6-relay source box is mounted in the engine compartment and a contour switch is installed at the bottom of the interiors center console.


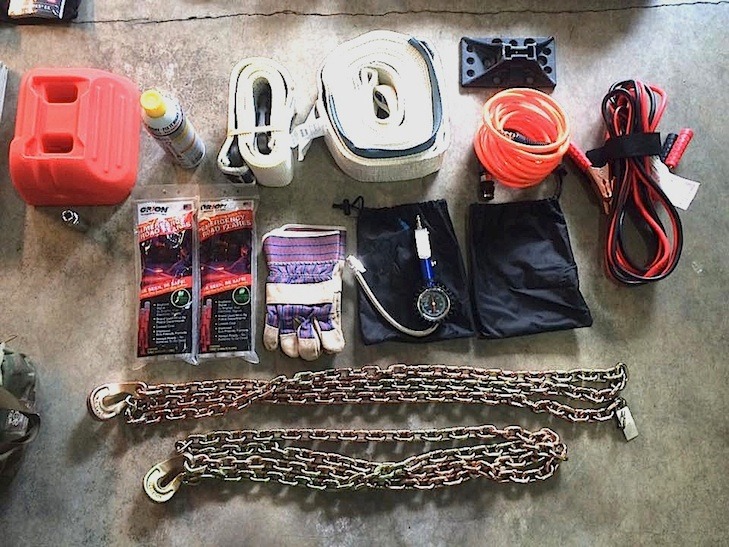
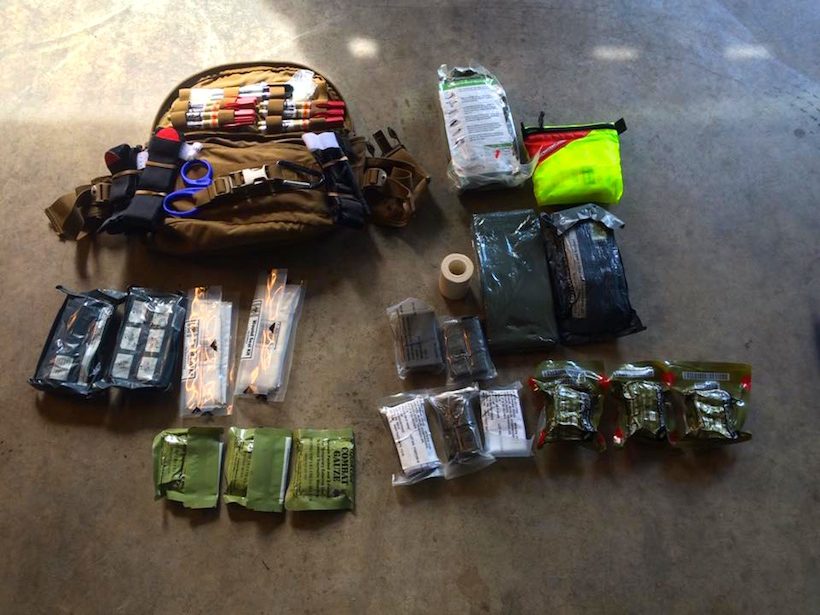
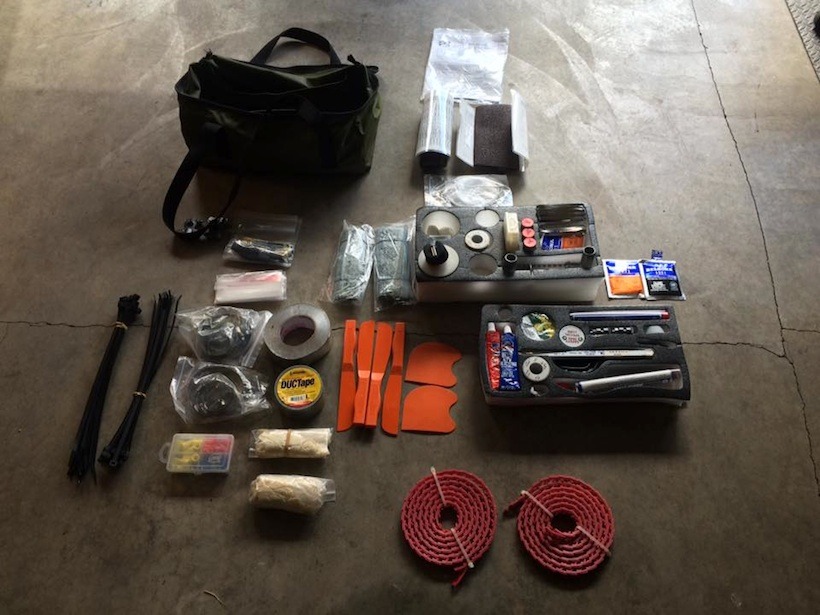
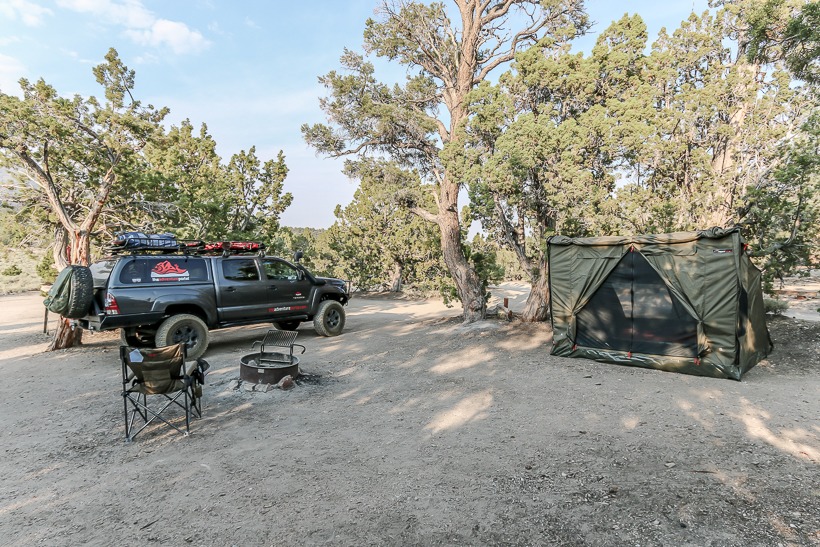
For safety and recovery I carry all the standard equipment; fire extinguisher, VIAIR air compressor, ARB tire repair kit, ARB recovery kit, 7/8” x 30” Bubba Rope, extra water, first-aid kit, tools, etc.
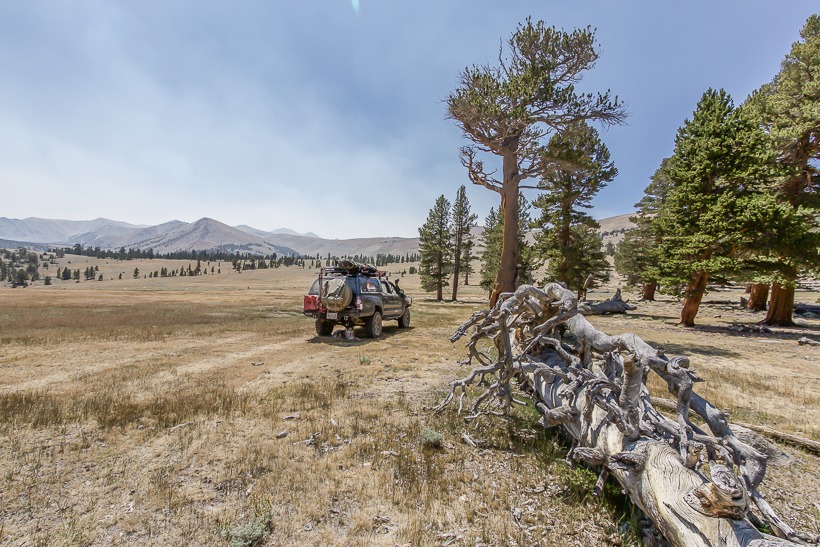
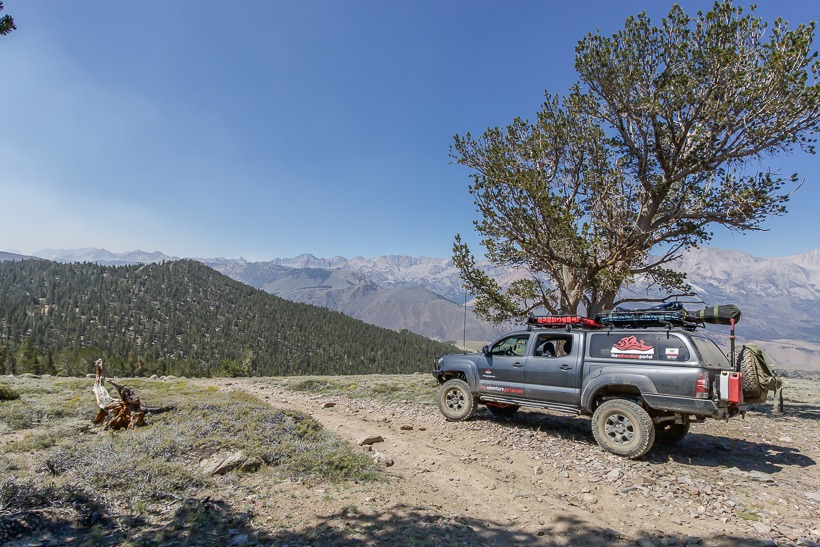
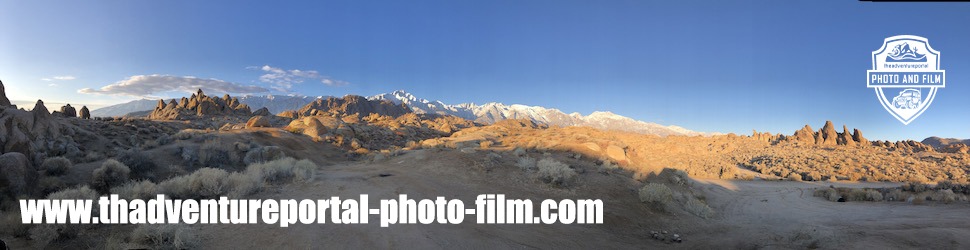
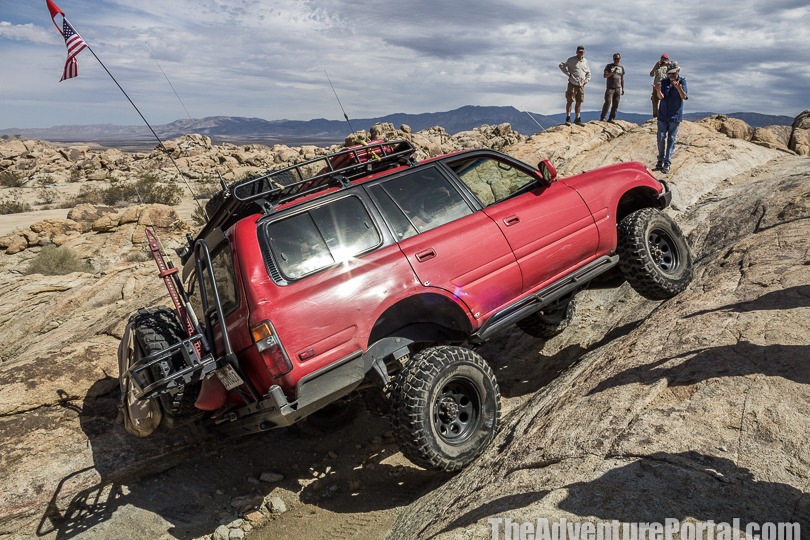
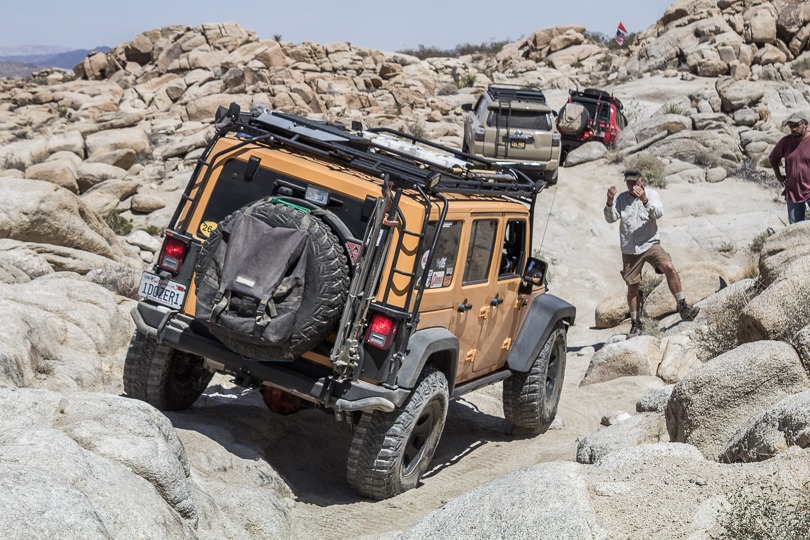
I take my rig out to Anza Borrego, Joshua Tree, Lucerne Valley, Mojave Road, and Death Valley, when the weather is bearable. Next year I hope to make my first trip to Moab.
I would consider myself a newbie to this sport having a little over three years of real off-road experience. Attending trade shows was very helpful in that they provided information that allowed me to make informed decisions regarding future mods. Having attended several off-road clinics keeps me in check making sure I don’t get into situations beyond my ability and has left me with understanding that building driver skills is far more important than the vehicle build.
Author and Photographer: Larry Perez
Check out American Overland Expedition custom body armor at aoe4x4industries.com