Adventure Vans – Ultimate Guide
What Are Adventure Vans?
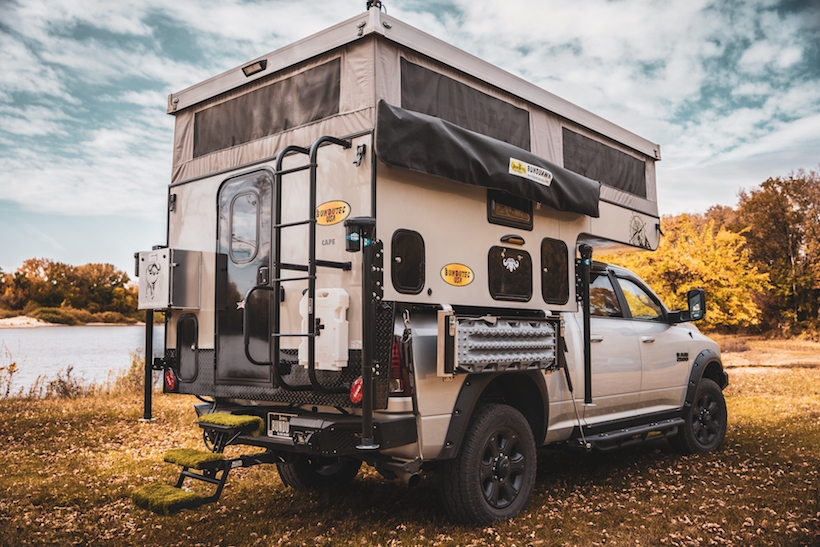
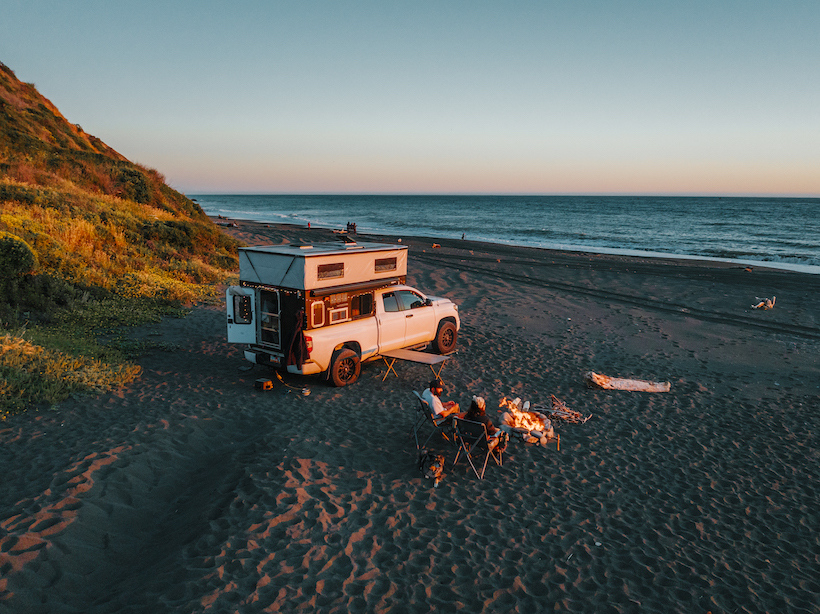
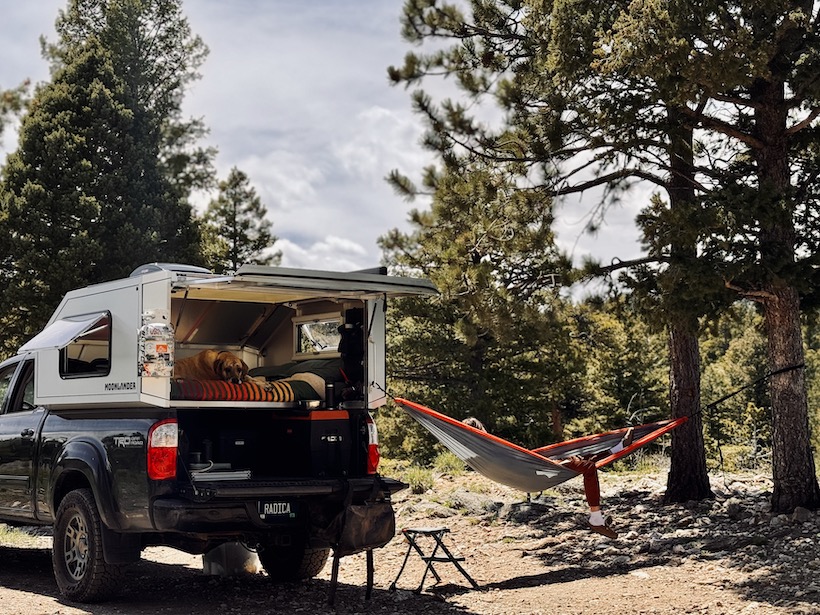
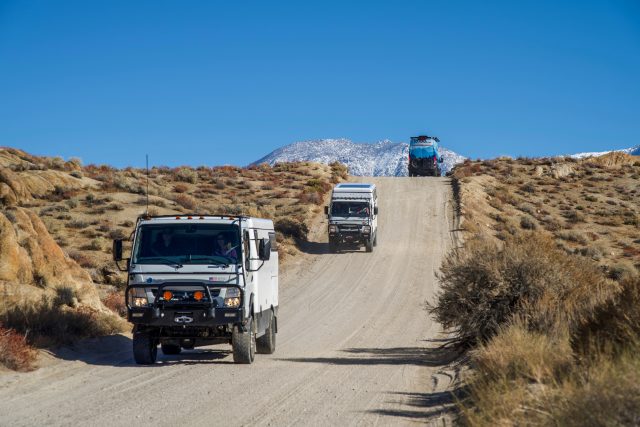
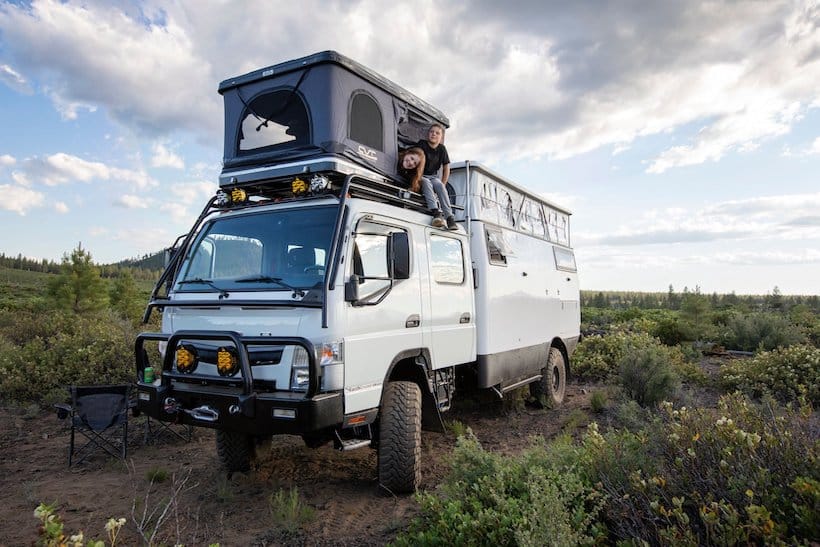
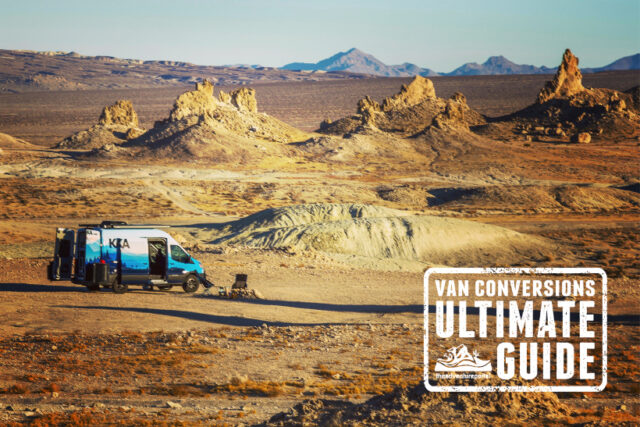
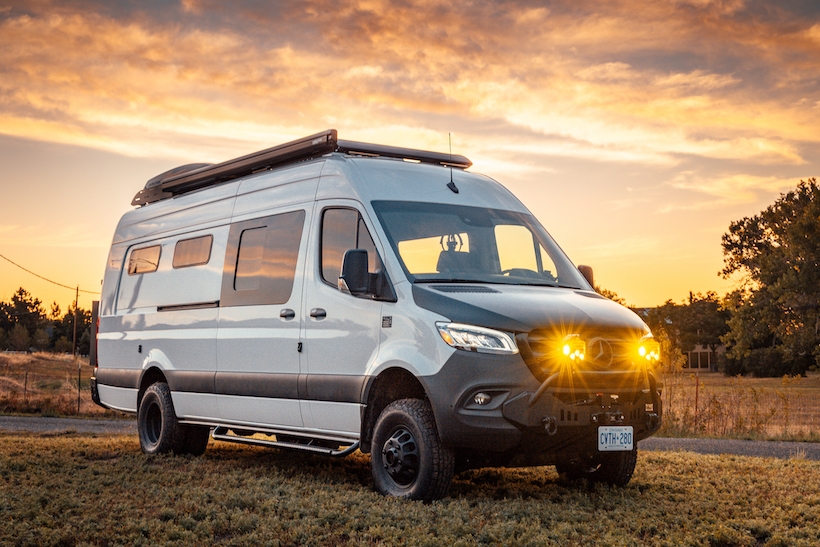
Adventure vans are custom-built or modified vans designed for outdoor adventures. They range from compact camper conversions to fully equipped overland vehicles. Popular base models include the Mercedes-Benz Sprinter, Ford Transit, and Ram ProMaster, which are transformed into mobile homes with features like beds, kitchenettes, and off-road capabilities.
Why Choose an Adventure Van?
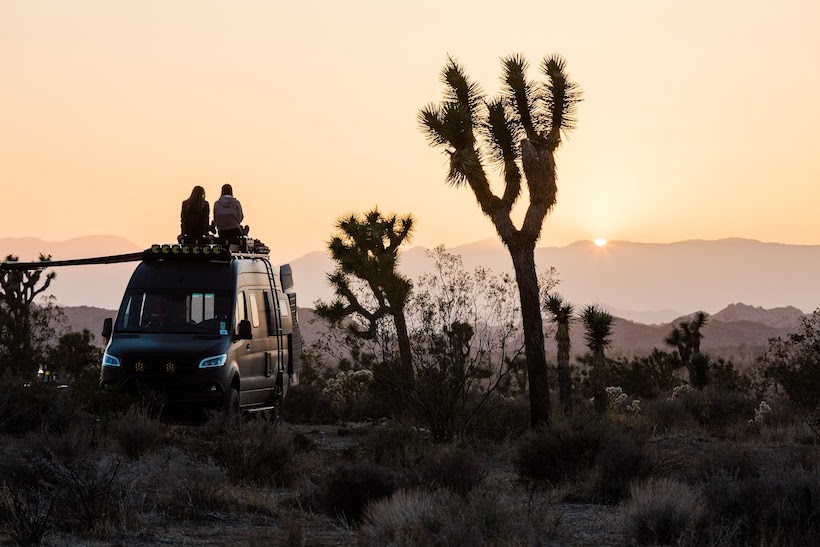
- Freedom to Explore
Adventure vans allow you to travel off the beaten path, camp in remote locations, and enjoy a minimalist lifestyle. - All-in-One Solution
Equipped with essentials like sleeping quarters, storage, and often bathrooms, they offer convenience for extended trips. - Cost-Effective Travel
While the upfront cost can be significant, owning an adventure van reduces expenses on accommodations and dining. - Sustainability
Many models now come with solar panels, composting toilets, and other eco-friendly features.
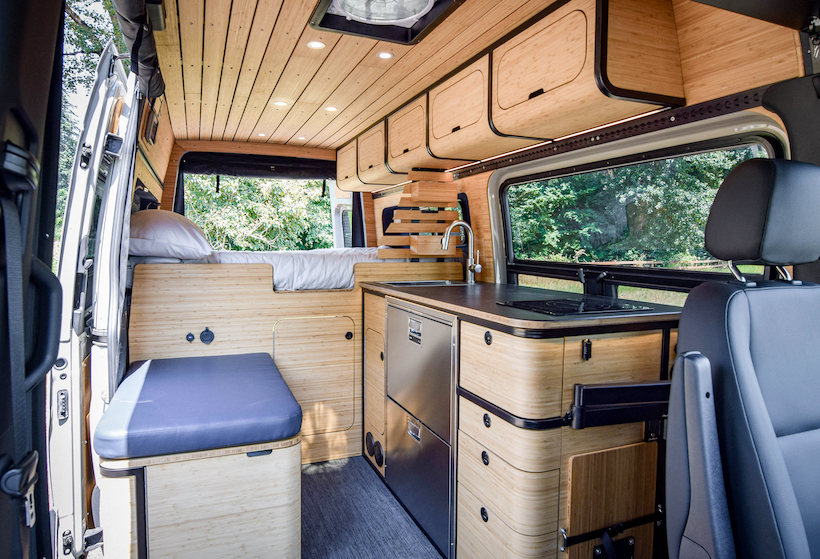
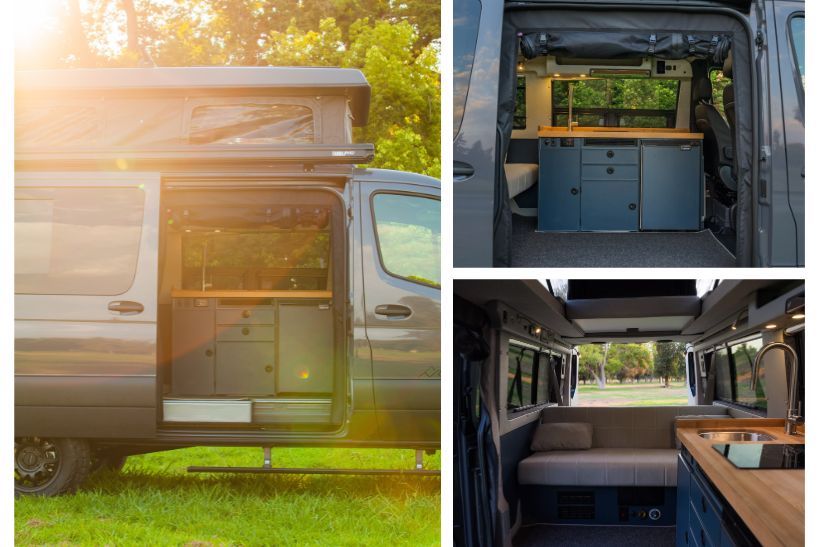
Key Features of an Adventure Van
- Sleeping Area
Custom beds that fold or convert to save space. - Kitchenette
Includes compact appliances like a fridge, sink, and portable stove. - Bathroom Options
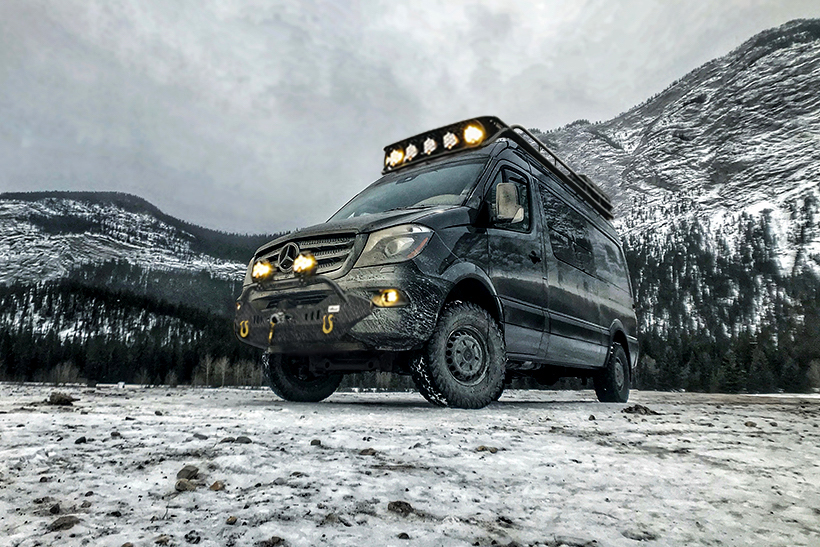
Some adventure vans come with wet baths or portable toilets. - Off-Road Capability
All-wheel drive (AWD), larger tires, and reinforced suspension for rugged terrain. - Storage Solutions
Smart compartments for outdoor gear like bikes, kayaks, or climbing equipment.
How to Choose the Right Adventure Van
- Budget
Determine whether you want a DIY conversion or a professionally built van. - Travel Style
Are you a weekend warrior or planning full-time van life? Your choice will affect the design and features. - Size Requirements
Consider how many people will travel and the type of terrain you’ll tackle. - Features
Decide on must-haves like a solar power system, 4×4 capability, or a spacious living area.
Final Thoughts

______________________________________________________
VanUp:
VanUp specializes in aftermarket installations and custom van upfitting for adventures both on and off road. They offer a wide range of products including suspension upgrades, wheels, tires, lighting, racks, storage solutions, and accessories for Sprinter, Transit and ProMaster vans as well as Class C RV’s. VanUp is dedicated to delivering next level service with a stellar team of master mechanics and adventure enthusiasts. Their experts will work with you to curate upfits tailored to your lifestyle – transforming your van from ordinary to extraordinary.
VanUp has a knowledgeable sales team that is dedicated to helping you choose the upfits and customizations that are best suited for you. Their technicians are just as knowledgeable and provide a quick turnaround for customers.
More than just a provider of custom parts and installation services, they’re a community- driven experience. VanUp invites adventure enthusiasts to partake in the journey, celebrating each van transformation as a testament to the excitement that lies ahead. They have two convenient locations are in Mesa, AZ and Davis, CA – with more to come in the future.
To Learn More CLICK HERE
____________________________________________________________
Z2Overland:

Z2Overland is the premier designer and builder of custom adventure vans, offering only the highest quality craftsmanship and components in every build and every component. Z2O is led by an award-winning small space designer (who also lived/travelled in vans full-time for 8 years) and has collected a team of incredible craftspeople committed to building the most beautiful, functional and longest lasting vans on the planet.
Every single van we build is custom to our client’s specific chassis, layout and needs – whether it’s the perfect family van, a true 4-season van for chasing snow and sleeping in negative temps, a rugged off-grid and offroad overland expedition build (and even if you’d simply prefer us to design/fabricate a modular Z2O DIY cabinetry kit for your own van project).
Our quality of construction, top notch eco-friendly materials and exacting processes are unmatched in the industry. There’s a reason our team calls “industry standard” a bad word and a reason that our clients come to us looking for their “forever van” – typically after having owned a couple other vans that gave them the experience to understand why build quality truly matters.
Even beyond the style of our builds, each van is focused on maximized livability using minimal space and on long-lasting quality.
The Z2O streamlined curves promote comfortable and beautiful small-space living. If you’re looking for rugged elegance, you’ve found it at Z2Overland.
www.Z2Overland.com Tel: 503.679.7949 info@Z2Overland.com
____________________________________________________________
Tourig:

www.mytourig.com Tel: 303 710 2914 info@mytourig.com
____________________________________________________________
Winnebago:
Winnebago is answering appetites for remote destinations with the new Revel. This ultimate adventure van is built to take you to places dreams are made of. Built on the all-wheel-drive Mercedes-Benz® Sprinter chassis, the Revel delivers robust power, significant ground clearance and all-terrain tires to easily tackle rugged terrain, while the standard dual off-road light bars on the new front fairing throw out 22,000 lumens for exploring the trails at night.
Inside the Revel, versatility rules: the flexible galley is perfect for cooking inside or out, the wet bath doubles as a gear closet, and the power-lift bed features a durable gear garage with L-track bases below. The new lounge is enhanced with plush, ergonomic seating, a thermal curtain to create separate living areas (also improves A/C efficiency!), and new styling options to match your vibe.
The Winnebago Power Max system – an industry-leading power solution allows you to stay off-grid for up to 7 days with the Winnebago® x EcoFlow® Power Hub Pro 5-in-1 system. It’s fueled by a Lithionics® GTO batteries with up to 16.8 kWh available and dual alternators to optimize energy with high-speed charging. Combined with a 35-gallon freshwater tank, you’re off-grid ready. And with 3M™ Thinsulate™ insulation, honeycomb flooring and a hydronic multi-zone heating system, you can extend your season in comfort.
*Up to seven days of boondocking capability based on a full charge. Actual boondocking capability varies with conditions such as external environment, vehicle use, vehicle maintenance, and battery age and health.
To learn more – CLICK HERE
____________________________________________________________
Field Van:

Field Van specializes in building fully custom vans. While we can build your van however you like, we have some classic plans that have been designed to perfection over many years of building and refining these floor plans.
Discover our Summit S1 series floor plan – a best-selling interior design that adapts perfectly to short wheelbase vans. Boasting an open layout, ample storage, comfortable sleeping, and seating for 4-6, it’s tailor-made for families. Often paired with a pop top, the S1 plan unlocks your family’s adventure potential.
This model is built on a Mercedes 4×4 Chassis, featuring factory Mercedes amenities like adaptive cruise control, blind spot avoidance, and a 360-degree camera setup.However, all our series are fully customizable to your needs and can be built on a variety of chassis including the Ford and GMC vans.
Inside this Summit S1, you’ll find deep blue sea cabinets, a charming butcher block counter, and a convenient built-in refrigerator. We’ve thoughtfully included an outdoor shower, the reliable Elwell Timberline heating system, a cutting-edge lithium battery setup, a powerful Xantrex inverter, efficient Zamp Obsidian solar panels, and the signature Field Van Pop Top – all dedicated to ensuring a journey that’s both comfortable and rugged for heavy use and abuse.
Van enthusiasts appreciate the Owl Vans Tire Carrier, Sherpa Rack, Fiamma Awning, CATuned Off-Road bumper, Warn winch, Baja Designs LP6 lights, Method wheels, and BFGoodrich KO2 tires, combined with the Agile Off-Road RIP kit for a smooth ride.
With over 30 years of custom van expertise, we’re excited to design your dream Field Van.
info@fieldvan.com or (559) 233-8267
To Learn More CLICK HERE
__________________________________________________________
Adventure Van Outfitters:
- ADF Sprinters Tel: 818 361 8888 Email: sales@adfsprinters.com
- Adventure Wagon – https://adventurewagon.com Tel: 503 427 0140 mailto: info@adventurewagon.com
- Adventure Vehicle Concepts – Tel: 303 596 6757 info@avcrig.com
- Aluminess – https://www.aluminess.com Tel: 619-449-9930 mailto:info@aluminess.com
- Agile Offroad – https://agileoffroad.com Tel: 619 328 1297 INFO@AGILEOFFROAD.COM
- Artistry – https://advanced-rv.com Tel: 440 283 0405
- Alaskan Camper Conversions – https://www.alaskacampervanconversions.com Tel: 907 350 2438 alaskacampervan@gmail.com
- Awol Adventure Rigs – https://www.awolrigs.com eli@awolrigs.com or tyler@awolrigs.com
- Benchmark Vehicles – https://www.benchmarkvehicles.com Tel: 503 446 5599 info@benchmarkvehicles.com
- Advanture Co – https://www.advanture.co
- Adventure Van – https://www.adventurevanco.com Tel: 800 983 0118 sales@adventurevanco.com
- Acme Overland – https://www.acmeoverland.com hello@acmeoverland.com
- Action Van – https://www.actionvan.com Tel: 480 579 3969 Info@actionvan.com
- Adventure vehicle Concepts (AVC) – https://www.avcrig.com Tel: 303 596 6757 Info@avcrig.com
- Action Van LLC – https://actionvan.life Tel: 800 541 9826 ian@actionvan.life
- Alliance Van Conversions – https://alliancevanconversions.com Tel: 818 779 0818
- Alpine Mechanisms – https://alpinemechanisms.com Tel: 719 634 8267 info@luftkraftfab.com
- American Vanworks – https://americanvanworks.com/american-van-works/ Tel: 714 898 1827 mark@americanvanworks.com
- Aspen Custom Vans – https://www.aspencustomvans.com Tel: 970 948 4556
- Beartooth Vanworks – https://www.beartoothvanworks.com Tel: 406 686 1956 info@beartoothvanworks.com
- Big Bear Vans – https://bigbearvans.com Tel: (951) 441-9748
- Blue Ridge Adventure Vehicles – https://www.blueridgeadventurevehicles.com Tel: 828 338 9405 bravcampers@gmail.com
- Boulder Offroad Vans – https://boulderoffroadvans.com Tel: 303 828 9398 Info@BoulderOffroad.com
- Bridge Bound Campers – https://bridgeboundcampers.com Tel: 804 357 3805 Bridgeboundcampers@gmail.com
- Cascade Campers – https://www.cascadecampers.com
- Contravans – https://www.contravans.com team@contravans.com
- Campfyre Vans – https://campfyre.com Tel: 775 525 7890 Info@CampFyre.com
- Camplife Customs – https://www.camplifecustoms.com Tel: 619 709 5842 Camplifecustoms@gmail.com
- Campo Vans – https://www.campovans.com
- Cardiff Campervan – https://www.cacampervan.com Tel: 760 349 6761 korey@cacampervan.com
- Cascade Custom Vans – https://cascadecustomvans.com hello@cascadecustomvans.com
- Cascadia Vans – https://www.cascadiavans.com
- Catapult A.V. – https://www.catapultav.com Tel: 530 448 9583 info@catapultav.com
- Cavevan – https://cavevan.com/index.html Tel: 303 359 7469 info@cavevan.com
- Colorado Campervan – https://www.coloradocampervan.com Tel: 970 699 6000 info@coloradocampervan.com
- Colorado Adventure Vans – https://coadventurevans.com Tel: 833 RAD VANS info@coadventurevans.com
- Craftsman Coaches Inc – https://www.craftsmancoaches.com Tel: 503 897 0284 sales@craftmancoaches.com
- Dirtbag Conversions – https://www.dirtbagconversions.com Tel: 458 256 1656
- Drifter Wagons – https://drifterwagons.com Tel: 385 333 2683 mailto: drifterwagons@gmail.com
- El Kapitan – https://elkapitan.com Tel: 714 896 8267 sales@elkapitan.com
- Element Adventure Vehicles (EAV) – https://elementumav.com Tel: 541 719 8630 contact@elementumav.com
- End of Earth Vans – https://eoevans.com drew.eoev@gmail.com
- Epic Vans – https://epicvans.com Tel: 773 704 2455 info@epicvans.com
- Esplori – https://www.esplori.com Tel: 458 256 3948 mailto:info@esplori.com
- Exclusive Outfitters – https://exclusiveoutfitters.com Tel: 714 524 2224
- Expo Vans – https://expovans.com
- Fox Valley Vans – https://foxvalleyvans.com Tel: 801 232 7095 marcus@foxvalleyvans.com
- Freedom Vango – https://www.freedomvango.com Tel: 904 479 2400
- Freedom Vans – https://freedomvans.co Tel: 360 656 5386 hello@freedomvans.co
- GR Gear – https://gr-gear.com Tel: 415 917 3074 info@gr-gear.com
- GTRV – https://gtrv.com Tel: 888 332 9602 sales@gtrv.com
- Glampervan – https://www.glampervan.us info@glampervan.us
- Gone Mobile Vans – https://www.gonemobilevans.com Tel: 657 205 8123 brendan@gonemobilevans.com
- Humble Handcraft – https://www.humblehandcraft.com sales@humblehandcraft.com
- Inspired Van – https://www.inspiredvan.com
- Johnson Custom Vans – https://www.johnsoncustomvansolutions.com Tel: 949 412 6980 johnsoncustomvansolutions@gmail.com
- Journey Vans – https://journeyvans.voyage Tel: 970 331 6775 TOPH@JOURNEYVANS.VOYAGE
- Kestral Vans – https://www.kestrelvans.com Tel: 406 249 1865 kestrelvanconcepts@gmail.com
- Maker Vans – https://makervans.com info@makervans.com
- Mango Vans – https://www.mangovans.com
- MV Conversions – https://www.marshallvanconversions.com
- Master Overland – https://www.masteroverland.com
- Methow Van Company – https://www.methowvanco.com
- Mod Vans – https://www.modvans.com Tel: 805 856 6589 sales@modvans.com
- Momentum Vans – https://www.momentumvans.com brian@momentumvans.com
- Mountain View Adventure Vehicles – Tel: 520 797 1699
- Nirvana Upfitters – https://nirvanaupfitters.com Tel: 978 798 3109 info@nirvanaupfitters.com
- No Wrong Turns – https://www.nowrongturnsvans.com Tel: 502 644 4769 nowrongturnsvans@gmail.com
- Northwest Custom Vans – https://www.northwestcustomvans.com Tel: 509 330 5564 info@northwestcustomvans.com
- Northwest Conversions – https://www.nwconversions.com tyler@nwconversions.com
- Off Grid Adventure Vans – https://www.ogavans.com Tel: 888 801 7456 sales@ogavans.com
- Off Highway Vans – https://www.offhighwayvan.com Tel: 801 382 7374 info@offhighwayvan.com
- Off Grid Vanworks – https://www.offthegridvanworks.com Tel: 949 933 3648 ricky@offthegridvanworks.com
- OpenRoad Upfitters – https://www.openroadupfitters.com twagner@openroadupfitters.com
- Outpost Vans – https://www.outpostvans.com Tel: 760 643 7896 info@outpostvans.com
- Outside Van – https://www.outsidevan.com Tel: 800.971.8830 info@outsidevan.com
- Overland Van Project – www.driveovp.com Tel: 503-489 8069 Dustin@driveovp.com
- Peace vans Modern – https://www.peacevansmodern.com Tel: 206 467 8267 service@peacevans.com
- Rally Van – https://rallyvans.com
- Red Fish Vans – Tel: 778 962 0162
- Roadtrek – https://roadtrek.com Tel: 519-745-1160 salessupport@roadtrekinc.com
- Rogue Vans – https://roguevan.com
- RoamBuilt – https://roambuilt.com mailto:Info@roambuilt.com
- Ross Monster Vans – https://rossmonstervans.com Tel: 720 295 0623 vans@rossmonsterdesign.com
- Suha Designs – https://www.suhadesigns.com INFO@SUHADESIGNS.COM
- San Juan Vans – https://www.sanjuanvans.com Tel: 970 236 6301
- Site Seven Campers – https://www.sitesevencampers.com
- Smith Made – https://www.smithmadeinc.com scott@smithmadeinc.com
- Sportsmobile – https://sportsmobile.com Tel: 512 835 4409 or 260 356 5435 texas@sportsmobile.com north@sportsmobile.com
- Sync Vans – https://www.syncvans.com Tel: 208 450 3618 info@syncvans.com
- Terranaut Vans – https://www.terranautvans.com Tel: 406 414 7228 info@terranautvans.com
- The Mountain Standard – https://themountainstandard.com luke@themountainstandard.com
- Vanspeed – https://thevanmart.com Tel: 657 227 8433 info@thevanmart.com
- Vansmith – https://thevansmith.com Tel: 855 VAN SMITH
- Vanbase – https://vanbase.us Tel: 425 212 8898 shaukelly@gmail.com
- Van Craft – https://van-craft.com Tel: 888 381 7333 sales@van-craft.com
- Van Haus Conversions – https://vanhausconversions.com Tel: 360 326 8838
- Vanlife Customs – https://vanlifecustoms.com Tel: 907 350 2438
- Vannon – https://vannon.com Tel: 805 242 6414 info@vannon.com
- Van Life Designs – https://www.vanlifedesigns.com Tel: 512 297 5550 jason@vanlifedesigns.com
- Van Specialities – https://www.vanspecialties.com Tel: 503 218 2065 info@vanspecialties.com
- Vandoit – https://www.vandoit.com Tel: 816 944 2229
- Vanworks – https://www.vanworks.com Tel: 970 294 4024 info@vanworks.com
- Venture Van Outfitters – https://www.venturevan.com Tel: 801 871 3033 info@venturevan.com
- Vertical Vans – https://verticalvans.com Tel: 608-792-7291 billy@verticalvans.com
- Wonderful Wheels – https://wanderfulwheels.com Tel: 970-844-1043 WANDERFULWHEELS@GMAIL.COM
- Wandervans – https://www.buyawandervan.com
- Warner Vans of Utah – https://sprinterutah.com Tel: 801 956 2700
- Wayfarer Vans – https://wayfarervans.com info@wayfarervans.com
- Woodland Van Co – https://www.woodlandvanco.com mike@woodlandvanco.com
- ZenVanz – https://www.zenvanz.com Tel: 541 907 1710 info@zenvanz.com
_______________________________________________________________
For other Resource Guides check out:
The Ultimate Resource Guide to Vehicle Supported Adventure
The Ultimate Guide to Off-Road and Overland Trailers
The Ultimate Guide to Roof Top Tents
Not ready to buy yet, then maybe rent instead
______________________________________________________________